
Бесплатно 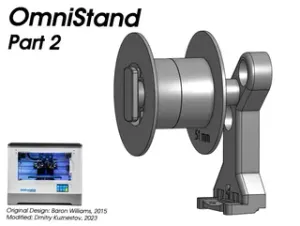
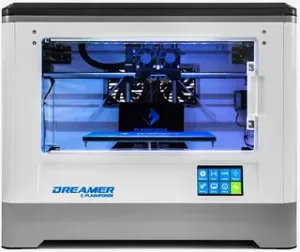
FlashForge Dreamer: OmniStand Rods and Spacers. Part 2 of 2.
Printables
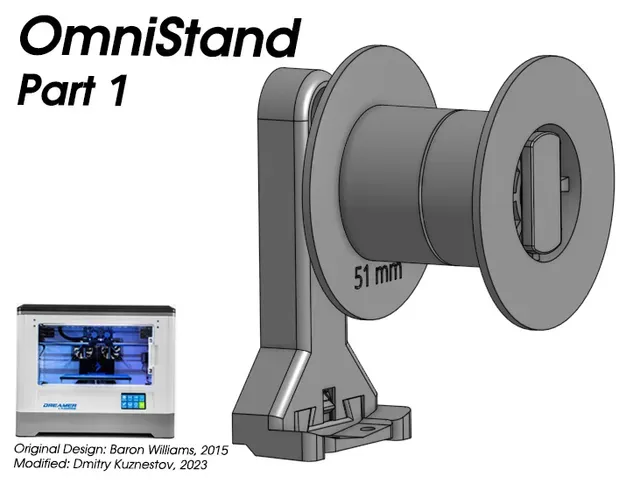


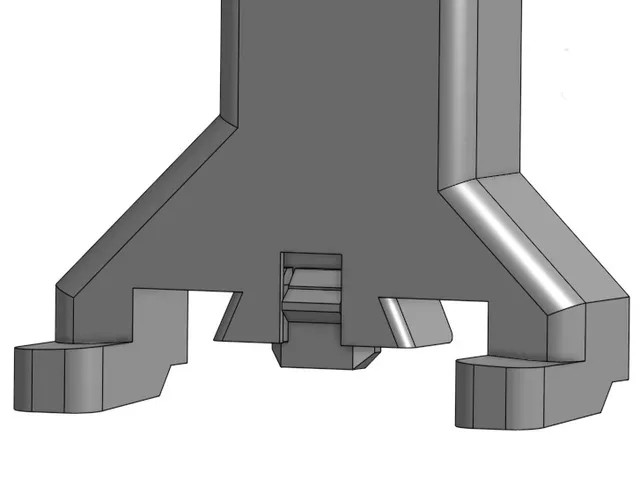
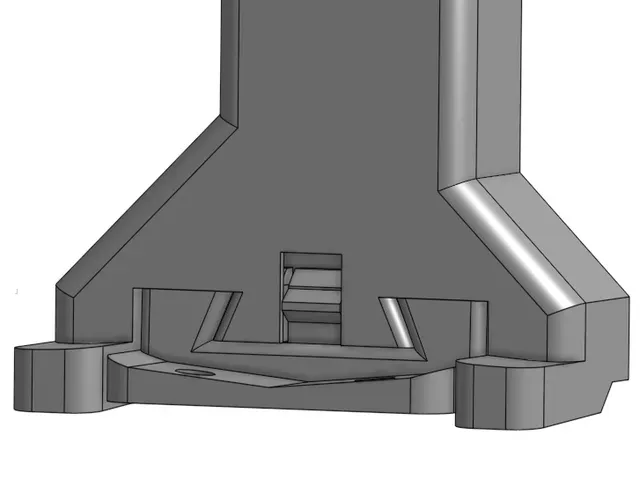
Part 1 - Stands and Locks.
For Part 2 - Rods and Spacers, see: https://www.printables.com/model/328943
These are my improvements for the ingenuous OmniStand v1.36 by Baron Williams - the replacement stands and rods for the FlashForge Dreamer printer. Think of this project as OmniStand v1.37, take 4.
The goals of this project were:
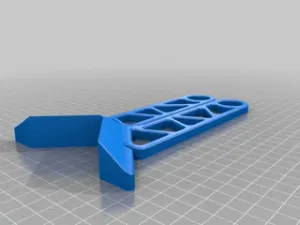
- Modify the stands to allow largest possible spool sizes - Parameterize the design to make future changes easier In comparison to Baron Williams' original, all models underwent some tweaking. For example, the original right stand could not take FlashForge 1 kg 200 mm spools, they would hit one of the step motors. This version of the stands will happily take them. All rod placement positions for both left and right stands have been re-worked to accept the largest spools possible. For the same reason, stand bases have been slimmed down a few millimeters. Rods have been modified to take an optional sheet metal screw for reinforcement, spacers now consist of two halves. Stands are now slightly stouter for rigidity.
This version of the stands is divided into two parts: Part 1 has spool stands and locks, Part 2 has spool rods and spacers. I will also provide Onshape CAD links and .pdf snapshots of the stand dimensions. This should make it easier to further modify this design, or adapt it for other purposes.
If you have the old (v1.36) stands already installed, you do not have to re-print and replace everything at once: only replace what you are unhappy with. If, on the other hand, you want to print a full set, below is what you will need to print.
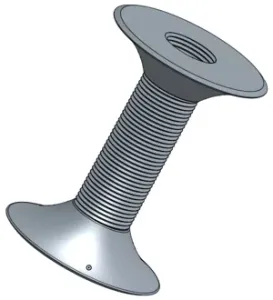
- From Part 1: Stand Left (mod) x 1, Stand Right (mod) x 1, Stand Base (mod) x 2. - From Part 2: Spool Rod (mod) x 2, Spool Spacer Half x 4 to make two spacers. Pick spacer diameters to match the center holes of your spools; 51 mm seems to fit a lot of spools. To visualize everything together, see the assembly pictures. There is also Stand Left (mod2), which has an additional spool position toward the front of the printer. I found that with larger spools, the filament has to make a sharp turn near the back wall of the printer. This additional spool position can make the turn less sharp.
Design
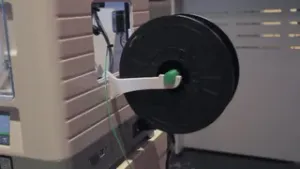
Baron Williams' design is not an average printer stand! These are detachable stands with sliding locks, where only the base is bolted to the printer using the same M3-0.5 x 16 mm socket head machine screws that hold factory spool stands. Using these stands, one can fit a variety of spools inside FlashForge Dreamer. Spools sit on the rods, which are always 19 mm in diameter. Because center spool holes vary in size and are usually larger than 19 mm, spacers are used between the spools and the rods.
I will include the Thingiverse files for the original Baron Williams' design along with my modifications. All of his .stl files, pictures, and description will be in the “ OmniStandExtrasPart1.zip ” archive. You may want to read his description, either on Thingiverse or in the .zip archive.
Since one of the goals for this project was to parameterize Baron Williams' original design, I loaded his .stl files into Onshape and tried to sketch around them, constantly comparing the original models to my newly parameterized version. I matched both stands and the locks at 100%. Rods were surprisingly hard to recreate. Their lock plates have complex shapes, and it does not help that the .stl file approximates curves with straight segments. I did my best. If we agree not to split hairs, we can call it a match. Once his design was parameterized, I started tweaking it to produce a modified (mod) version. I will only include the modified version here to avoid confusion, but both the CAD link and the .zip archive will contain parameters for Baron Williams' originals.
To sum up the additions and/or changes that I made for the stands in Part 1:
- Parameterized the original design and my modifications - Altered the shape of the stands and re-positioned all of the rod holes to accept the largest spools possible. This is the main reason to upgrade. - Slightly changed the width of the stands for rigidity. - Made stand legs 0.5 mm longer (look for 14.5 mm leg height dimension instead of the original 14 mm). This is because the original stands felt a bit too loose in my printer, and as the result, tilted slightly inward under the weight of the filament. - Changed stand lock holes to accept rods with 3.5 mm thick lock plates (original rods with 3.0 mm lock plates will still work). - Lowered the fronts of the stand bases slightly, to make sure that a large wide spool does not scrape against them.
Spool Accommodation
To come up with max spool sizes, one has to distinguish the left side and the right side of the printer, since the right side contains two step motors for the X and Y axes that further limit the spool size. One also needs to distinguish thinner spools that can fit inside the Dreamer's spool well (spools that are thinner than 68 mm), and spools that are wider and have to sit above the well (place such spools at the top hole of the stands). This results in four combinations of max sizes:
- Left side, fits in the well: 240 mm - Left side, does not fit in the well: 204 mm - Right side, fits in the well: 200 mm - Right side, does not fit in the well: 190 mm I have never bought a spool heavier than 1 kg for my printer, and I doubt that any such spool can fit inside FlashForge Dreamer. Even with 1 kg spools, there are cases when a spool cannot fit or can fit on the left side only. FlasghForge's 1 kg spools fit fine on both sides when using this version of OmniStand with either native 53 mm or slightly smaller in diameter but more versatile 51 mm spool spacers. If you remember, Dreamer's factory stands could only take FlashForge's 0.5 kg spools.
Note also that as long as there is space between the spool and the bottom of the printer, you can have a spool sitting a bit lower by using a smaller diameter spacer. In other words, spacers do not always have to match the spool hole exactly, and rod holes are not the only means to lower the spools.
How I printed
The models are very precise! Baron Williams recommends printing all parts at 0.1 mm layer height, 70% infill, 3 shells, with the exception of spool spacers. They do not need to be that strong or precise. Stands are printed lying on the back, feet pointing up; support is needed under the round lock holes only. Stand bases and locks are printed flat side down and do not require supports.
I first printed Baron Williams’ design in 2019 with FlashForge ABS. It turned out great at 240℃ with no fan. FlashForge has since changed the formula of its ABS, it is now called ABS Pro, and it is not quite the same. Overheating small areas is a problem with the ABS Pro and other cheaper ABS filaments. If you decide to go the ABS route and can get some quality heat-tolerant ABS filament, you will be golden.
For a lesser ABS filament, just about the only practical solution is to turn on the extruder fan for a few percent of the max speed. I used 12%. The ABS layers do not fuse well at higher fan speeds. I also printed slowly and used a tall skirt around the model to slow down printing a layer even more. I used a raft, so my skirt would have something to hold on to. I used 4 shells, 6 top and bottom solid layers. I should not be surprised by a ten-hour print for one model: I “asked” for it.
FlashForge Dreamer is a Makerbot clone and does not support variable fan speed with stock firmware. In other words, the fan either blows at 100% or not at all. A firmware patch is needed. Also, slicing software needs to support variable fan speed for Makerbot printers. If not, variable fan speed commands must be added to the .gcode file manually. I used Simplify 3D, v.4.x.x, which supports variable fan speed. Incedentally, PrusaSlicer does not produce variable fan speed G-Code for Makerbot-compatible printers.
I am not sure you want to use my G-Code, due to the long print times and plastic waste. Once I had a working print profile, I just used it for all models except for the spacers. The prints look good, though. I put my G-Code in “ OmniStandExtrasPart1.zip ”, you can decide for yourself. You need to meet at least these important requirements in order to use it:
- FlashForge Dreamer printer - FlashForge ABS Pro filament (may work with some other half-decent ABS filaments) - VARIABLE FAN SPEED firmware patch for the Dreamer (check https://github.com/moonglow/flashforge_fan_fix , I will include the exact version I used) - Printing with the left extruder Additionally, I always print with two rear fans (case fans) disabled. If you use my G-Code and the variable fan speed patch, the REAR FANS WILL BE DISABLED (look for the “M107 P1” command at the beginning of the .gcode file). I have 7 mm lid risers installed (see https://www.printables.com/model/373401 ). Baron Williams melted his extruder carriage (X-axis carriage) trying to print ABS with the lid closed and without the rear fans. You can read about it here: https://www.thingiverse.com/thing:441035 . Lid risers were his idea and an answer to this problem.
I have a BuildTak magnetic surface and a spring steel FlexPlate on top of it with FlashForge blue surface material. See https://www.printables.com/model/334818 for more info.
CAD Link:
https://cad.onshape.com/documents/1a9d01ad0b4c455c09d7efae/w/fdd62b059e527d3831bf99d7/e/729782555586ad351dca0c76
Category: 3D Printer Accessories





Названия используются только для указания источника результата. Polyzon не аффилирован с перечисленными площадками.