
Бесплатно 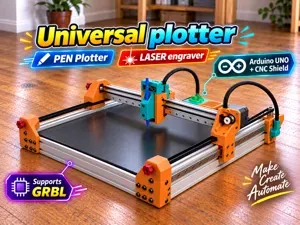
Universal Plotter - PEN / LASER engraver
MakerWorld

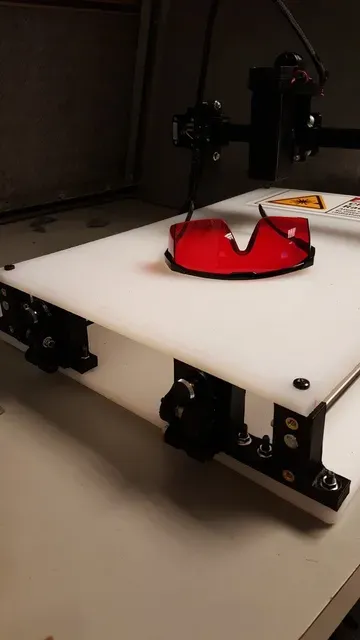


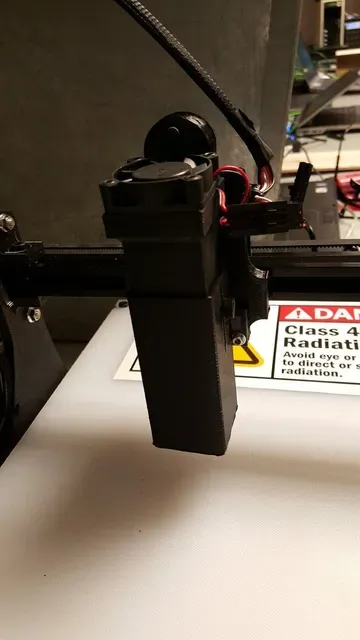
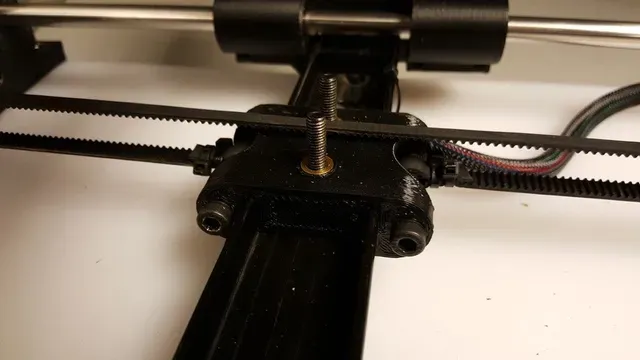

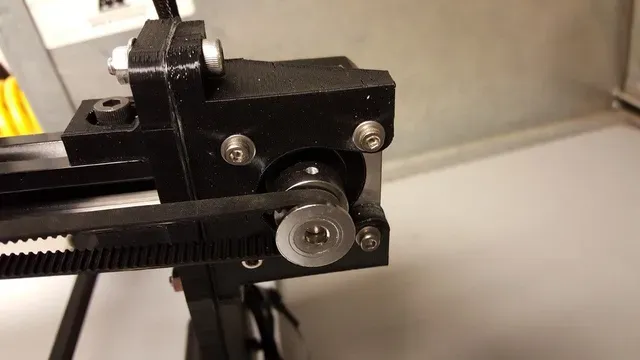
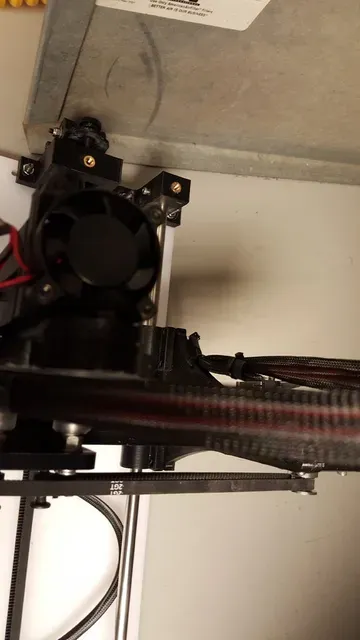

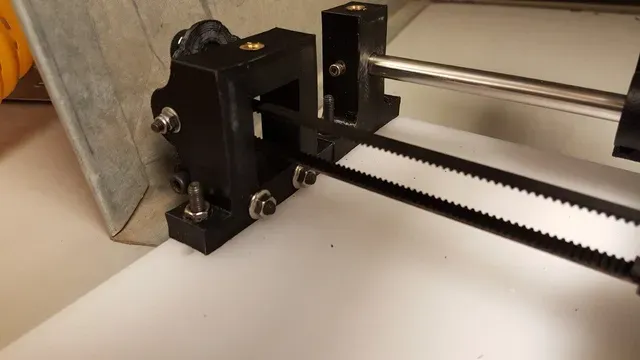
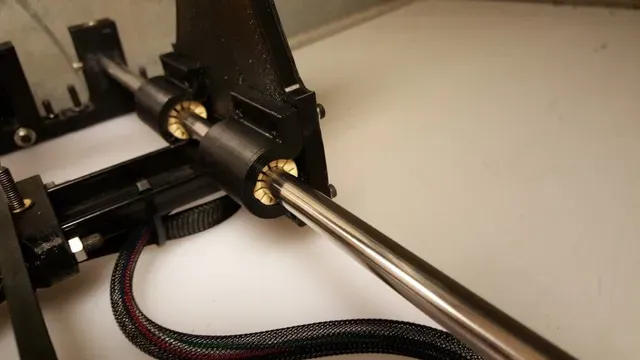


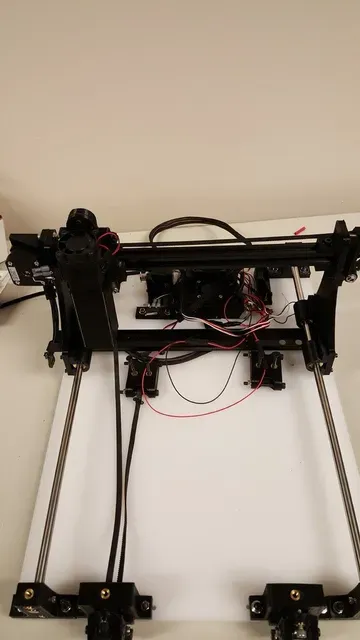
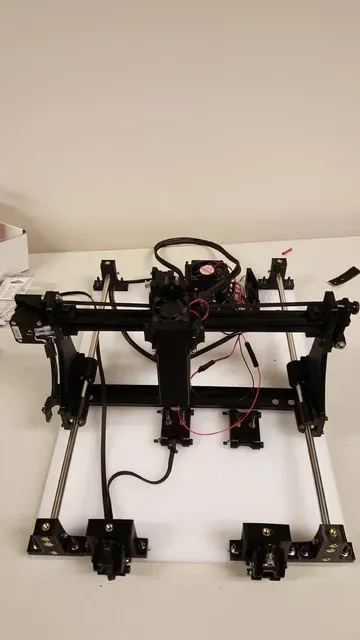
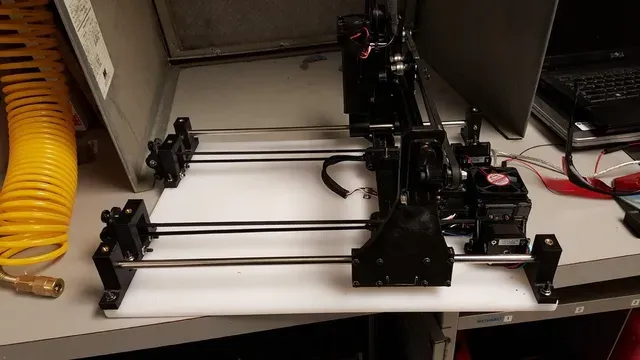


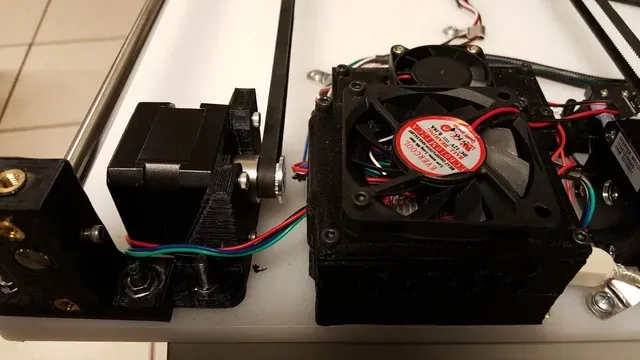


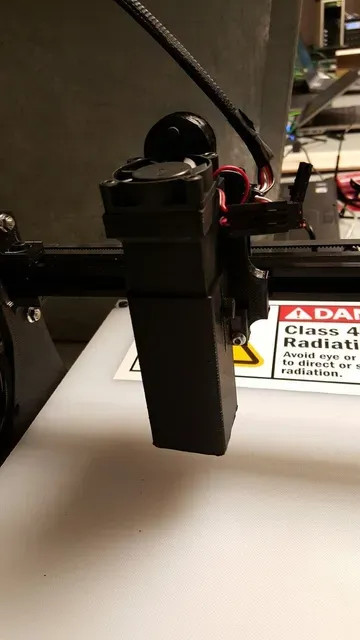


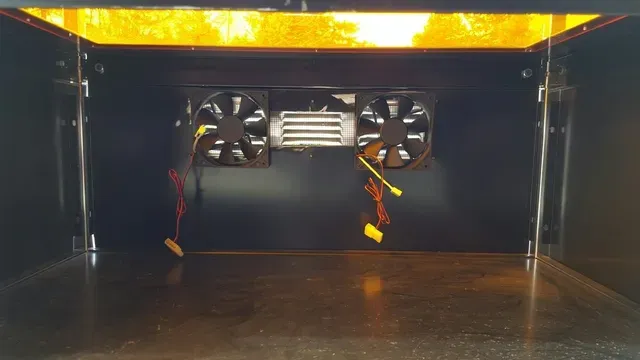

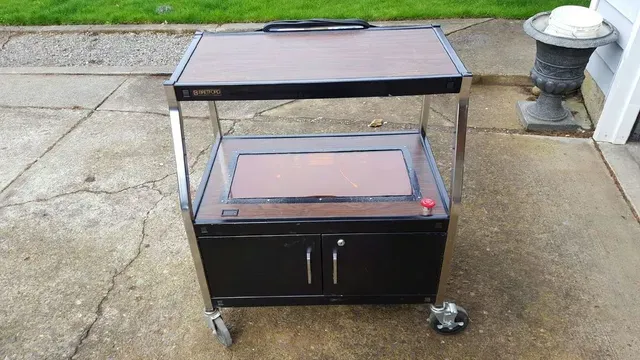
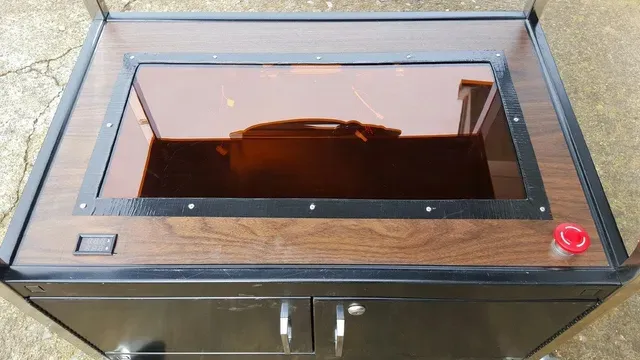
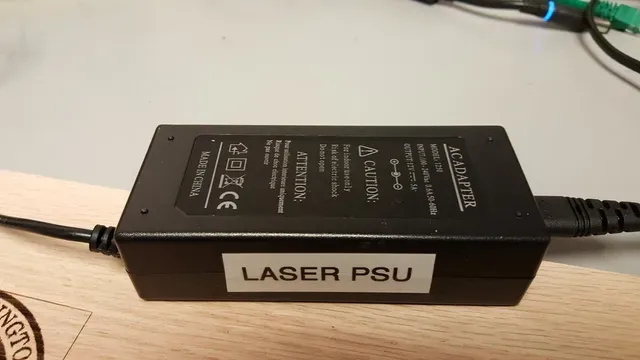


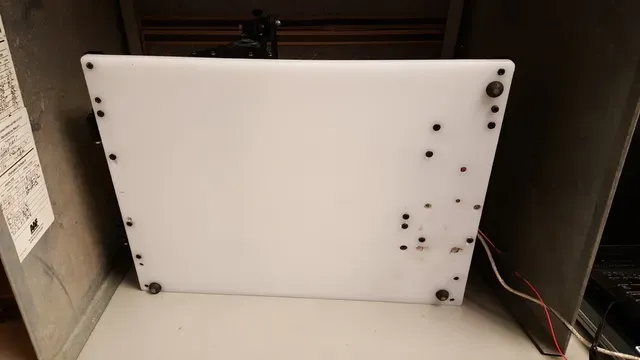
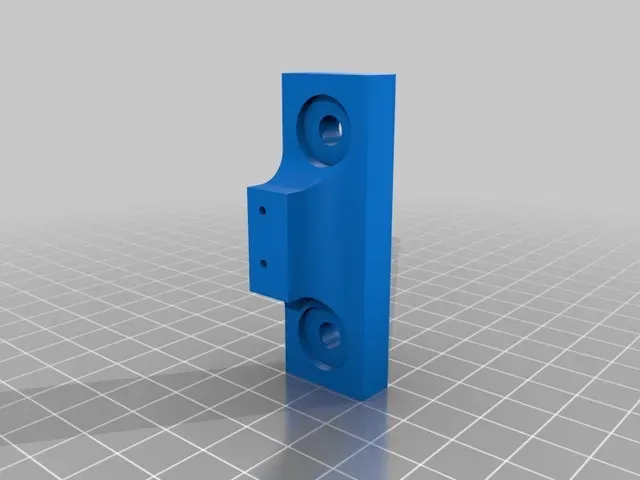
This project is basically a laser engraver frame designed to work with leftover TAZ 3d printer pieces and whatever stuff I had laying around. It should be pretty easy to adapt to whatever size or bearing setup you would like to use. The electronics setup is a clone of villamany’s 3dPburner project ( http://3dpburner.blogspot.com/ - http://www.thingiverse.com/thing:610934 ), the only real differences are the 3d printed frame and parts. I wanted to go a different direction with most of the pieces, and I wanted to ensure they were all truly available as open source, so I ended up making my own parts.
This is the first laser I have made or designed, so there may be some tuning required. It seems to work ok so far though!
IMPORTANT NOTE:
Class IV lasers are dangerous if operated incorrectly. NEVER use a laser without proper safety equipment, training, and interlocks. By downloading these files you agree to use them only in a safe, enclosed environment with all safety precautions taken. You further agree that you are qualified to build and operate a laser and will attempt no amateur Lasik surgery.
Print instructions
Unassociated tags: #ArtProject, #cookingproject, #DesignProject, #EngineeringProject, #lasersteaks!, #MakerEdChallenge2, #MathProject, #RoboticsProject, #ScienceProject
Category: Robotics Summary
This project is basically a laser engraver frame designed to work with leftover TAZ 3d printer pieces and whatever stuff I had laying around. It should be pretty easy to adapt to whatever size or bearing setup you would like to use. The electronics setup is a clone of villamany’s 3dPburner project ( http://3dpburner.blogspot.com/ - http://www.thingiverse.com/thing:610934 ), the only real differences are the 3d printed frame and parts. I wanted to go a different direction with most of the pieces, and I wanted to ensure they were all truly available as open source, so I ended up making my own parts.
This is the first laser I have made or designed, so there may be some tuning required. It seems to work ok so far though!
IMPORTANT NOTE:
Class IV lasers are dangerous if operated incorrectly. NEVER use a laser without proper safety equipment, training, and interlocks. By downloading these files you agree to use them only in a safe, enclosed environment with all safety precautions taken. You further agree that you are qualified to build and operate a laser and will attempt no amateur Lasik surgery.
Print Settings
Printer Brand: LulzBot
Printer: TAZ 5
Rafts: No
Supports: No
Resolution: 0.5mm nozzle
Infill: doesn't really matter, I used 85%
Notes:
I printed this with ABS, but pretty much any material should work. I mean, not ninjaflex, can you imagine how floppy that would be? but anything else should work fine!
Post-Printing
Instructions:
Print all the parts. You will need to download the bearing holders from lulzbot, as they are recycled, link is below. http://download.lulzbot.com/TAZ/5.0.1/production\_parts/printed\_parts/bearing\_holder/ You will need 3 of the motor mounts, 2 of the Y idler assemblies, and 2 of the belt mount assemblies. Now inert the heat set inserts, 4x M3 inserts for the top of the laser duct, 3x in the laser mount carriage, M5 heat sets in the main gantry frame pieces at the lower spar locations and the Idler mount holes, M3 and M5 inserts in the rod mount corner pieces and Y idler frame tops, and 3 M5 inserts in all three of the idler arms. Bolt they axis rod assemblies to the corners of your baseplate (a delrin cutting board or plywood work well here) making sure they are perfectly square and parallel to each other.
Next install the bearings on the gantry sideplates, X motor, and X idler. Test fit the Openbuilds rail and mark for length. Cut rail to length as required. The steelcase lower rail should be the same length. Break the end tabs off the steelcase rale, fit it through the slots in the lower section of the gantry, then mark it for the lower mounting bolts. Drill the lower bar holes for the gantry mounts, test fit, then slide the belt mounts on. We will drill those later.
With the gantry and Y mount mainly in place, position and mount your Y motor and idlers using the pictures as a general reference. Depending on the size you decide to make your laser engraver, the position will vary greatly.
Once all the motion segment pieces are in place, test fit everything and test the movement. Make any adjustments now as needed. Once everything is moving smoothly, you can temporarily fit the top plate. This will generally be the same length, but narrower than the bottom plate, and again will vary depending on your design.
Remove the top plate. Locate a mounting point for the laser controller box and whichever Arduino control box you printed. Now you need to start building the electronics. Follow the 3Dpburner project instructions for more details, but basically you are going to build the Arduino Uno and GRBL control board stack, install microstepping jumpers on all three spots in the X, all three spots in the Y, and all three spots in the auxiliary axis, then install the motor controllers. Also install jumpers on the pins that link the Y axis and the Auxiliary axis.
Run the motor cables out to the motors, the endstop cables out to the endstops, then assemble the laser controller. DO NOT PLUG THE LASER INTO THE FAN CONTROLL ON ACCIDENT- It will melt. It is annoying when your laser melts, and then you get to buy a new one.
Your power supply should power the GRBL board (it does not go to the Arduino as well, the Arduino will receive power through the CNC shield GRBL board leads), the Laser board and any fans you have inline. You should have a panel mount power switch of some sort, as well as a panel mount USB hole. The emergency stop gets mounted on the outside of your enclosure box and routed back to the GRBL pins.
Now you are ready to assemble the laser!
The laser goes into the laser heat sink, which goes in the cooling duct. The duct blast shield gets screwed to the outside of the duct, and the entire assembly gets bolted to the laser mount block with 4 M3 10mm bolts. The cooling fan goes on top with 4 additional M3 bolts (8mm?) Now the laser carriage gets assembled. The two openbuilds mini wheel plates sandwich the spacers and the mini wheels, eccentric spacers go into the larger holes. Adjust the wheels for a snug fit on the openbuilds extrusion and test fit.
Now bolt the Laser carriage to the front plate with 4 M5 bolts (8mm?) and insert two 30mm bolts with nuts in two of the holes in the backside to act as belt mounts (see pictures). Bolt the Laser mount plate mounting bracket onto the carriage, and then the laser itself onto the mount bracket and carriage, and install the assembly on the X axis. Run the belts, attach with paired zip ties (see picture) to each of the belt mounting lugs, then tension.
Next, run both Y axis belts to the Y axis belt mount blocks to gauge the approximate location. Mark the holes, then slide the blocks back to drill as needed. Insert the long M5 bolts and nuts into the belt mount blocks, install the belt ends with the zip ties, then route the belts as required.
Finally, Mount the Y endstop block where it will contact the lower crossbar at some point before it smashes your laser electronics. (or after, if you really like smashing laser electronics)
You will then want to install the Arduino controller drivers, load the 3dpburner firmware, and install the laser control software.
The last step is to put awesome stickers on everything. Lasers work better with stickers.
Mostly complete Bill of materials with links:
A possible source for the lower crossbeam:
http://www.ebay.com/itm/ORIGINAL-STEELCASE-Front-To-Back-Rail-Kit-f-Lateral-Files-ONE-PAIR-BLACK-/121894212251
The M5 heat set inserts:


%2Fhttps%3A%2F%2Ffbi.cults3d.com%2Fuploaders%2F13893581%2Fillustration-file%2F8cdb4aee-63ca-4766-bffc-5280db568ff0%2Fa28df8780b06b5a1be60ae51c6f506db_display_large.jpg&w=300)


Названия используются только для указания источника результата. Polyzon не аффилирован с перечисленными площадками.
Комментарии 0
Загружаем комментарии…