
Бесплатно 
PrintBone small - 7 inch bell trombone
Printables


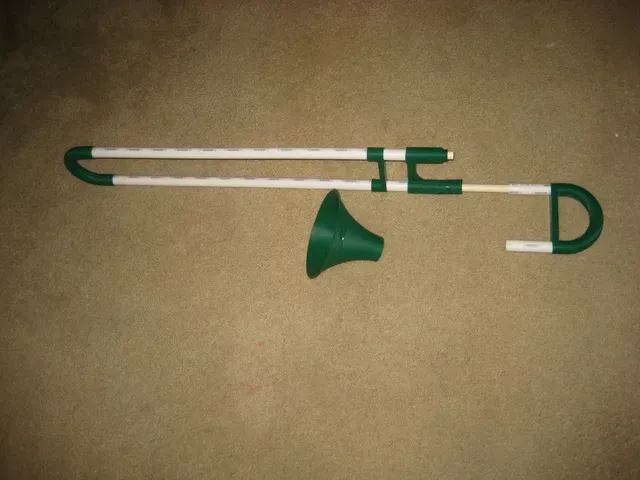

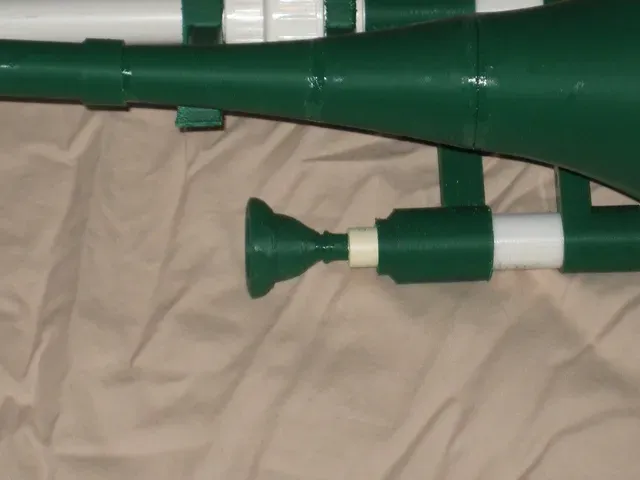

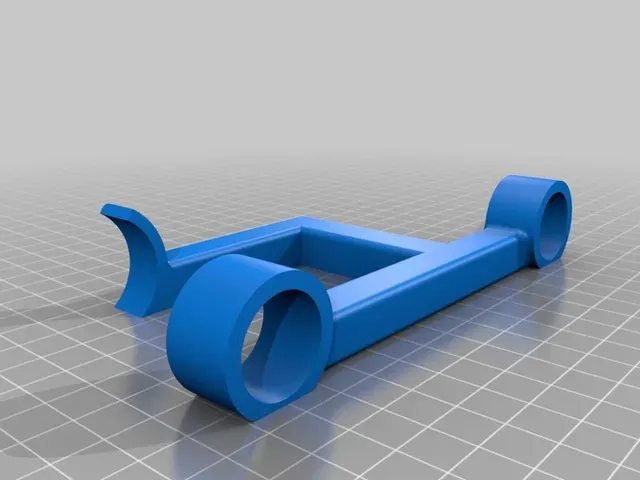

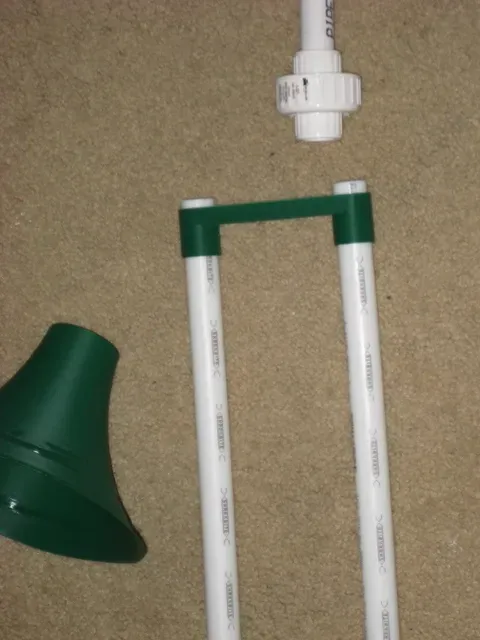

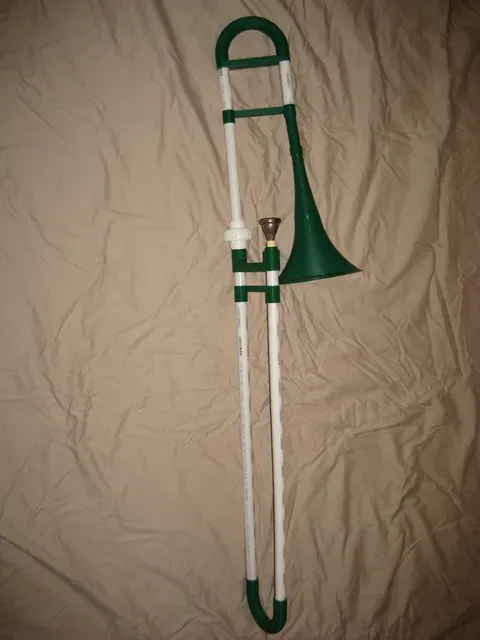
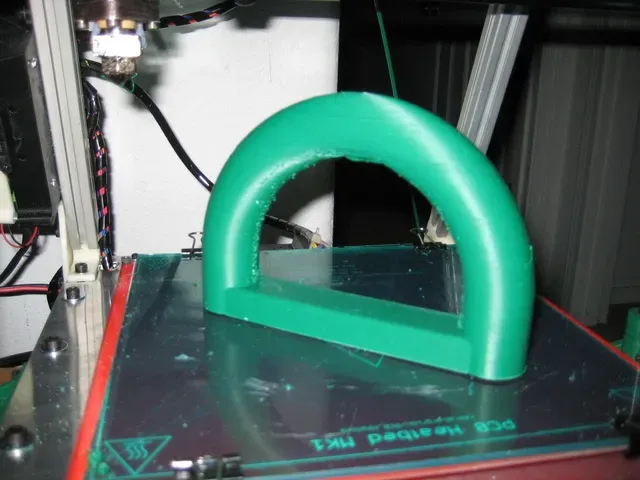

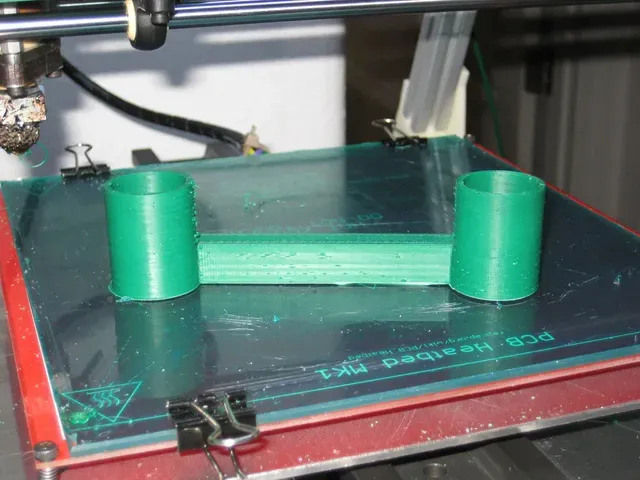
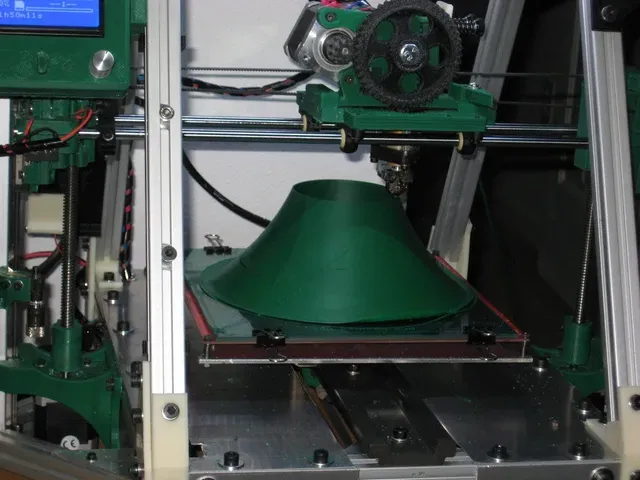

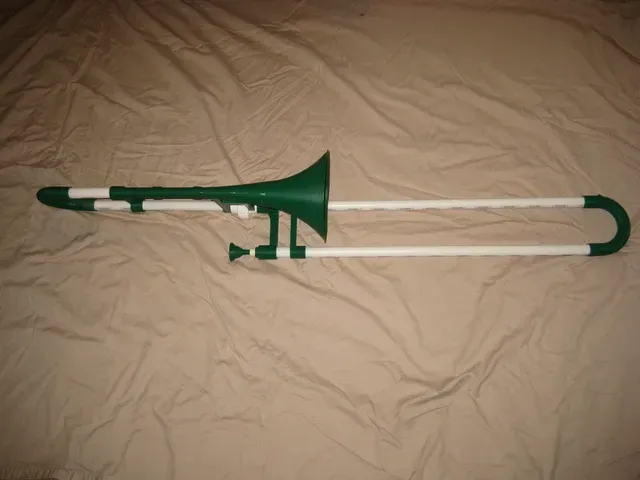
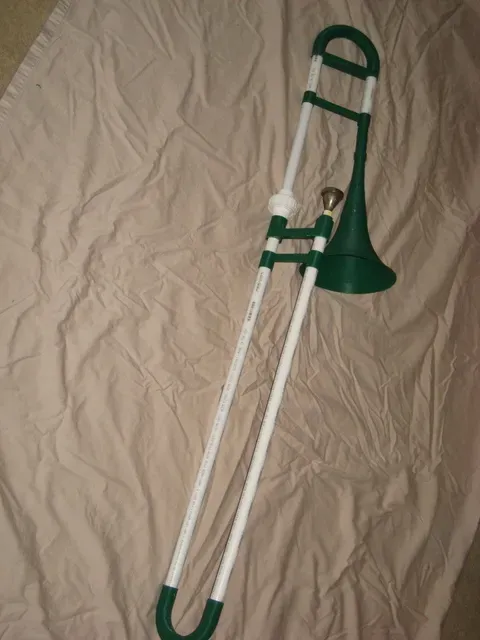


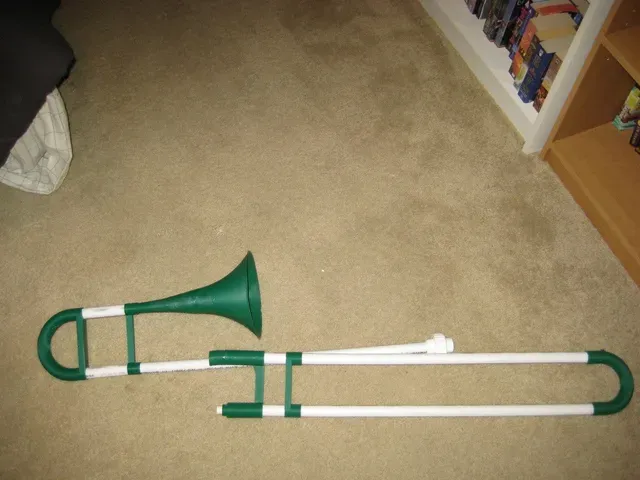


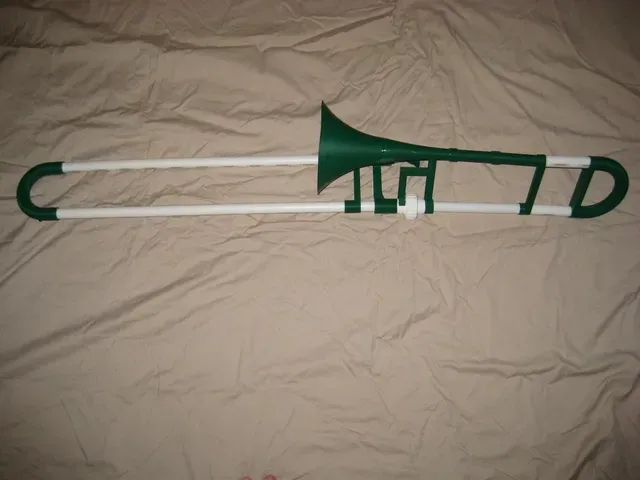


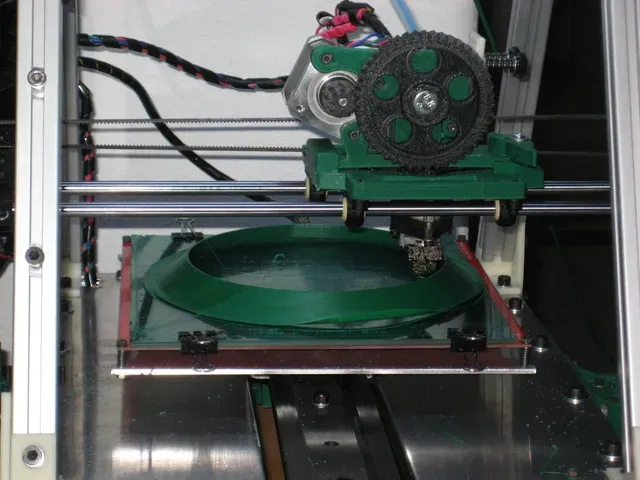
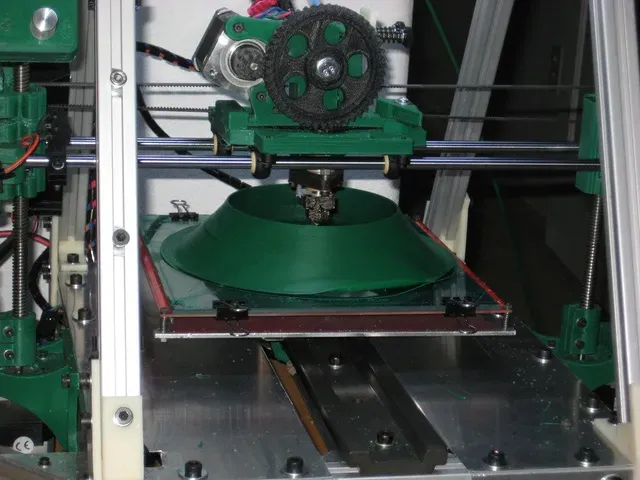
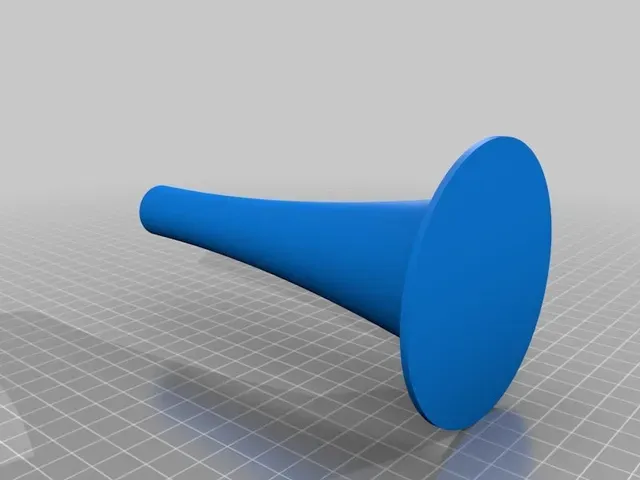
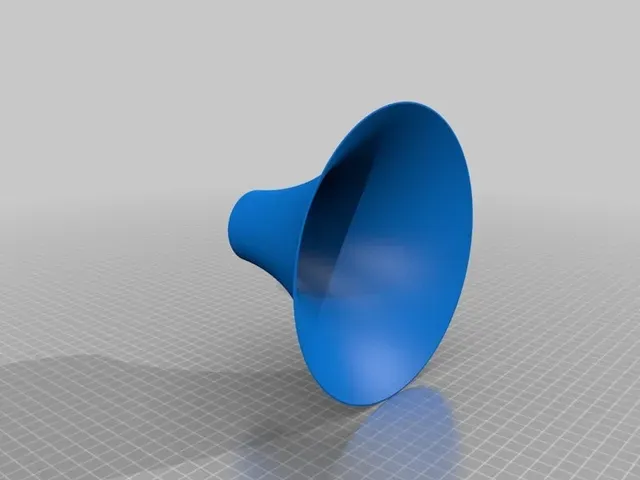


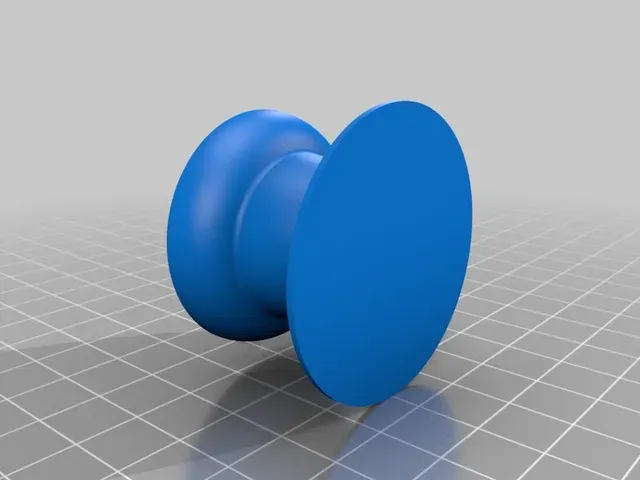

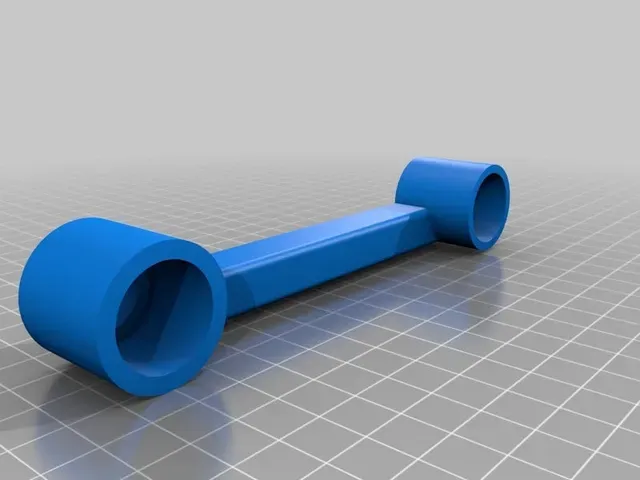
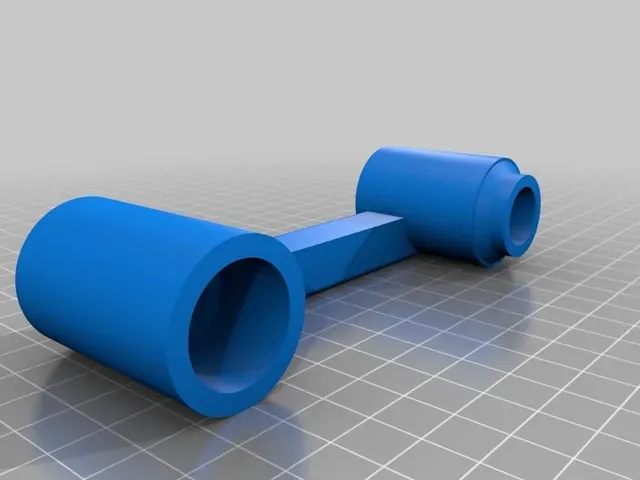
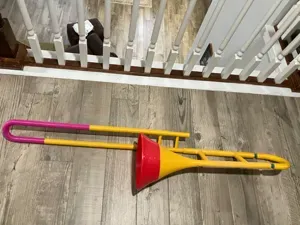
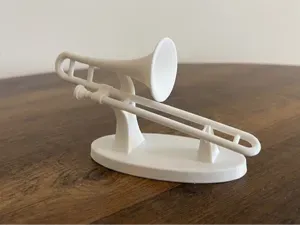
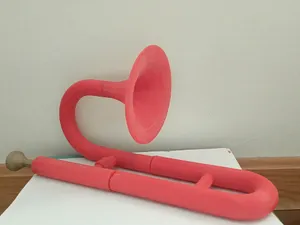
Way back in March of 2014, Lulzbot sponsored a 3d printed musical instrument contest in Reddit ( https://www.reddit.com/r/3Dprinting/comments/1zceg7/lulzbot\_march\_3d\_printing\_challenge\_make\_some/ ) . For that contest I created this trombone, which at the time was the first 3d printed trombone on the planet. It used to be hosted on the now defunct site Bld3r (Old link http://www.bld3r.com/obj/5848589574078464 - does not go anywhere now) . There are certainly better looking and more functional variants available now, but here is the first one for historical / hysterical purposes.
A video of me playing it. Badly. (most of that is me out of practice, not the trombone's fault. )
Trombone!
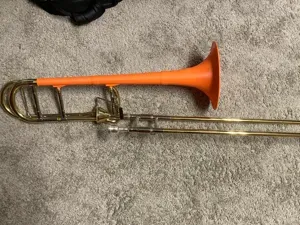
The Trombone! project is an attempt to create a fully operational, full size, playable trombone using pieces printed on a standard sized 3D printer, using as many 3d printed parts as are feasible. With the exception of the slides and the backbone, all the green parts in the picture are 3D printed, may be printed without support, and can be printed on a 200mm x 200m x 160mm Lulzbot Ao-100 or equivalent printer. This trombone was created to ensure that band members in sub artic locations can safely play their instruments outdoors without fear of having a trombone permanently stuck to their face. Also there might have been something about a Lulzbot sponsored March 3D printing challenge contest in the reddit /r/3dprinting 3DPrinting forum.
Happy Tromboning!
Print instructions
Category: Music Summary
Way back in March of 2014, Lulzbot sponsored a 3d printed musical instrument contest in Reddit ( https://www.reddit.com/r/3Dprinting/comments/1zceg7/lulzbot\_march\_3d\_printing\_challenge\_make\_some/ ) . For that contest I created this trombone, which at the time was the first 3d printed trombone on the planet. It used to be hosted on the now defunct site Bld3r (Old link http://www.bld3r.com/obj/5848589574078464 - does not go anywhere now) . There are certainly better looking and more functional variants available now, but here is the first one for historical / hysterical purposes.
A video of me playing it. Badly. (most of that is me out of practice, not the trombone's fault. )
Trombone!
The Trombone! project is an attempt to create a fully operational, full size, playable trombone using pieces printed on a standard sized 3D printer, using as many 3d printed parts as are feasible. With the exception of the slides and the backbone, all the green parts in the picture are 3D printed, may be printed without support, and can be printed on a 200mm x 200m x 160mm Lulzbot Ao-100 or equivalent printer. This trombone was created to ensure that band members in sub artic locations can safely play their instruments outdoors without fear of having a trombone permanently stuck to their face. Also there might have been something about a Lulzbot sponsored March 3D printing challenge contest in the reddit /r/3dprinting 3DPrinting forum.
Happy Tromboning!
Post-Printing
Instructions
3d printed trombone Instructions
--- Bill of Materials
1 Mcmaster Carr plastic heat set inserts Tapered, M3-.5 Internal Thread, 3.8mm Length (Part number 94180A331)
1 M3 cap screw, at least 5mm long
1 M3 rubber washer
62 inches Sdr9 PEX 5106 tubing (16.25mm inner diameter, 22.2mm outer diameter)
59 inches Flowguard Gold CPBC 1 ½” CTS Genova CPVC 4120
10 inches standard ½” schedule 40 PVC pipe
1 standard ½” PVC Union fitting
ABS glue, ABS to PVC glue, and Plastic Epoxy
--- Tools required
3d Printer, Tube cutter, Soldering iron (to set heat set insert), Flush cut or hobby razor saw
--- Assembly
Main slide
Print the following components (3-5mm brim is recommended for taller pieces, support is not necessary):
1 Lower slide round (tbone_slide_round_2a.stl)
1 Slide hand grip (tbone_slide_Handle_1a.stl)
1 inner slide mounting block (tbone_slide_Inner_mount_3b.stl)
Cut two 27 inch long pieces of Sdr9 PEX 5106 tubing (16.25mm inner diameter, 22.2mm outer diameter) for slide outer tubes. You will want to use a rotary tube cutter for all the white PVC and pex tubing parts in this project.
Cut two 25.5 inch long sections of Flowguard Gold CPBC 1 ½” CTS Genova CPVC 4120 or equivalent tube for inner slides (15.95 mm outer diameter 12.25mm inner) the inner slide tube should move freely inside the outer slide tube
Cut a third 1 inch long piece of the flowguard gold inner slide material, and install it into the smaller opening on the back of the inner slide mounting block. This piece will take the wear from removing mouthpieces over time.
Fit the two inner slide pieces into the inner slide mounting block. Approximately 10-15 mm. Make sure the far ends of the tubes are the same length, and perfectly parallel to each other. Do not glue the components yet until you test fit the outer slide portions.
Fit the two outer slide tubes into the lower slide round until they bottom out in the cups. Make sure they are the same length. Now add the Slide hand grip, placing it roughly 40-50MM down from the end of the tubes. This can be adjusted for personal preference and hand size later.
Install the M3 heat set insert into the hole in the end of the slide lower round using a soldering iron. Once it is cooled, screw the m3 cap screw and rubber washer tight into the lower slide. Now test fit the entire assembly together with the inner and outer slide. The outer slide should move freely over the inner slide.
Next cut a 1 inch long section of schedule 40 ½” PVC pipe(21.5mm OD x 15mm ID) and install in the back of the inner slide mounting block. Insure that one half of the ½” PVC union fitting (AKA our slide disconnect fitting) fits on this piece of PVC.
At this point if you are happy with the fit of all your parts, you may glue them in place. Please ensure you do not glue your outer slide to your inner slide, or else you will be very unhappy and printing new slide pieces.







Названия используются только для указания источника результата. Polyzon не аффилирован с перечисленными площадками.
Комментарии 0
Загружаем комментарии…