
Бесплатно 
RC Benchy (ebay friendly)
Printables
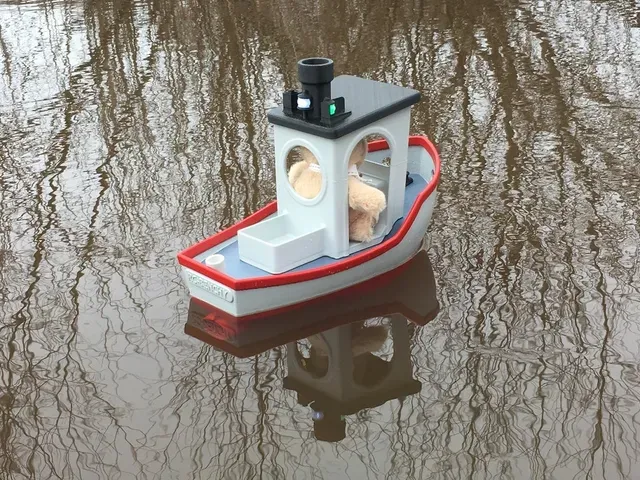
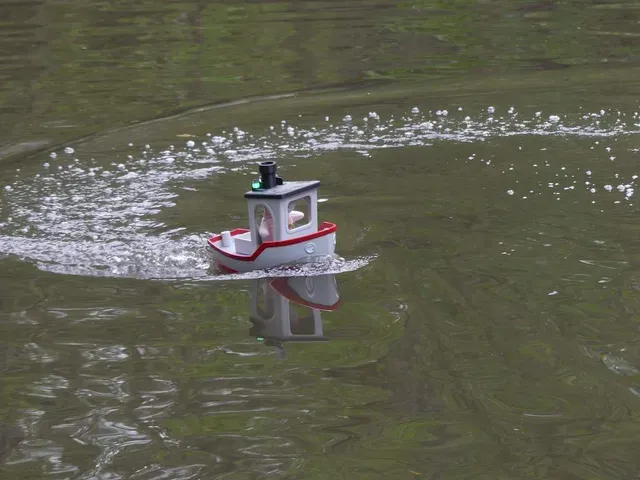

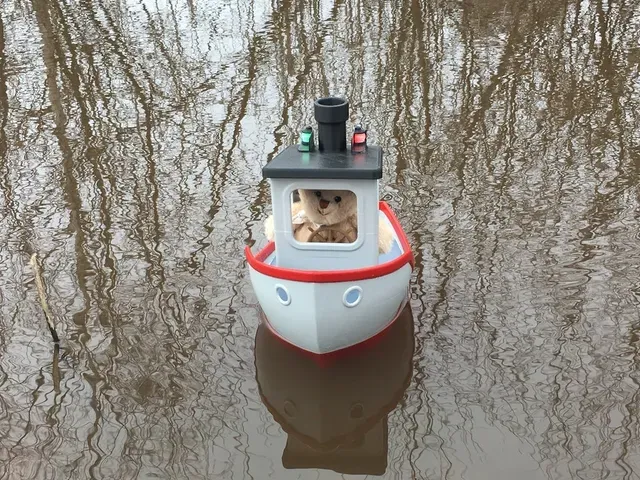

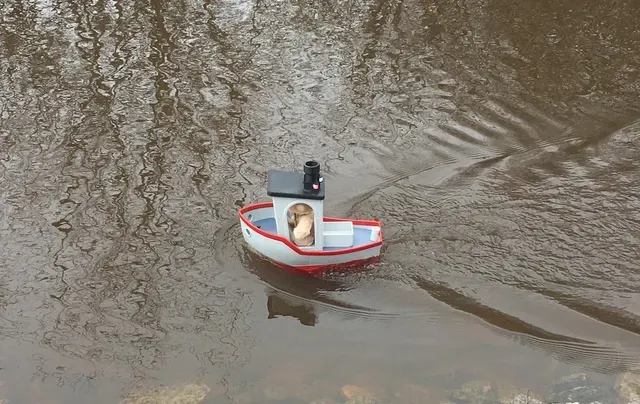
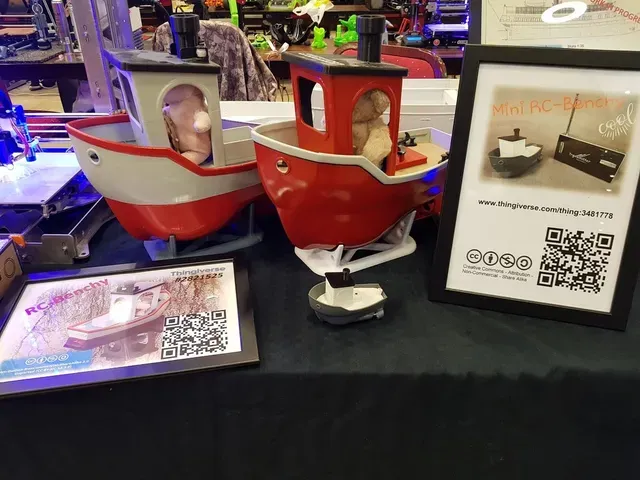
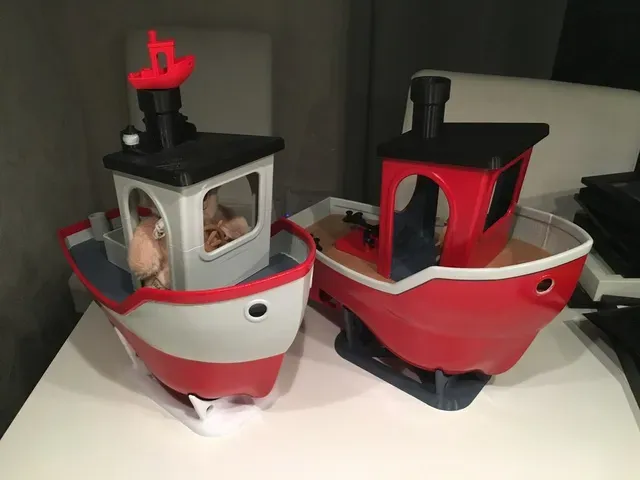
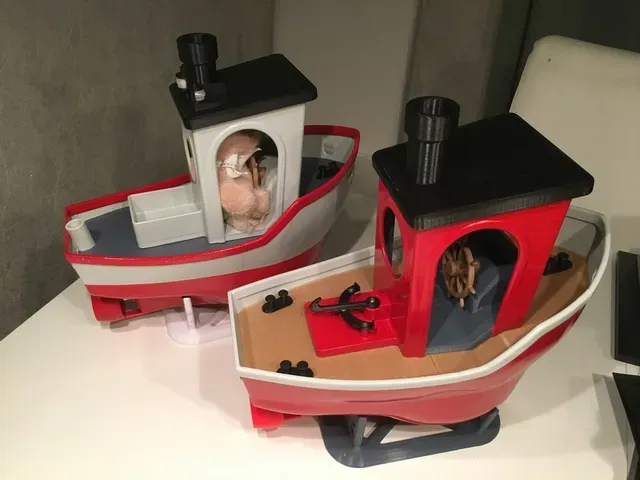
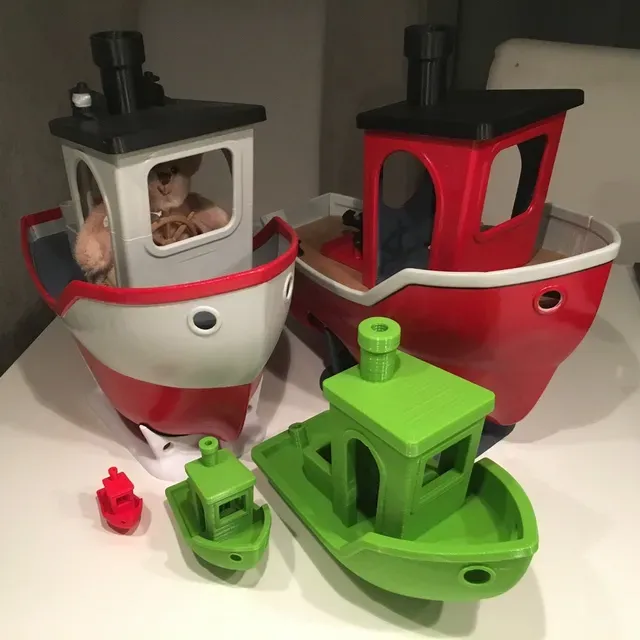
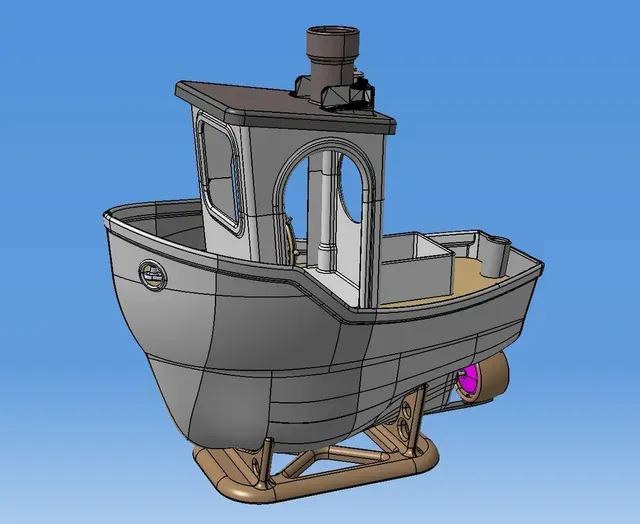
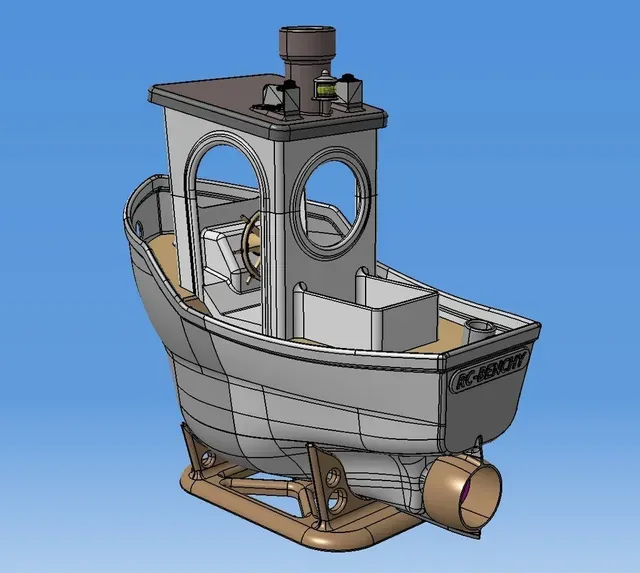
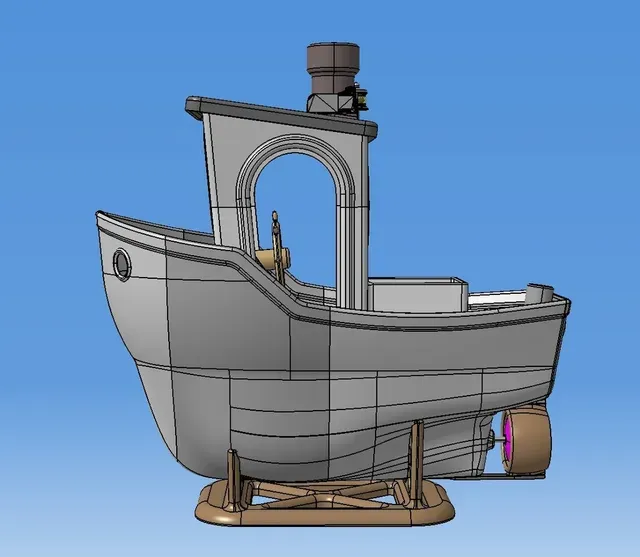
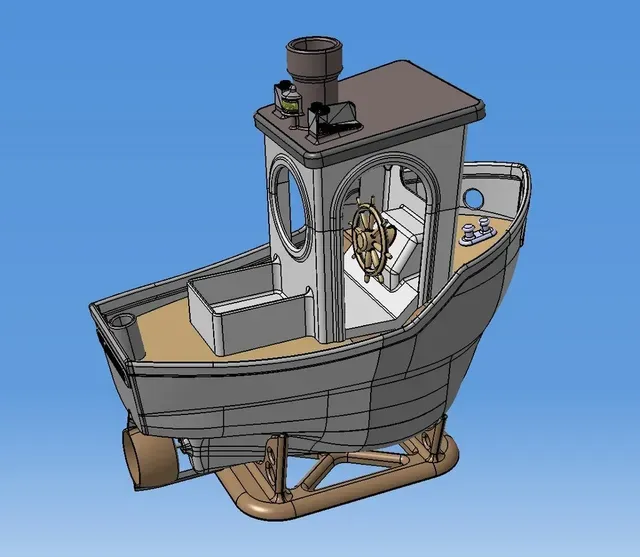

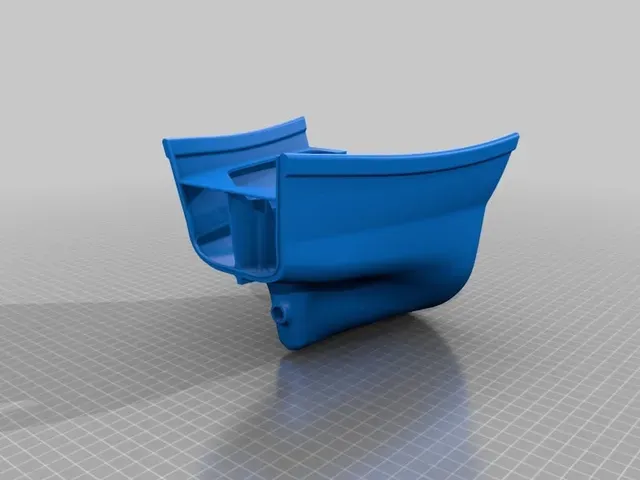


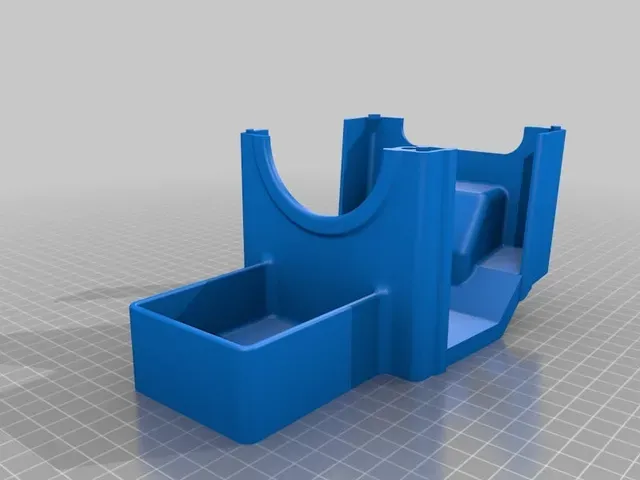
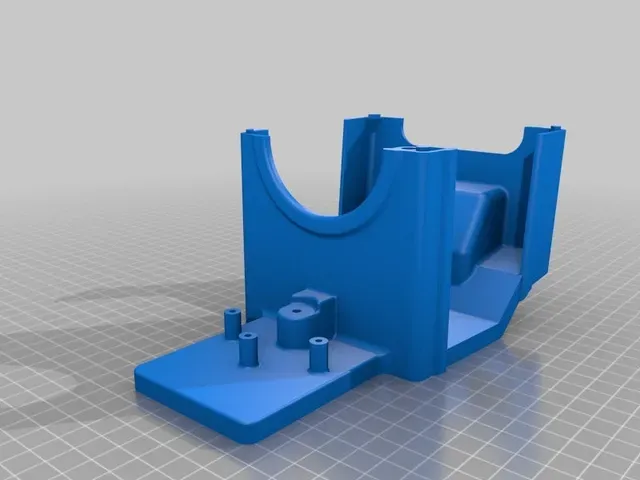


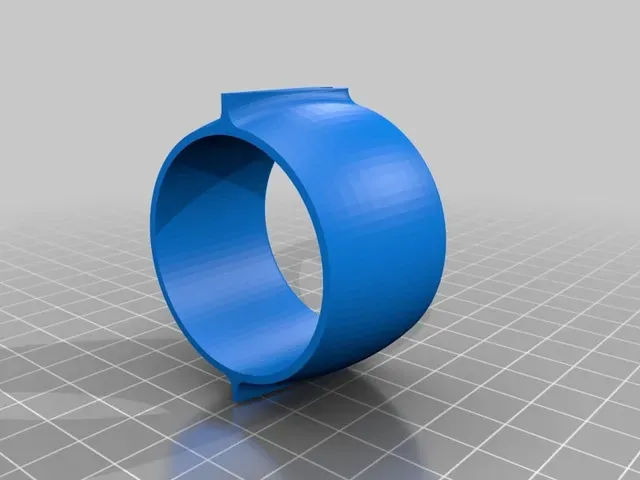


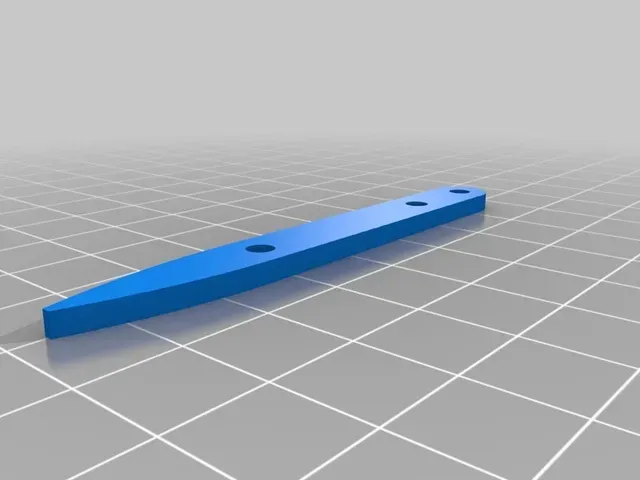


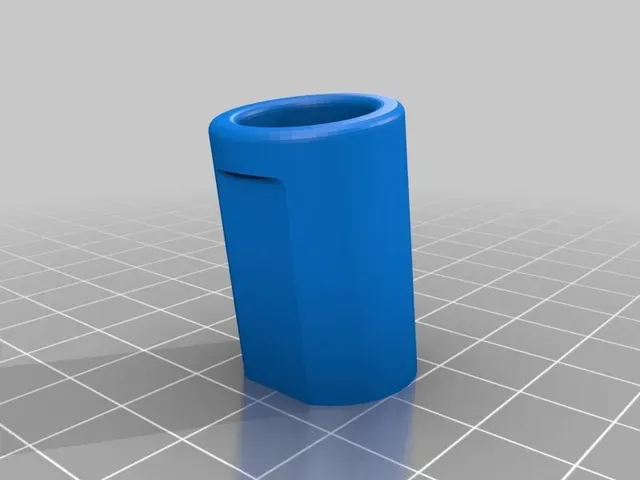

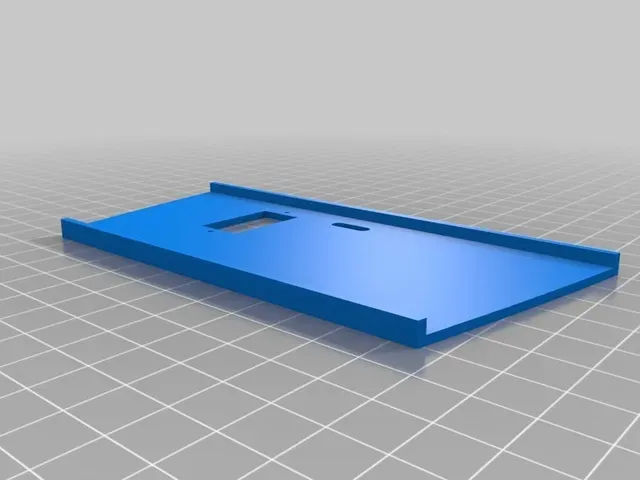
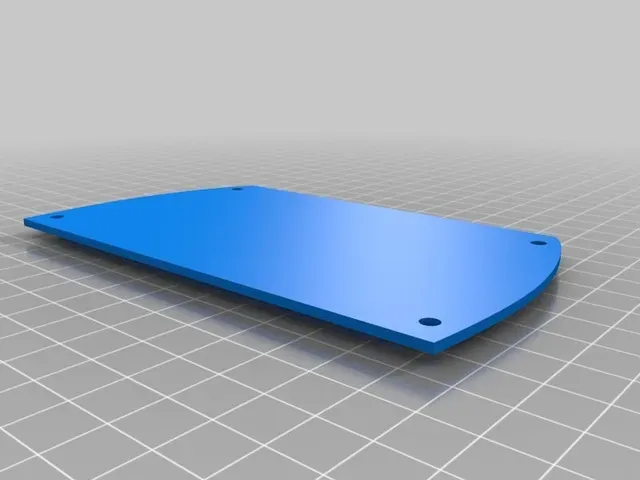
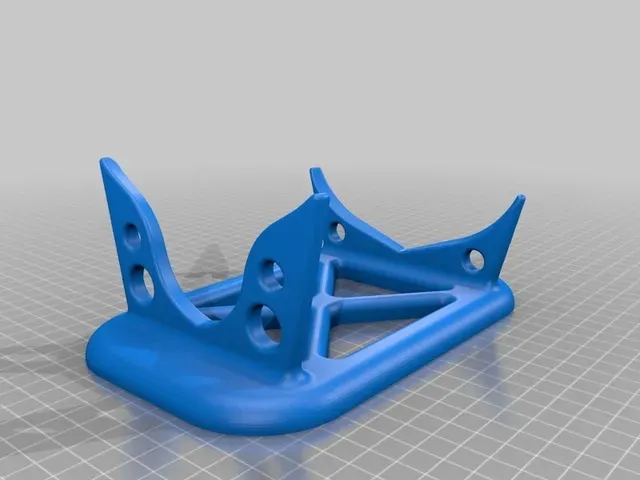
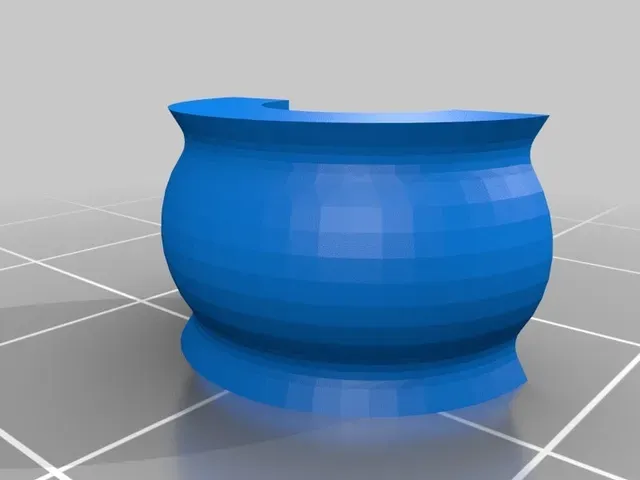

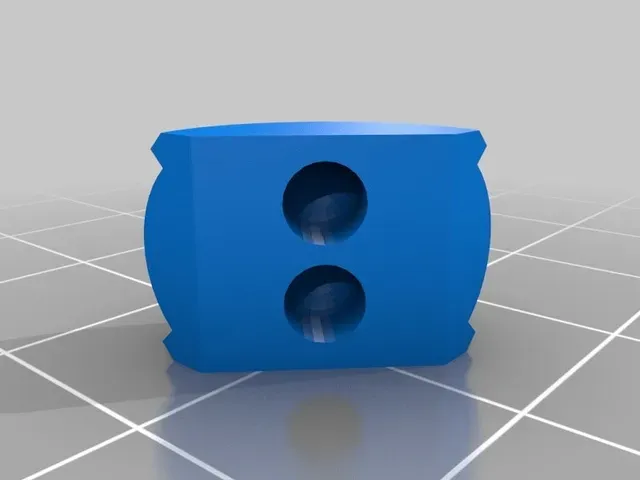
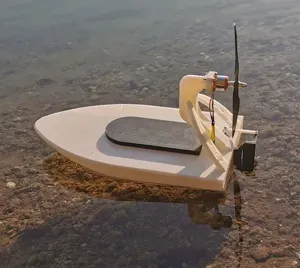
Ever since I printed my first #3DBenchy designed by Daniel Norée arround, I've had the idea of making an R/C version of it. But I never got inspiration enough to actually do it, until I saw THENOMADSOUL_ (aka KimDIY) post a cool simple but functional RC version of the Benchy. Now I just had to get started and get my vision realized!
My criteria for my model was: 1: It has to undoubtedly look like the real #3DBenchy as we all know it, but not necessarily be an exact replica. 2: It has to have the same water line as the original. 3: Be printed on a "standard" 200^3 print volume but still be of reasonable size to be R/C. 4: use cheap and simple components so that anyone can make one for them selves. 5: Actually work..
So with these critera in mind I started working on it. This isn't really a remix of the real #3DBenchy, since no dimensions are to scale with the "real" one. This is designed from scratch using the original as a reference. This is due to the real Benchys dimensions are some what tricky to actually work IRL, lets just say it's top heavy.
But basically the bow is more vertical than the original, and the hull is a bit wider. Below the waterline I made the hull as big as possible without looking way too dumb, so there is lots of space for whatever I wanted to put in it, including the obviously needed ballast. The rest of the model is scaled from the original Benchy dimensions but adapted to fit the new hull shape.
There are also a couple of versions of it. You can make the "original one" as a fishing boat, but you can also make a tug boat version that has a tow hook instead of the fish box behind the cabin. There is also another version of the roof with navigation lights.
Please read the instructions below for needed hardware and printing and assembling instructions etc.
And if you make one please share some pictures and/ore videos of it.
And please, go bananas designing your own accessories for it and so on, I'd love to see what others might do with it. Perhaps if you have a printer big enough, print a full scale version you can actually ride in yourself?
Youtube video:
Disaclaimer, the pictures and video of the completed boat shows the first functioning prototype. The design of the hull has changed some since building that one, and I've yet not fully completed building the one posted in these files when posting this, therefore some changes might be done and this is marked as a work in progress. But I'm confident enough in the design that you can build this boat as it is now. therefore I've made it public.
Print Settings
Printer Brand: Ultimaker
Printer: Ultimaker 2
Rafts: Yes
Supports: Yes
Resolution: 0.2
Infill: 15%
Notes:
All parts fit within a 200x200x200 print volume, and I'm sure you can scale it larger, but probably not smaller. Printed with 0.4mm nozzle and 0.2mm layer height, 15% infill and 3 perimiters. Most parts are printed without support, but a few parts require it.
I used PLA for everything, but I'm sure you can use other materials if you prefer to do so. Most of my parts were printed on an Ultimaker 2+ and some on an Anet A8.
Hardware needed
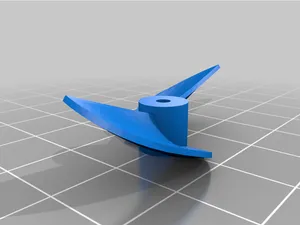
Hardware needed: Propeller shaft: 4mm diameter 10 cm long, with a sleve that is 5 cm long and 9.5 or 8 mm diameter (there are two STP-files for the aft hull, one for each sleve diameter) and a 36mm propeller for submerged use (not a high speed propeller). I used this propeller shaft for mine: https://www.ebay.com/itm/122982704056 (No longer available, but search on Ebay for "4mm RC boat propeller shaft" and you´ll find new adds for the same shaft with the specifications mentioned above)
With this coupler (4mm to 3.175mm version): https://www.ebay.com/itm/264384553754
And I've also used this one (the 100x50x4 to 3.17mm version, comes with the coupler): https://www.aliexpress.com/item/Free-Shipping-4mm-RC-Boat-Shaft-Kit-Motor-Drive-Shaft-Coupler-Propeller-Bushing-Bearings-Spare-Parts/32811012835.html
Don't forget the propeller shaft grease.
You'll need a 2212 1000Kv Brushless outrunner, available "everywhere" for less than 5$. One just like this: https://www.ebay.com/itm/183885702391
You'll need an minimum 10A brushless ESC, with reverse. I used this one from Hobbyking: https://hobbyking.com/en\_us/hobbykingr-tm-brushless-car-esc-10a-w-reverse.html
You can use basically any 2S Lipo bigger than 1000 mAh for it. I've used 2S 2700 mAh LIPO in mine with great success.
And I used this radio system from Hobbyking: https://hobbyking.com/en\_us/trackstar-d-spec-ts4g-2-4ghz-4-channel-radio-system-gyro-integrated-update-version.html
A mini servo such as HXT-900 for example: https://hobbyking.com/en\_us/hxt900-micro-servo-1-6kg-0-12sec-9g.html
You will also need about 1-1.3 kg of lead beads depending on your battery size. I bought it at a local scuba diving store here in Sweden who sells it by the kilo. Due to the small beads (about 2-3 mm diameter) they are easily placed in the bottom of the hull where it is needed, balancing the boat for leveling and correct displacement. Once the correct amount is placed (making sure you can still mount the motor), you can fix it by gently dropping some epoxy over it.
You'll also need 8 pcs of neodymium magnets for the cabin/lid. 8 mm diameter 3 mm thick, like these ones: https://www.ebay.com/itm/Wholesale-N52-Super-Strong-Cylinder-Disc-Magnets-8-x-3mm-Rare-Earth-Neodymium/263064152066?hash=item3d3fd86802:m:mBr8ujWUkYTg8sE9EjaJn\_A
You'll need about 10 cm long 3 mm brass rod, and a 48 mm long 4mmOD/3mmID brass tube for the rudder shaft.
Some countersunk M3x6 and M3x8 screws, stainless if possible.
And if you choose to print with the navigation lights you'll need some 3 mm LEDs in colors red, green and white, and appropriate resistors depending on what battery you use.
The hull parts and propeller shaft tube etc is glued with epoxy, and some smaller components with CA glue.
Printing instructions
All parts printed with 0.4 mm nozzle and 0.2 mm layer height. Due to large areas on most parts, print all parts with 8 mm brim to avoid warping. The name of each part is named in capital letters below.
The BOW is a separate piece to minimize the amount of support. If you have a well tuned printer you might get away with printing this piece without support, but if you are unsure, print with support. Note that the support might be a bit tricky to break off, so don't overdo the support. Print with the aft flat surface towards the bed.
The HULL FRONT is printed without the need for support. Print with the aft surface towards the bed.





Названия используются только для указания источника результата. Polyzon не аффилирован с перечисленными площадками.