
Бесплатно 
TS 2020 Rail Carriage for Toranado, Prusa i3 Attachments
Printables


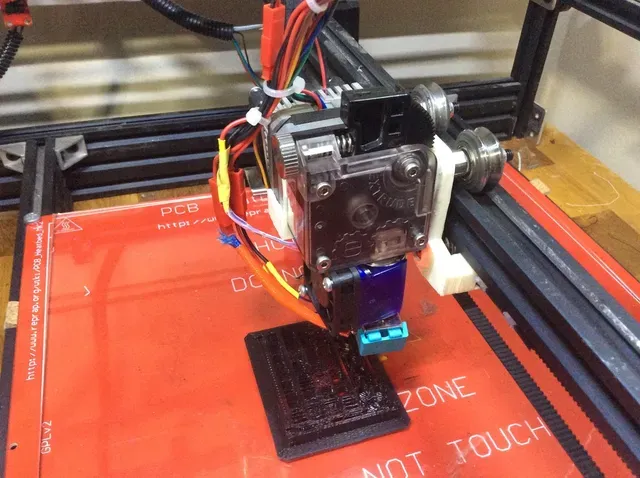
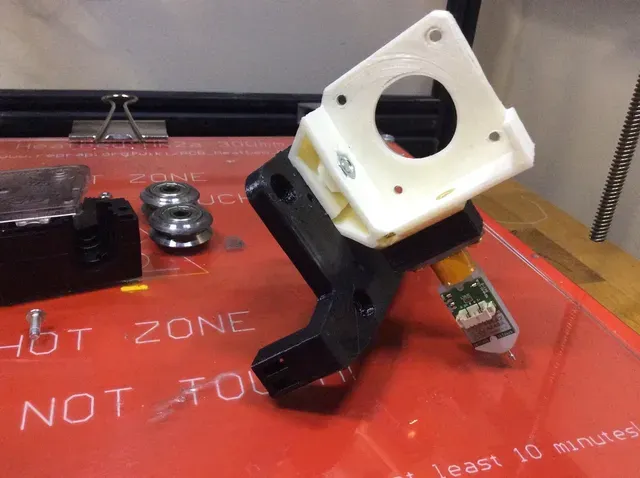
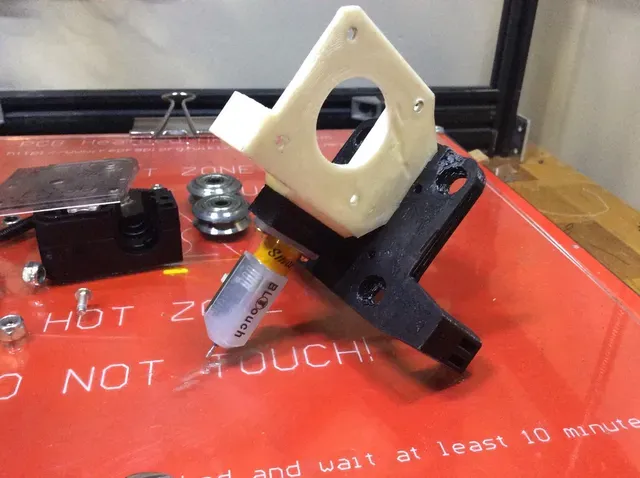

I designed this carriage around the 2020 rail implementation on the Cobblebot so it can mount Prusa i3 attachments and, more specifically, the Toranado 1.1 Precision Geared Extruder found at: http://www.thingiverse.com/thing:1246951
New feature of this version is that it can now also mount the Reach3D Titan w/ BLTouch mount found here: http://www.thingiverse.com/thing:1747164
You can get the BLTouch in Canada from Canada's official reseller here: https://store.timeshell.ca/index.php?_route_=bl-touch-auto-bed-leveling-sensor&tracking=590a14c30bd67
E3D v6 and Titan Extruder here: https://store.timeshell.ca/index.php?route=product/search&search=e3d%20v6%20hotend&tracking=590a14c30bd67
https://store.timeshell.ca/index.php?route=product/product&product_id=85&search=e3d+titan&tracking=590a14c30bd67
Although the mount will probably work with the Titan Aero, the BLTouch spacing definitely won't work with the Aero on this mount.
However, it should be able to be used on any printer built on compatible OpenBuilds 2020 rails.
It can be a direct swap for the stock Cobblebot carriage. It is intended to be mounted vertically rather than horizontally but still using the drive belt along the bottom of the rail.
The screws to attach the Toranado should be round with short heads so that the screws don't interfere with the rail.
There is a very thin layer in the larger holes that can be cut or drilled out so that a bridge can be created to print the counter-sink without supports.
Use M5 screws with OpenBuilds wheels. Requires 2 eccentric spacers for the larger holes.
See it in action: https://www.youtube.com/watch?v=KlZ117GL7VE
Update 2018-12-21: Fixed some dimensions for better fit.
Update 2018-12-23: V5 is 2mm taller. V4 may be better when printing with a less rigid material to ensure secure wheels. If using a more rigid material like carbon fiber, V4 may not fit so well. V5 has been made slightly taller to address this. Also the center screw counter-sink has been made 2mm larger in V5. This is probably the one you will want to use in most cases. If it ends up being too lose, try V4.
Print Settings
Notes:
Better to print with a less flexible filament such as ABS or ASA.
Post-Printing
Assembly order:
- Attach the mount bracket to the carriage.
- Attach the top wheels to the carriage.
- Put the carriage in the rail.
- Attach the GT2 belt.
- Attach the bottom wheels to the carriage.
Category: 3D Printer Parts


Названия используются только для указания источника результата. Polyzon не аффилирован с перечисленными площадками.