
Бесплатно 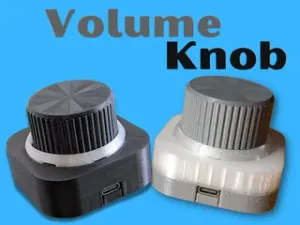
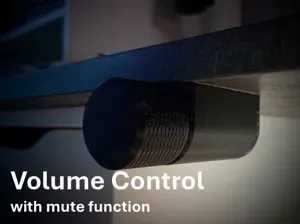
Volume Knob V2 (USB-C)
Printables





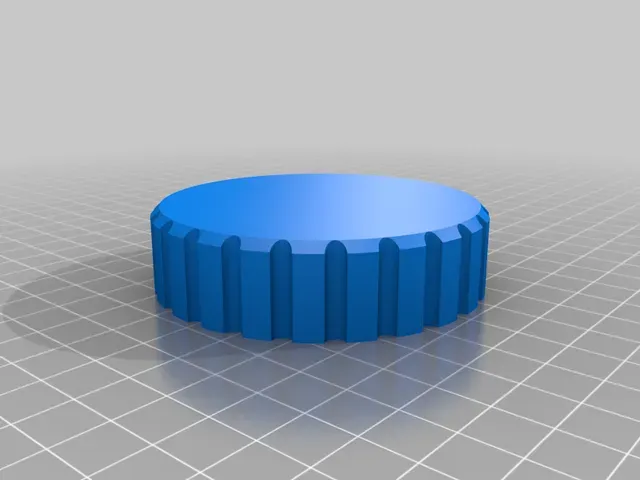
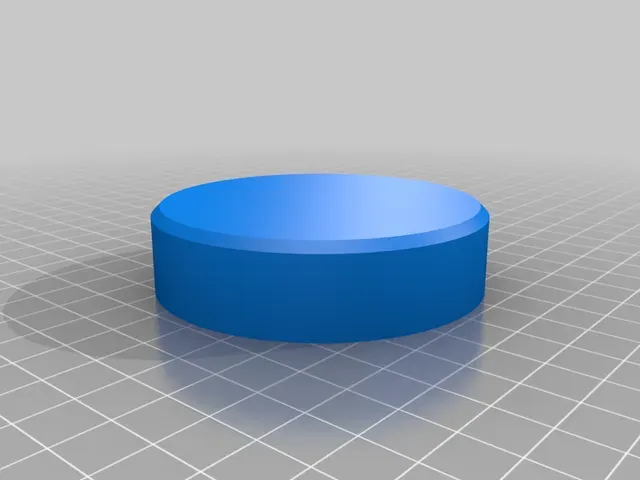
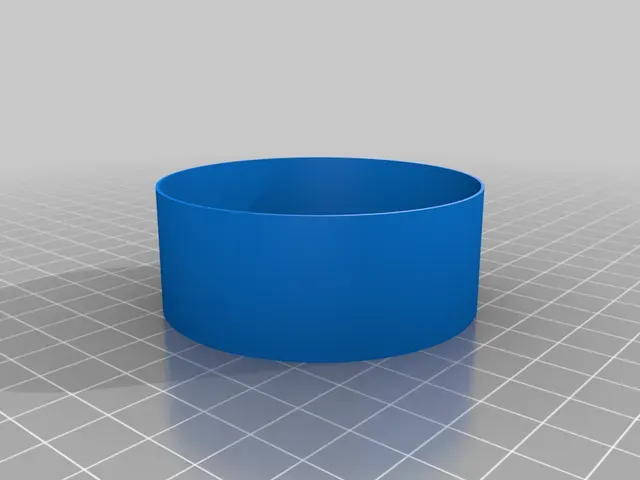
Intro
Media Control Knob inspired by Mikolas Zuza design:
https://blog.prusaprinters.org/3d-print-an-oversized-media-control-volume-knob-arduino-basics/
I've changed the enclosure, code and used digispark instead of arduino so it's hard to call it a remix.
Because I've reached 100 subscribers on YouTube and I'm very happy about it you can win one of these, just enter the giveaway here:
https://kingsumo.com/g/iwjfoi/3d-printed-media-control-knob-medyk3d-100-subs-on-youtube
My video about this item:
youtube.com/watch?v=acIH6Y_1LRc
What it can do?
By default pressing the knob is play/pause button, rotating changes the volume, and rotating the knob with button pressed changes the track.
You can modify the left() right() and click() functions to suit your needs.
BOM
Stuff I've used (affiliates links, you pay nothing extra, I get some change):
Encoder ($ 0.5)
http://s.click.aliexpress.com/e/\_dSqXwoQ
Digispark - choose the blue one ($ 1.3)
http://s.click.aliexpress.com/e/\_dYKzAK2
USB cable.
3D printed lower and upper cover - about 27 grams of filament (3 hours with 0.2 layer).
The code
How to configure Arduino IDE for Digispark:
https://digistump.com/wiki/digispark/tutorials/connecting
Add Trinket USB Keyboard library:
https://learn.adafruit.com/trinket-usb-volume-knob/code
Uploading the code is easy but first you need to follow the instructions from digisaprk on how to add it to arduino IDE if you haven't already.
After installing all what's left is to hit upload button and plug the digisaprk using a USB cable.
After a while the multimedia knob is ready to use.
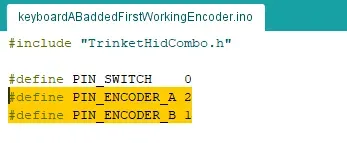
If you want to change the rotation direction just switch PIN_ENCODER_A and PIN_ENCODER_B in the code.
Assembly
You will need:
wires, wire cutters, digispark, encoder, soldering iron, something to desolder pins from encoder, hot glue, a file, 3D printed parts, usb cable.
First prepare the wires cut 5 pieces to about 2,5 cm(1inch) length and cover the end with solder.
Desolder the pins from the encoder.
Round over the edges of digispark with a file, be careful not to damage the USB socket.
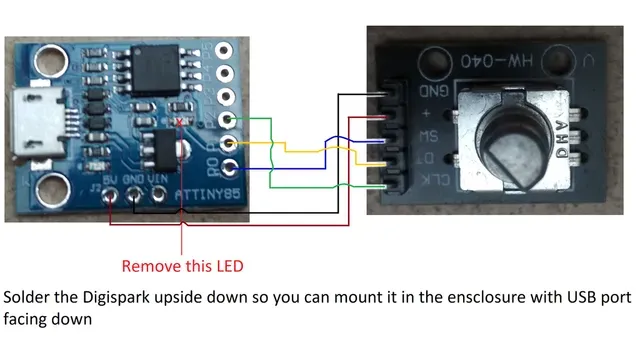
Now connect the encoder with the digispark in my case I'm using black wire for GND, red for 5V, these are really important, so be sure to connect them properly.
The next three wires are:
blue for switch,
green and yellow for encoder A and B outputs. These are not super important you can always change them in the software.
In any case there is the schematic if you need one.
You need to remove the LED.

![Simple DIY Macro Keyboard [3/4 Key's]](https://cache.polyzon.org/api/img?url=https%3A%2F%2Fmedia.printables.com%2Fmedia%2Fprints%2F100704%2Fimages%2F1014025_feaf37a8-89bc-463b-80f1-76f3dd5170ac%2Fimg_0672.jpeg&w=300)



Названия используются только для указания источника результата. Polyzon не аффилирован с перечисленными площадками.