
Бесплатно 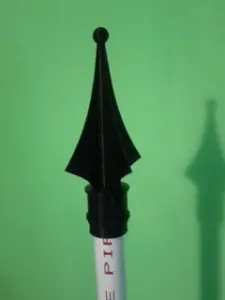
Finial Tetra
Printables
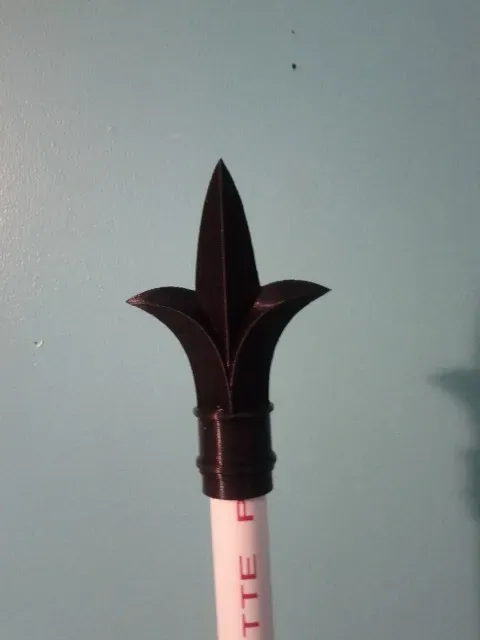
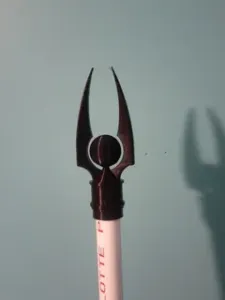
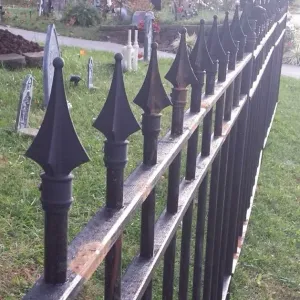
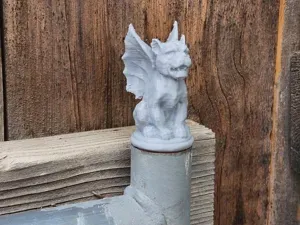
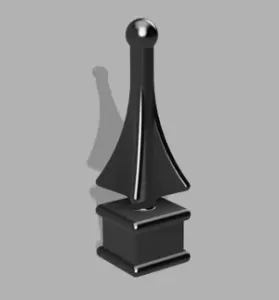
This is a finial for Halloween fences made from PVC pipe . This particular model is a traditional Victorian finial design that I assume represents a Lily, much like a Fleur-de-lis. (Feel free to correct me if I'm wrong.)
See below for detailed instructions. In particular, be sure to take note of the "Scaling to other pipe sizes" section, as you will need to size this to the pipe you are using.
Notes:
The built-in support tends to break loose on its own when removing the part, but if not you can do so manually.
What is this for?
Faux wrought iron Halloween fencing can be made out of PVC pipe (see the Instructables link at the start of this description), and is both decorative and functional (it discourages vandalism and keeps enthusiastic ToTs from traipsing straight through your yard and possibly tripping over hidden electrical wires, gravestones, and other decor).
However, the finials (decorative tops of the fence posts) are often a problem. You can order plastic finials online, but they come with square bases that don't work very well with the round PVC pipes. The usual solution is to soften the PVC with a heat gun enough to force the finial onto the end, squaring the circle of each post by essentially shaving off the curved sides. This is labor intensive and not terribly safe (aside from the heat itself, PVC is likely to give off toxic fumes when heated like this). And even then you aren't done; securing the finial usually requires drilling a hole for a screw for each post because they resist gluing.
I thought it might be better to design a finial that simply slides onto the end of the pipe and can be secured with a friction fit and is made of plastic that may be more glue-compatible. If screw holes are desired, these could be designed in (I haven't done that yet, however).
It may not be terribly practical to try to individually print every finial for a run of fence. I would need to print 81 of them, just for the fence around 3 sides of the main section of my yard. If they take four hours each to print on you machine, that would work out to 13.5 days of round the clock printing. But you could print a few and make molds to cast them in something weather resistant (Great Stuff expanding foam, Silicone, etc.).
Scaling to other pipe sizes
You can use the finial with either schedule 40 (white) or schedule 80 (grey) PVC. It won't matter which of these standards you use; the outer diameters are identical, only the inner diameters differ. Since the finial fits over the pipe as a cap, we only care about the pipe's outer diameter. Grey PVC is sometimes significantly cheaper, but it also comes with a short bell on one end, so you lose a few inches of the length. There's also black schedule 40, which could save you some painting, but it's more expensive.
This finial was designed to fit a 3/4 inch PVC pipe, which I chose as a compromise. It's more common to use 1/2 inch PVC for the fence posts, but to use larger PVC for the end posts of each section of fence. So you may need to scale the finial up or down from its default size. Also, please pay attention to the maximum build height of your printer. Many of my finials are nearly 6.5 inches /165 mm tall at the default size, and if scaled up to a 1 inch pipe, would be more like 8 inches / 205 mm.
If you do need to scale the part for a different pipe size, keep in mind that:
- You are scaling to fit the model to the new pipe's outer diameter (plus a bit for tolerance) - The “nominal size” – the size in the name of the pipe -- bears little resemblance to any actual measurement you'll get off of it (e.g. 3/4 inch PVC is over an inch in diameter), and - You need to compensate from the "ideal" scale factor to keep the tolerance more or less constant. For the pipe standards mentioned above:
- 3/4 inch pipe = The model's base has an Inner Diameter of 1.08 inches. This equals the pipe's standard outer diameter of 1.05 inches, plus a designed clearance around the pipe of 0.03 inches (a bit more than three quarters of a millimeter). That clearance seems sufficient for a relatively snug fit. Of course, printed parts have some dimensional variance depending on calibration and material, and the pipe also has some accepted variation, so Your Mileage May Vary. - 1/2 inch pipe = 0.84 inches O.D. The exact scaling factor from 3/4 inch to 1/2 inch pipe is 80% (0.84 / 1.05). The actual number you want to use will need to be a little larger; you are shrinking the tolerance as you scale the part down, so the finial may not fit if you go all the way down to 80%. 81% is a good starting point as it seems to fit snugly in my tests. - 1 inch pipe = 1.315 inches O.D. The scaling factor from the default pipe size to this pipe is 125.24% (1.315 / 1.05). However, the actual number that you will need to scale by will probably be a bit smaller; you are enlarging the tolerance between parts as you scale up, so the finial will be loose if you don't stop a bit short. (Going down to exactly 125% was still a bit loose in my test; you might want to work down from there.) The easiest way to check the tolerance for yourself is to print the included test ring, scaled using the same factor you intend to use on the actual finial. You can also generate your own ring by printing only the first few millimeters of the base of the model, either by manipulating it in your slicer or by aborting the print after it gets tall enough.



Названия используются только для указания источника результата. Polyzon не аффилирован с перечисленными площадками.