
Бесплатно ![Raspberry Pi Camera Adjustable Mount (nozzle view) + X axis strain relief for Prusa Mini - no supports [LEGACY]](https://cache.polyzon.org/api/img?url=https%3A%2F%2Fmedia.printables.com%2Fmedia%2Fprints%2F227703%2Fimages%2F2075843_24d879f2-3462-4f9c-b84c-9b043f0e56f9%2Fimg20220618033155.jpg&w=300)
Raspberry Pi Camera Adjustable Mount (nozzle view) + X axis strain relief for Prusa Mini - no supports [LEGACY]
Printables


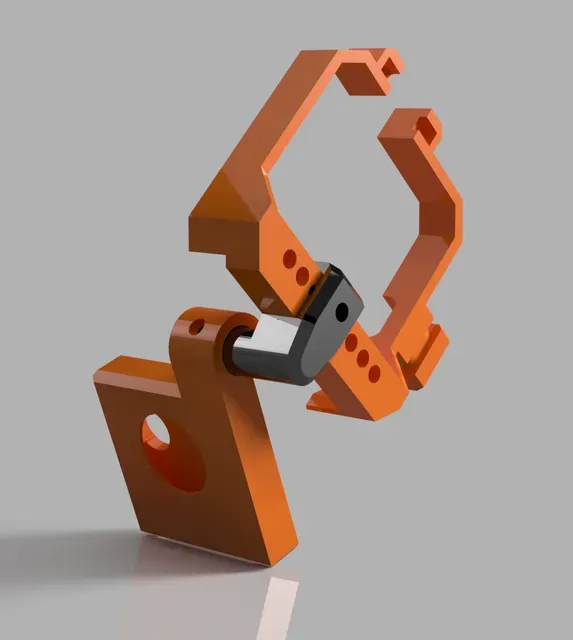
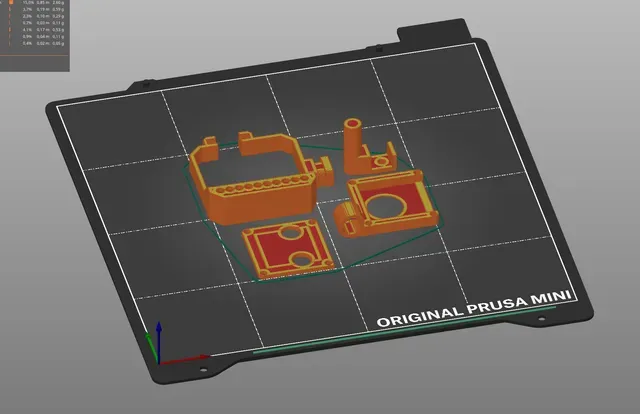
UPDATE : just made a new version with other adjustments. Now the cam is a little more in a back position than before.
_________________________________
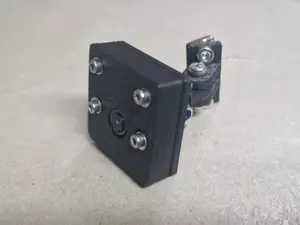
Hi all, I couldn't find a proper Pi camera mount with a real nozzle view so i made one by myself. In details this is a Raspberry Pi Camera mount with adjustable nozzle view along 3 axis, with X cable strain relief and motor cover.
I used a 5MP 1080p Pi cam with 160° FoV lens ( OV5XXX module from AliEx) for a full bed view but i've made a different front cover to fit other 2 pi cameras (one is the one with v1.3 on the back of the module).
Also, the design is fully modular: camera holder and the bracket are detachable from the Z motor cover so it's easier do to remixes.
It's originally designed for Prusa Mini but i think it can fit any NEMA 17 motor, maybe you'll have to do some adjustments.
What you need:
- for the camera's case: - Pi camera (obv): i used a OV5647 module with 160 ° FoV lens (10€ from AliEx); - 4x 2.5x6 screws; - 2x zip ties; - for the mount and bracket: - 1x M3x6 screw; - 1x M3x2 screw.
Print instruction:
-Printed in PETG; (PLA not recommended since the cam can be very near to the source of heat… i haven't tested it)
-4 perimeters;
-infill 20%
-0.25mm layer height. (i've printed also with 0.15mm and the bracket is a lot more smooth but same functionality as the previous so your choice…)
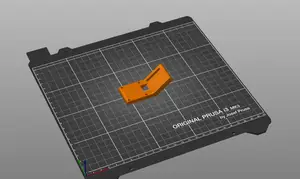
- REQUIRED: intelligent supports on the “pi_cam_support” stl (see photo below)
Instructions :
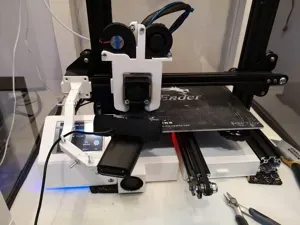
- assembly the Pi camera case with 4x 2.5x6 screws; - place the mount on the Z motor and secure it (and the X axis cable strain relief) with zip ties; - place the bracket (M3x6); - insert the pi camera; - adjustate the view; - moving the axes with hands, be sure the camera doesn't impact against the hotend (and the ZX brace if you have one), then do a homing a make sure that there are no impacts. - (adjustate the view;) - secure with M3x2 screw.





Названия используются только для указания источника результата. Polyzon не аффилирован с перечисленными площадками.