
Бесплатно 
Ender 3 V2 Neo X axis endstop cover
Thingiverse
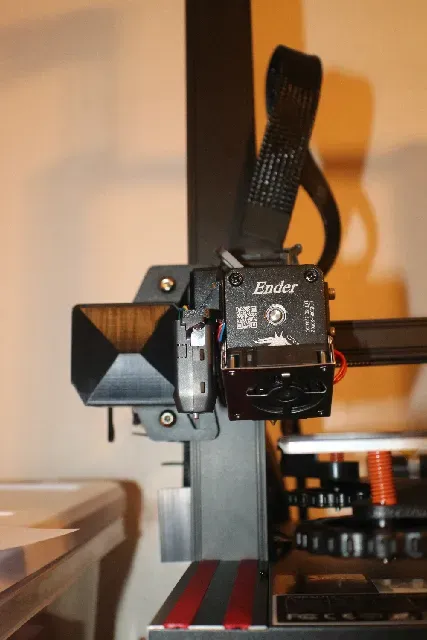
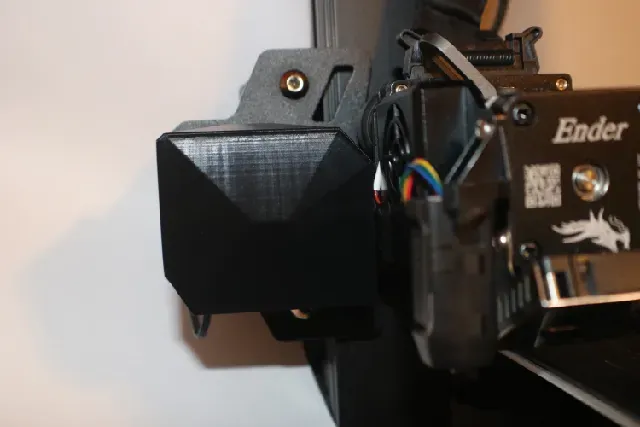

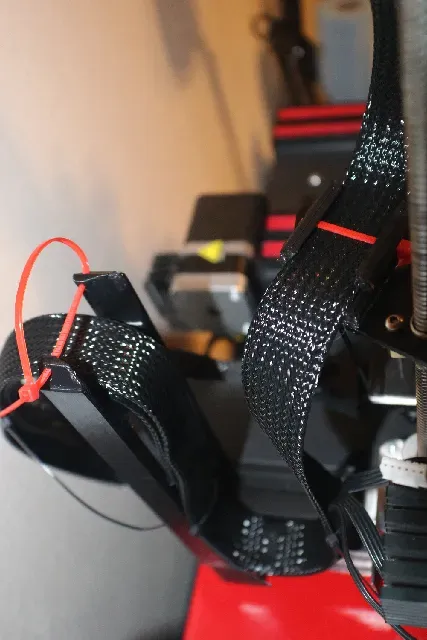
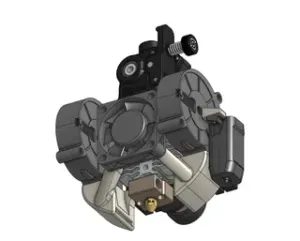
For the Ender 3 V2 Neo and Sprite Pro.
First print the SpriteProHouse file properly oriented or using the gcode files provided, with a printer that's working. If using PLA and the gcode files, drop the temperature to 215 and the speed to 90% when printing begins. The other files are recommended but optional and can be replaced with a few zip ties.
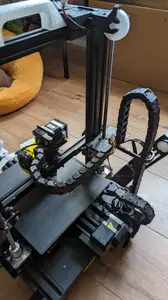
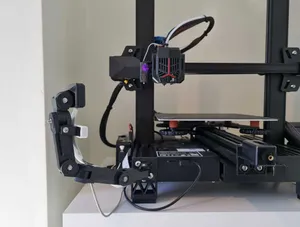
Then install your new Sprite Pro on your, already nice, Ender 3 V2 Neo. However , you will need to cut the pins off the back of the X-Axis end stop for a snug fit into the printed carriage. Just the pins and not passed the solder.
You don't need to cut X-Axis mounting bolts... but I did anyways so.?. jic :)
When installing you may notice that the sprite carriage will contact the endstop housing when moving it by hand. This is in case of a runaway and prevents the endstop from damage during a collision. When operational, the Sprite will not go past the endstop’s “click”. If you do not get a “click” before impact while moving the Sprite head by hand: insert one or more of the endstop spacer as seen here in yellow.
Now… Install mriscoc professional firmware. https://github.com/mriscoc/Ender3V2S1/releases/tag/20221222 Or its latest release. For my 4.2.2 with CR Touch and the Sprite Head I used Ender3V2-422-BLTUBL-T13-MPC-20221222.bin The UI update is highly recommended and could lead to problems if not installed. Here's the firmware specifically for the V2 Neo screen. https://github.com/mriscoc/Special_Configurations/releases/tag/tjc And remember to format the card Like They Say . Now Don’t Ever leave your sd card in while powering up anymore, or you’ll learn how many times you can rename that GD file and start everything over again. This firmware also randomly turns off and on the Mesh Leveling/Activate Leveling option. So you'll need to check that option before every print now too. And Don't navigate thru the options to fast now either because it can stop and restart your printer. So…? K… First: Restore Defaults. And do a bed leveling like…
Now for my CR Touch: probe Z offset was -1.7 . Yours may be different. K, Steps mm/s: E steps/mm 420 :). Probe Settings: X -31.5, Y-41, Z-1.7… Mesh Leveling: 9x9 “to start with”. Mesh Insert: X min 10, X Max 203.5, Y Min 10, Y Max 183. Filament Settings: Extruder Min Temp 220, Load mm 24, Unload mm 69. Physical Settings: X bed size 230, Y bed size 230, X Min -4, Y Min -4, X Max 235, Y Max 226. Park Head: X 5, Y226. Run Mesh, MPC Autotune, and Bed PID. Store Settings. When you send your first 3D print: under Settings, Printer, Manage Printer, “This Printer”, Machine Settings, Printer, Printer Settings: X (Width) 230, Y (Width) 230. Now, at the bottom of the Start G-code type: C104 U1 T315 "ENTER" M500. Then under the End G-Code dialogue box change the “Present print” numbers to X5 Y226. Send your first 3D print and make sure your mesh leveling is turned on too.
If your Sprite head sounds like it's grinding or jamming, loosen its tension with the Allen bolt on its side. You can also slow down its retraction speed to anything below 30mm when slicing.
And P.S. Use a Z Hop Height of .3mm at 6mm Z Hop speed, a 1-2mm Retraction distance for PLA+/TPU, and Tree supports with tabs where needed. :)
Finally…!!!... You now have your nice new Sprite Pro at 300 degrees WORKING for your now nice'er Ender 3 V2 Neo.
:) L8R :D





Названия используются только для указания источника результата. Polyzon не аффилирован с перечисленными площадками.