
Бесплатно 
Wall Mount for Bosch Unlimited Series 8 Vacuum Cleaner (V2)
Printables
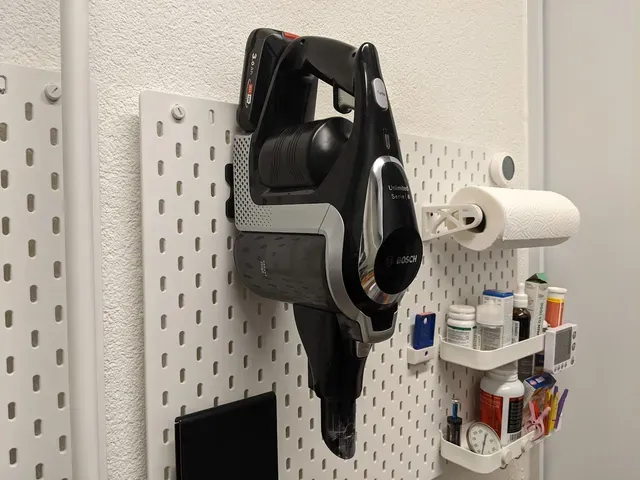
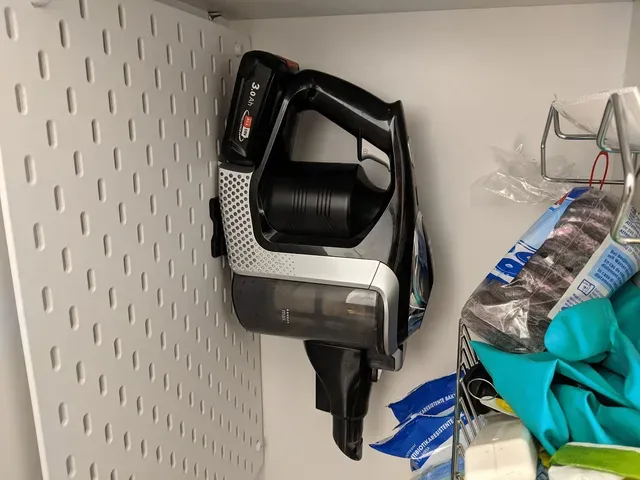
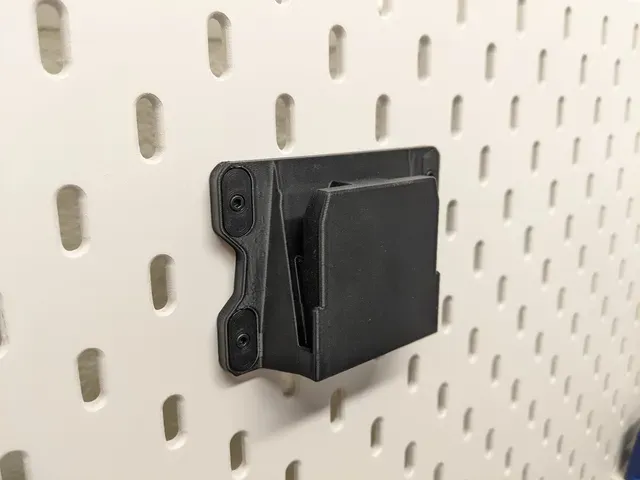
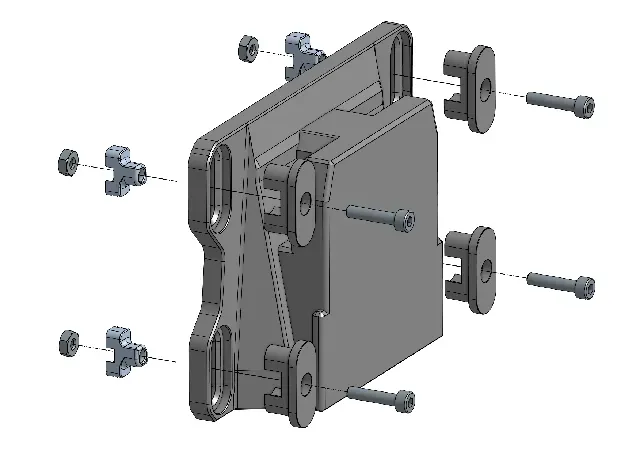
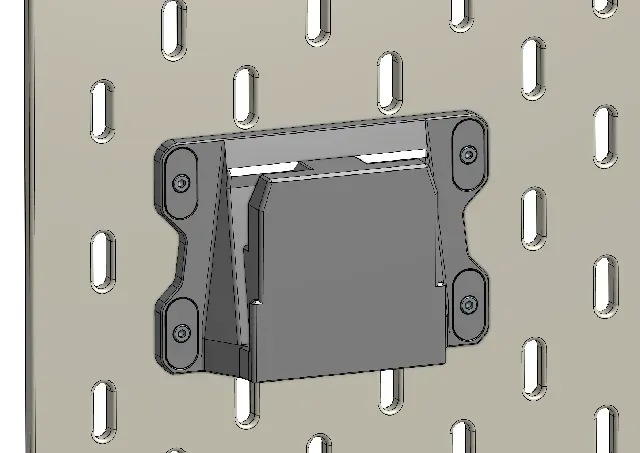
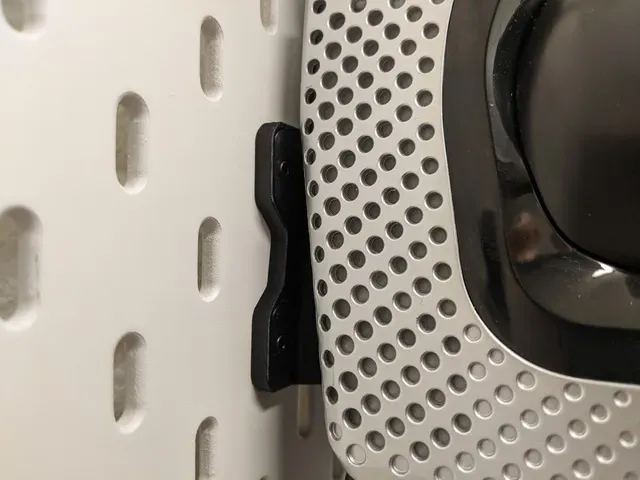
This is a mount to attach a Bosch Unlimited Series 8 vacuum cleaner to an Ikea Skadis pegboard . It uses Skadis T-Nuts for a very secure and sturdy installation that can hold a lot of weight.
- Very sturdy - Compact - STEP files available for easy remixing Looking for a regular wall mount instead? Check out the Bosch Unlimited Series 8 Wall Mount .
Read more about the Skadis T-Nuts Mounting System and check out the Skadis T-Nuts Collection for more Skadis accessories that use T-Nuts.
BOM
Qty Description Sourcing
4 M2.5 DIN934 Hex Nut Aliexpress
4 M2.5x12 (or longer up to 20mm) Socket Head Cap Screw Aliexpress
Printed Parts
Qty Part Download
1 Bosch Unlimited S8 Skadis Mount this project
4 Alignment Guide this project
4 Skadis T-Nut M2.5 Download here
Printing
Print the parts in the original orientation. All STL files are pre-rotated for printing. Check out the Skadis T-Nuts page for T-Nut print settings.
Print Settings
- Material: PETG, PLA, etc - Layer height: 0.2mm - Extrusion width: 0.4mm - Perimeters: 3 or more - Infill: 20% or more
Assembly and Installation
Step 1 - T-Nuts
Prepare the T-Nuts. Push an M2.5 hex nut into the bottom of both T-Nuts. You may have to use some pliers or other tool to push them in.
Step 2 - Alignment Guide Plugs
Assemble the Alignment Guide Plugs into the T-Nuts using the M2.5x12mm screws. Leave a gap of about 2mm between the T-Nut and the Plug.
Step 3 - Positioning
Position the mount at the desired location on the Skadis board. It'll automatically align itself with the holes.
Step 4 - Insert T-Nut
Push all 4 T-Nut sub-assemblies through the holes and tighten the screws. While tightening the screws, apply slight pressure with the screw driver to make sure the alignment guide plug is fully pushed in. The T-nuts will lock in a horizontal orientation and tighten the mount against the board. Do not over-tighten the screws.
Success
The mount is now ready to use. To remove it again, hold the assembly in place, loosen each screw by about half a turn, and then pull the whole assembly off the board.



Названия используются только для указания источника результата. Polyzon не аффилирован с перечисленными площадками.