
Бесплатно 
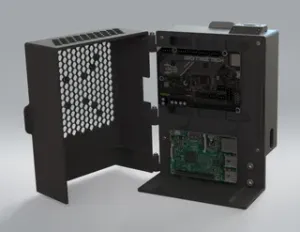
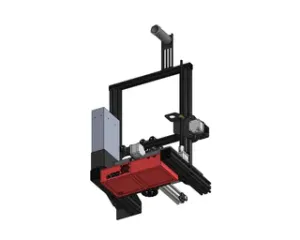
Bigtreetech SKR E3 Mini + Rasperry Pi 2/3 + 3 LM2596 + Noctua Fan Enclosure for Ender 3/Ender 3 Pro
Printables


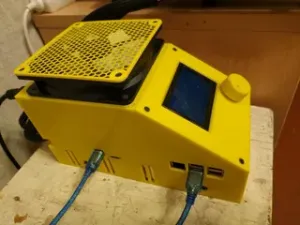
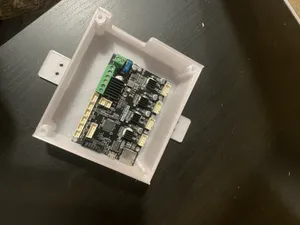
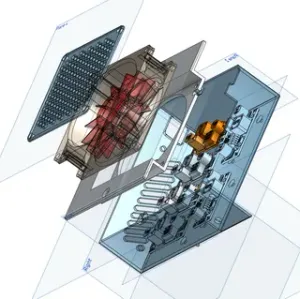
Take your 3D printing experience to the next level with our Upgraded Honeycomb SKR Mini E3 V2 Case, designed to enhance your Ender 3 Pro setup. This case is a remix of Patrik's Honeycomb SKR 1.3/SKR 1.4 Case , optimized to accommodate an SKR Mini E3 V2 or the stock Creality board. We've made several improvements for longevity and personalization.
Key Modifications :
LM2596 Buck Converter Mount : I've added a mounting point for an LM2596 Buck Converter inside the case. This allows you to upgrade your motherboard fan to a quieter 12V fan, improving overall system acoustics.
Heat-Set Inserts : Say goodbye to stripped threads and worries about damaging your case during repeated assembly and disassembly. I've modified the holes on the front panel, back panel, and motherboard standoffs to use M3 heat-set inserts , ensuring secure and reliable connections.
Countersunk Screw Adjustments : Based on personal preference, I've removed the countersinks on the base plate and right side panel. The original design called for M3 countersunk screws, but I've made it compatible with button-head screws. The left side panel still requires countersunk screws for proper alignment.
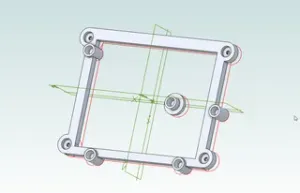
Fan Options : I provided two top cover versions – one without a fan grill and another with an Aperture Science fan grill. To safeguard your setup, I've added a fan mesh that can be screwed onto the inside of the cover, preventing large debris from entering the fan. Adjust your print settings accordingly to print the mesh.
Front Cover Plate : Choose between two front cover plate versions, one with the Bigtreetech logo and another blank option to suit your aesthetic preferences.
Credits and Thanks : Special thanks to Patrik for the original design and for allowing for remixes.
Assembly Tips :
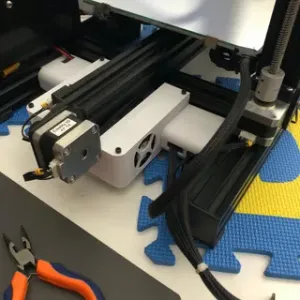
Y Carriage Screws : Ensure the nut of the screw on the y-axis carriage is on top to clear the electronics box's top.
Heat-Set Inserts : Follow proper heat-set insert installation by heating a soldering iron to 650°F (343°C), placing the insert over the hole, setting the iron's tip on top of the insert, and gently pressing down. More information on heat-set inserts can be found in Markfoged's excellent article.
Insert 6 inserts in all holes of the front and back plates facing outward.
Inserts should also be set in all 9 standoffs on the base plate.
Print Instructions :
For the Case:
- 3 walls - 20% infill (recommended cubic pattern) - Supports only from the build plate for the front and top pieces to ensure proper hole printing Print Instructions for the Fan Mesh :
- 5 walls - 0 top and bottom layers - 20% honeycomb or 30% grid infill I recommend using PETG or ABS material to prevent heat from the build plate from warping the case.




Названия используются только для указания источника результата. Polyzon не аффилирован с перечисленными площадками.