
Бесплатно 
Snowflake Pendant Tensegrity
Printables
Description
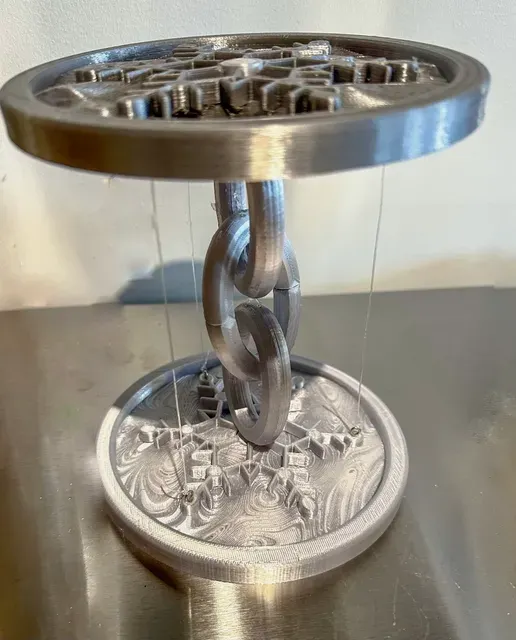
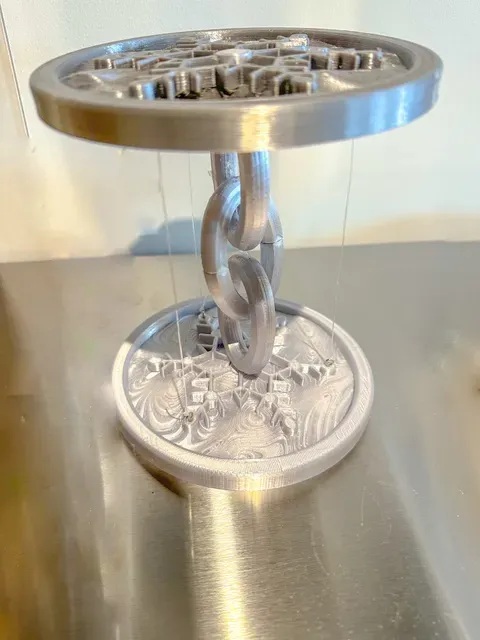
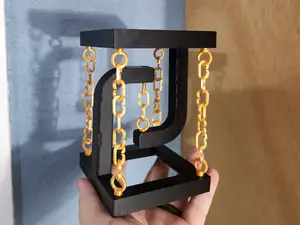
Build your own “floating” snowflake today! This “floating” snowflake is surrounded by gentle waves that look just like fresh snow. Combined with iron colored chains that link together, but don’t actually touch, it’s an architectural marvel that is sure to impress any snowflake lover.
Made in collaboration with Chloe
Lesson Plan/Activity
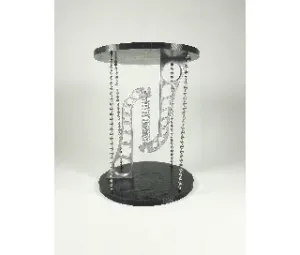
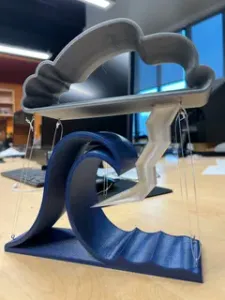
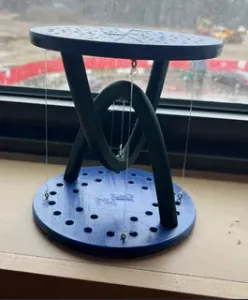
With a partner, you will design and create a single custom Tensegrity Structure of equal complexity or greater as the tables depicted above (as determined and approved by the instructor).
Parts List
File Name: Quantity:
Joe_BaseBottomFinal.3mf 1
Joe_BaseTopReal.3mf 1
Joe_BaseChain.3mf 2
Joe_Pegs.3mf 2
Joe_MiddleChain.3mf 2
Assembly Instructions Section:
Tools:
- Small screwdriver with a head slightly smaller than the hook
- 6 hooks for screwing
- Fishing wire
- Hammers
- Sandpaper or shavers
- 2 small metal rods (1 cm long)
- clamps
- scissors
- pliers
- cutters
Steps:
- Step 1 - Take your printed bottom base, with the snowflake facing upwards , and one of the base pegs
- Insert the larger part of the peg into the middle hole of the base and make sure that the smaller part of the peg is facing up as well.
- The bottom of the peg and base should be parallel to one another Bottom Base and Peg.gif
- If peg does not fit in the hole: - Use a broken pair of cutters to shave down the inside of the hole Shaving.gif
- Step 2 - Take one of your printed bases, with the snowflake facing down , and one of the base pegs - Repeat step 1.2 - Step 3 - Place both of the bases next to each other, with the flat side on the table, then grab your hammer and screwdriver. - Grab the bottom base - Using the screwdriver, place it in the center of one of the outer ovals of the snowflake - Gently hit the screwdriver with the hammer so that a little indentation is formed - Repeat steps 3.2.2 - 3.2.3, this time skipping over the adjacent oval and placing it on the next one - Repeat step 3.4 Base holes.mov
- Grab the top base - Identify the three small indents on the snowflake-less side of the top base - Place the screwdriver in the center of one of the indents - Gently hit the screwdriver with the hammer 1-2 times to form a slightly larger indent - Repeat steps 3.3.2 - 3.3.3 with the two other indents you identified in step 3.3.1
- Step 4 - Grab your 6 hooks, Using the holes made in step 3, screw the hooks into individual holes, and tighten them until they are fixed in place. Make sure that the hooks are perpendicular to the base Adding Screws to Base.gif
- Turn the hooks so that the side of them face the center of the base. Do this for the hooks on both the bottom and top bases.
- Step 5 - Grab your fishing line and scissors - To connect the bases together: - Cut 3, 12 inch strings of fishing line
- To connect the middle chains together: - Tie a figure eight knot on fishing line and cut it 6 inches up from the knot
- Make sure to pull your knot tight! PullingKnotTight.gif
- Step 6 - Grab your middle chain pieces and 2, 1 cm long, pieces of metal rod - Insert the wires into the holes in the middle chain halves Adding the Pegs to Middle Chain.gif
- Position your middle chain with pegs in it so that it is looped through both base chains
- Put a metal rod in each of the small holes on the bottom of the middle chain - There should be 2 holes Hammering in the metal rods
- Take the other half of the middle chain and connect it to make a full middle chain Connecting the Middle Chain.gif




Названия используются только для указания источника результата. Polyzon не аффилирован с перечисленными площадками.