
Бесплатно 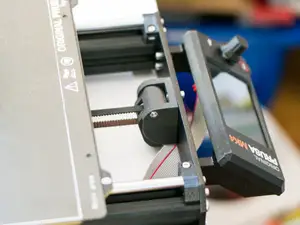
Simple Prusa i3 MK4 s Y- Axis belt tensioner (3 mm and 5 mm versions)
Printables
Description
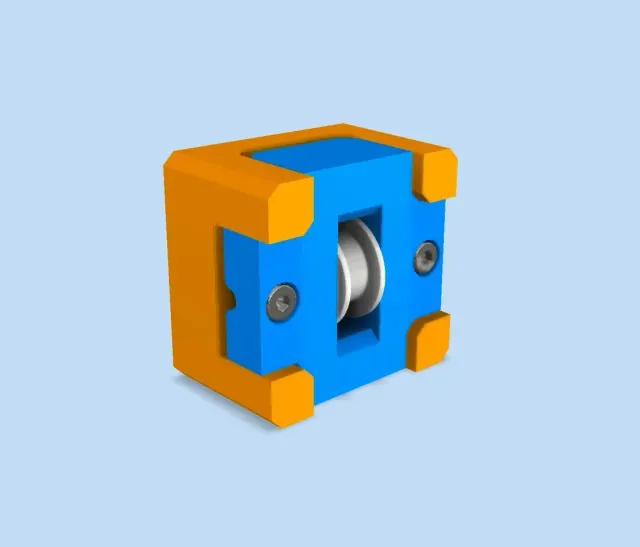
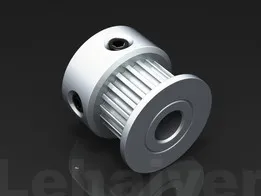
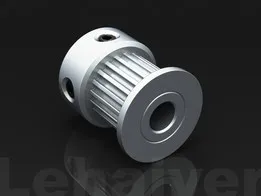
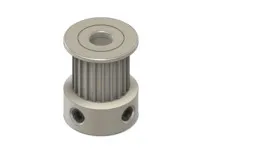
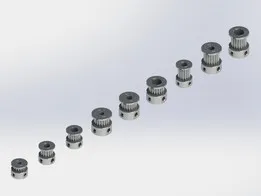
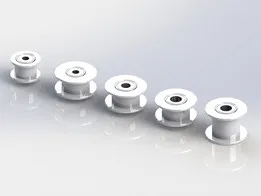
This is a Y-axis belt tensioner designed for standard gt2 20T or toothless idlers with 5mm bores.
The 3mm bore idlers that Prusa uses are difficult to find, so I created a remix of this model which supports 5mm bore idlers. Additionally, the 5mm bore idlers have dual bearings which results in a slightly better alignment of the belt and the idler.
Printers Supported:
- Prusa MK3 - Prusa MK3s - Prusa MK3s+
Fasteners:
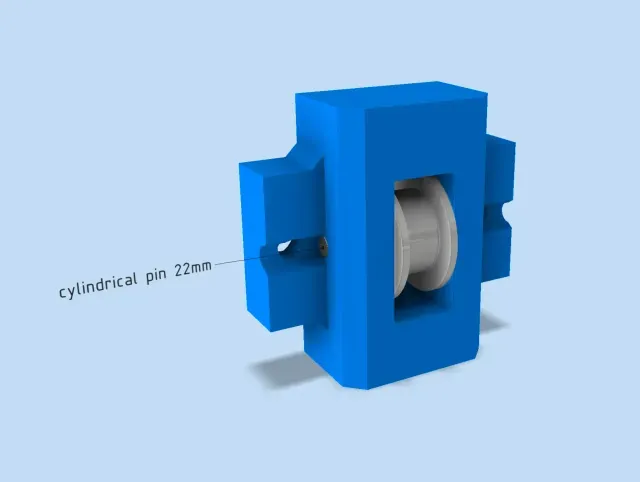
- 2x M3x10 screw → frame mount - 2x M3 hex nut → frame mount - 2x M3 Nyloc hex nuts → tension adjustment - 2x M3x16 screws → tension adjustment - NOTE: the original design calls for 16mm, but I found 18mm worked better for me - 1x 5x22 mm cylindrical pin (ISO 8734 / DIN 6325) or 5mm screw - Pin is highly recommended (I used these rods and cut the 5mm to length with a dremel: https://amzn.com/gp/product/B08N4TSNPW) - You may instead substitute a M5 screw (22-25 mm) cut to length. Please note, this should work, but I have not tested the remix with a cut screw.
Print instructions:
- Material: PETG - Perimeters: 3 - Infill: 20-25% - Infill pattern: Rectilinear - Layer height: 0,15 mm - Supports: Supports from build plate only
Assembling:
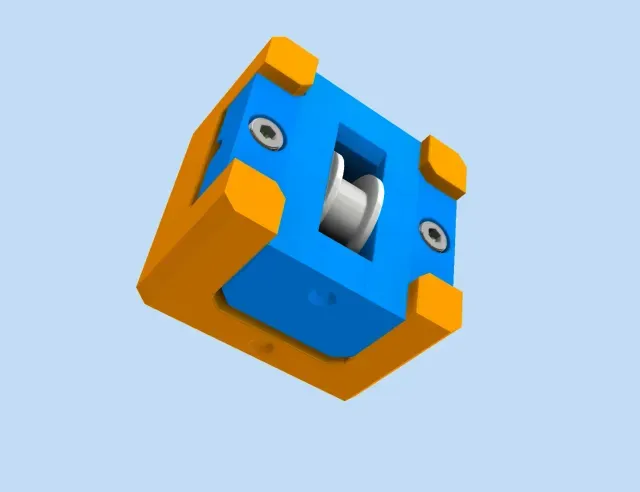
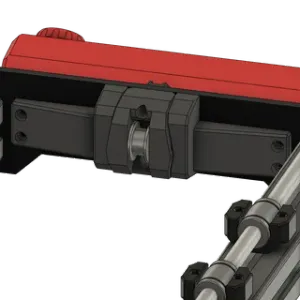
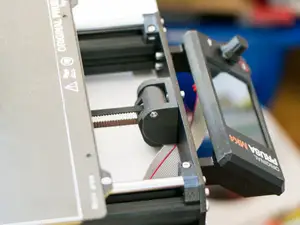
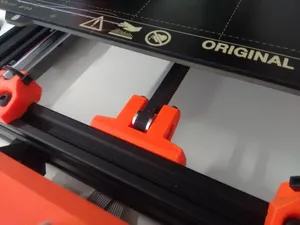
Align the two dots printed on the exterior of the tensioner. Install the tensioner onto the frame with the dots facing down .
If the blue part is upside down the belt path will be wrong .
Tighten both screws equally as you tension the belt.
Setting belt tension:
I've found through trial and error as well as online research that the best method for tensioning the belt is to use a tuner app (e.g. pano tuner on iOS). You will use this app to tension the belt according to it's resonant frequency, similar to tuning a guitar. To properly set the belt tension, follow these steps:
- Ensure the room is quiet - Open the tuner app on your phone - Slide bed to the front and then push to the rear of the printer to reset the belt tension - Place the microphone near the center of the belt - Pluck the top belt like a guitar string - Note the frequency from the tuner app → target frequency: 90 - 110hz - Tighten/loosen the tensioner equally on both sides - Repeat starting at step 3 until the app shows 90 - 110hz as the frequency NOTE: 90hz is typically recommended as the target frequency, but I found this was too loose and causing some ringing on my printer. However, be aware that tight belts place more load on the stepper motors.



Названия используются только для указания источника результата. Polyzon не аффилирован с перечисленными площадками.