
Бесплатно 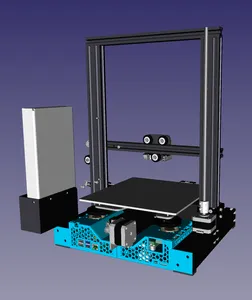
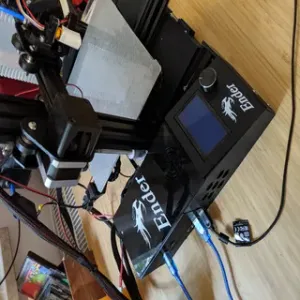
Creality Ender 3 Pro - Rear Case with Raspbery Pi 4 (suitable for Sprite Extruder Cable)
Printables

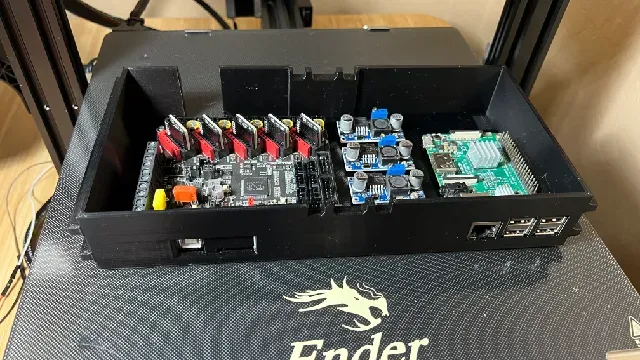
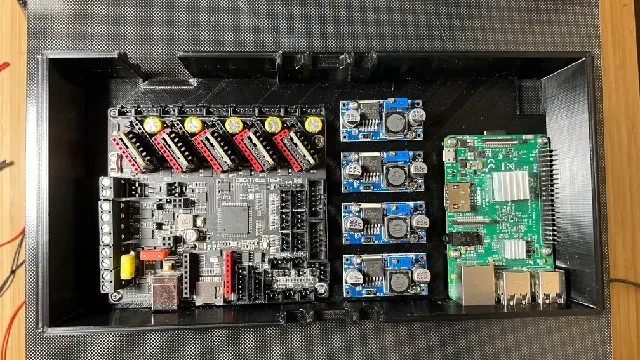
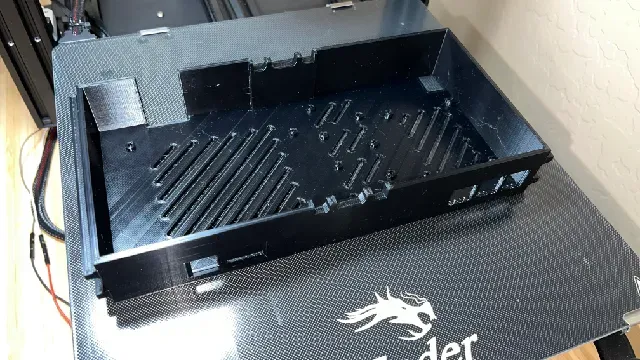
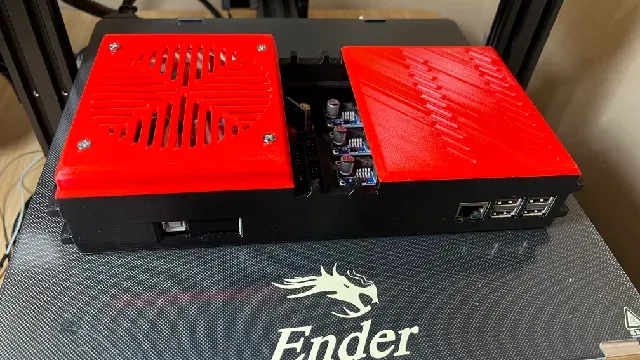
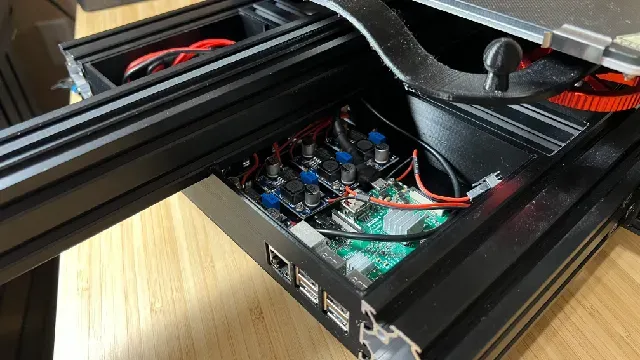
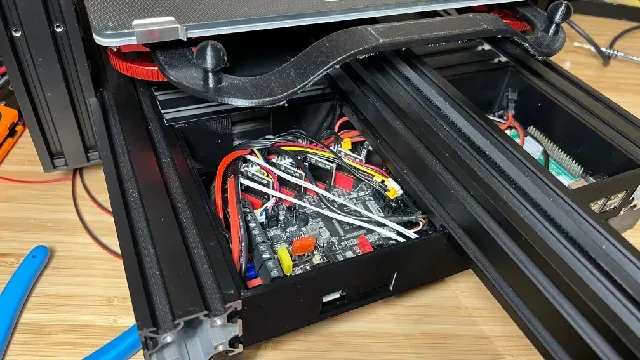
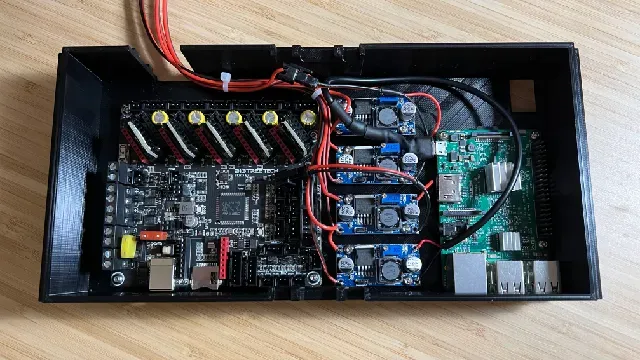
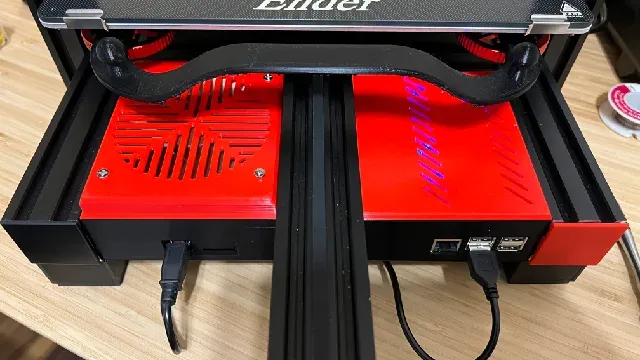
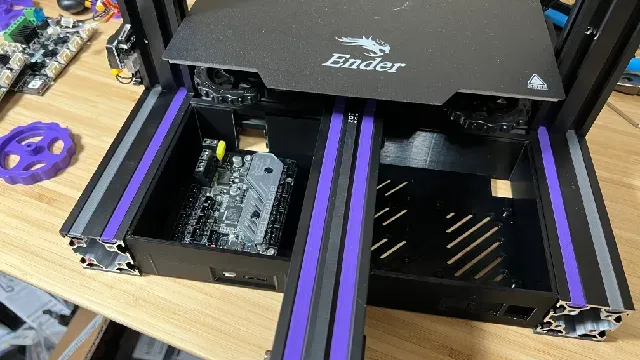


Summary:
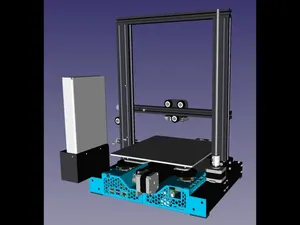
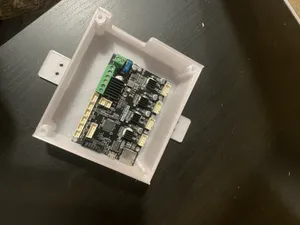
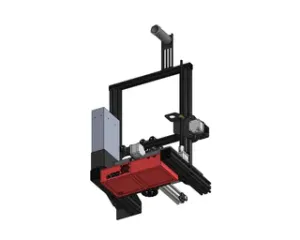
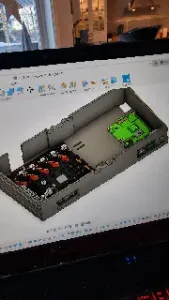
This build will allow you to mount a mainboard, 4 buck converters and a Raspberry Pi in an Ender 3 Series FDM Printer. See below for additional information or check the “files” section for combinations.
If you choose to print each side independently, you can upgrade as needed. For example, if you print a combination that supports an SKR3EZ and RPI3B+, then upgrade to an RPI4B, you can print the right side for the new RPI. Leaving the left side as is, so there is no need to remount or rewire the mainboard.
If you make this model, please upload a picture of your make to the comment section.
If you like this model, please give it a like.
If you would like to see other control board, Raspberry Pi or buck converter compatibility, please let me know in the comments. I am more than happy to update the models.
Compatible Mainboards:
If your mainboard is not supported, please let me know and I will add a version for you.
- Creality v4.2.2 - Creality v4.2.7 - SKR 3 EZ - SKR Mini E3 (Same screw placement as Creality v4.x mainboards. Use one of the "E3_Chassis_Creality4.X_…" models.) - SKR v1.4 Turbo - Octopus Pro (Located in the “custom variation” folder) Compatible Buck Converters:
- 4 x LM2596 Buck Converters Compatible Raspberry Pi(s) for Octoprint or Klipper
- Raspberry Pi 3A+ - Raspberry Pi 3B/B+ - Raspberry Pi 4B - Raspberry Pi 5 (Mounts that are for the Raspberry Pi 4B should work for the Raspberry Pi 5.
Compatibility : This model is designed specifically for Ender 3 series printers; however, it may be suitable for other printers with similar dimensions. If you have a different printer model or require custom modifications, please don't hesitate to contact me . I'm more than happy to tailor the design to your needs.
Modifications : If this model doesn't perfectly suit your requirements, let me know ! I'm open to making adjustments to ensure it fits your setup seamlessly.
Print Settings:
Rafts: No
Supports:
- For Full Chassis : Yes. They should be set to 80°. This will isolate supports to the openings. - For Half Chassis : Yes. More support may be needed as the rail connects are a bit different. This is dependent upon your printer tuning. - For Covers : None Resolution: 0.2mm
Infill: 15%+
Notes:
All screw mounts are designed to fit 2.5mm x 5mm screws OR 3mm x 5mm screws. 3mm screws are what I prefer because I do not like the idea of them vibrating out of place. They required more pressure to screw in, but seem to hold securely.
If the main extrusion frame is the same dimensions, this should work for other printers. The purple/grey printer is an Ender 3 Pro with an SKR Mini E3 v3.0.
For the “E3_Chassis_x” models: Set "support overhang angle" to a value of 80° or higher.
For the fan/vent covers: Make sure the top is facing down and disable support structures.
The half chassis prints should fit together fairly snug.
I have not tested the SKR v1.4 Turbo build as I do not have that mainboard. Please post your make and let me know if there are any issues.
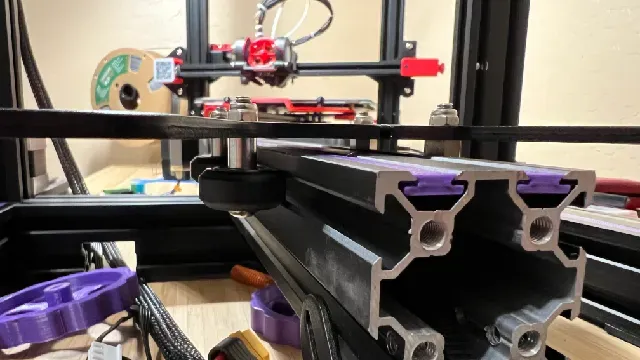
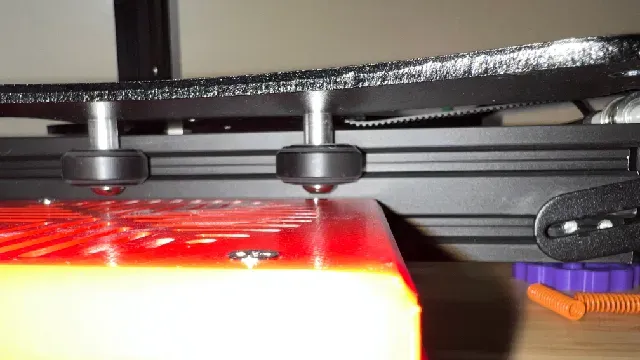
Important : With my Ender 3 Pro, the fan covers were too tall. This was caused from the bed plate being installed with the bolts facing down. To remedy this, I had to turn them around. Below is the procedure, should you need to do the same. After this modification, you should have a similar setup to this one .
- Remove the bed completely. (Be careful around the bed heater wires. You do not want to damage them). - Loosen the Y Axis tension. - Disconnect belt from bed plate. - Loosen or remove the Y Axis tensioner enough to slide the bedplate off. - Remove the one nut from the bed plate and take the bolt out. - Place the bearing on the bolt. - Place the eccentric nut or washer on the bolt. Depending on which one you removed first. - Coming from under the bed plate, insert the loaded bolt into the hole you removed it from. - Screw the nut on the other side to secure it. - Repeat steps 5 - 9, as needed. - Slide the bedplate assembly back on the 4040-extrusion rail. - Adjust the wheel tension to allow smooth movement of the bedplate on the rail. - Reattach the Y Axis belt. - Reattach and/or tighten the Y axis tensioner. - Reattach bed to bedplate. Be sure to tram the bed and reconfigure your z offset before printing.
Improvement Plan(s):
As a solo creator, I'm dedicated to refining and expanding my designs based on user feedback and evolving needs.
Here's what's in the pipeline:
- Raspberry Pi 5 versions for all models (coming soon!) - Mount for Circular Metal Aviation Connector - Deeper for easier cable management. - (Maybe) Add opening for SPST toggle switch for fans, lights or whatever you want to control.
Requested Improvement(s):
I highly value your input! Currently, I'm working on the following requested modifications:
- Bigtreetech Relay v1.2 mount
Additional Models:
- Ender riser feet with 4040 cover built-in - LINK - PSU Relocation - LINK - X-Axis tensioner with Pi Camera Mount - LINK - QR Covers - LINK
If you have additional suggestions or specific enhancements in mind, please don't hesitate to let me know. Your feedback helps me tailor my designs to better suit your needs. Contact me with your suggestions!
Support the Creator : If you find this model useful, consider supporting me on BuyMeACoffee.com . Your support helps me continue creating and sharing designs with the community.
Versioning:
v1.00 Original remix





Названия используются только для указания источника результата. Polyzon не аффилирован с перечисленными площадками.