
Бесплатно 
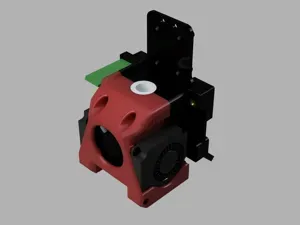
Anycubic i3 Mega-S Extruder Filament Guide (cone)
Printables
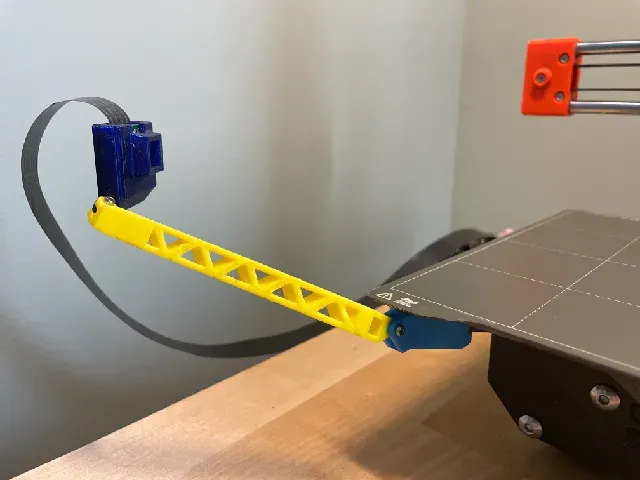
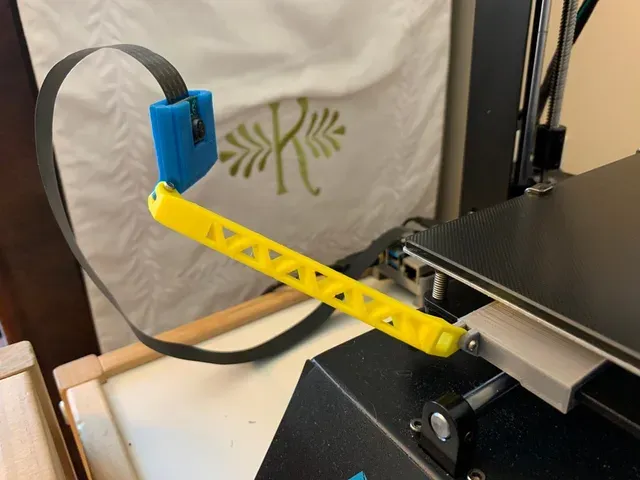
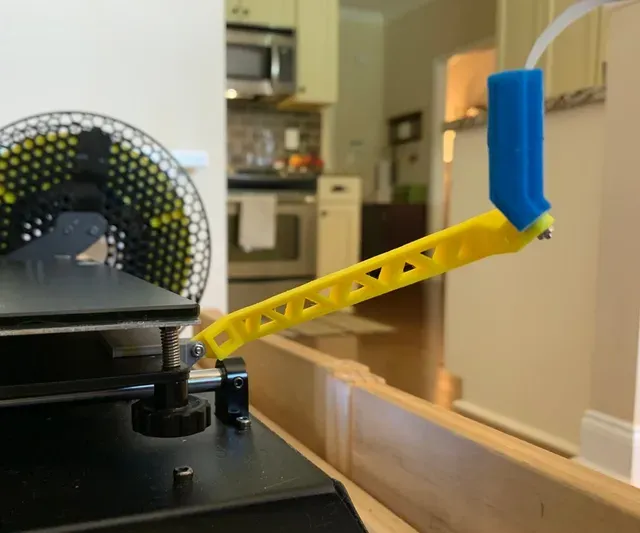

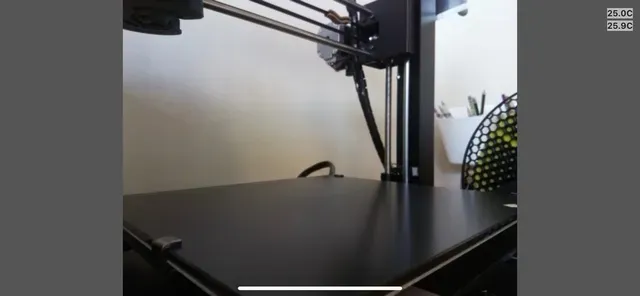
Here is a simple articulated and adjustable heatbed mount for the Raspberry Pi cam V2. It was an iterative process to get all of the angles dialed in to give a good field of view across the print bed. I have attached a picture showing what the FoV looks like from the cam via OctoPrint.
The print requires 2 M2x10mm screws and 2 M2 nuts for assembly
Once the mount is assembled, the clip part slips snugly over the y-axis frame, straddling the left y-axis bearing rod and rod holder (clip has an indented section for clearance and to show designed-to positioning). The assembled mount can then be adjusted at the arm and camera case until the desired FoV is achieved.
I have also included the STEP files in the event that you want to play with the lengths and angles to adjust the camera FoV to your liking. I tried to get nearly all of the bed in frame with a view angle that is able to capture a variety of build heights.
There are two different versions of the bracket that attaches to the heated bed. One allows attachment for the Anycubic i3 Mega and one attached to the x-brace under the bed for the Prusa Mini.
Enjoy!
Print Settings
Printer Brand: Anycubic
Printer: i3 Mega S
Rafts: Doesn't Matter
Supports: No
Resolution: 0.2 mm
Infill: 15%
Filament: Prusament PLA Azure Blue, Pineapple Yellow, MH Build Silver Notes:
Designed to be printed with a specified 0.4 mm extrusion width (line width) and 3 perimeters.
Due to the angled print and small bed contact area, I printed with rafts just to be safe. I have also printed with no rafts and that came out fine as well. Make sure you print at a high enough temperature to get good layer adhesion or your joint arms can crack along the layer lines when adding screws.
Post-Printing
Assembly
Requires:
- qty 2 M2x10mm screws (DIN921) qty 2 M2 nuts Take care when assembling as you want just enough pressure to hold the mount parts snug but excess pressure will split the joint arms at the layer lines, especially if lower printing temperatures are used and layer adhesion is not high.
Due to the angled build-up of the upper joint arms on the mount arm, some cleanup with files and x-acto blades is recommended to achieve a clean assembly. There is a 0.4mm clearance for all mating surfaces so fit should be slip to interference and allow for good articulation with a snug fit after fasteners are in place.
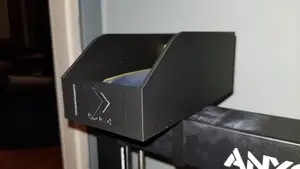
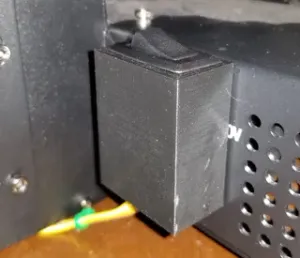
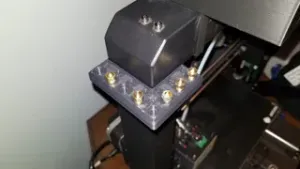

%2Fhttps%3A%2F%2Ffbi.cults3d.com%2Fuploaders%2F13635816%2Fillustration-file%2F51729257-b0f4-44ad-81f4-a695116bf982%2F8c17c90d852e6c472e40f2296d0321e9_display_large.jpg&w=300)


Названия используются только для указания источника результата. Polyzon не аффилирован с перечисленными площадками.
Комментарии