
Бесплатно 
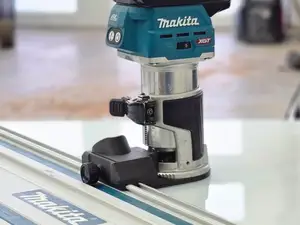
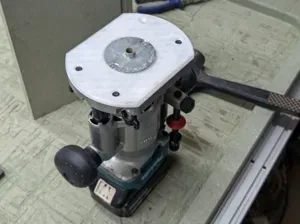
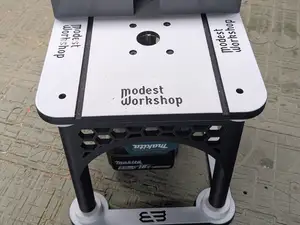
Tracksaw Guide plate/adapter for Makita Trim Router
Printables
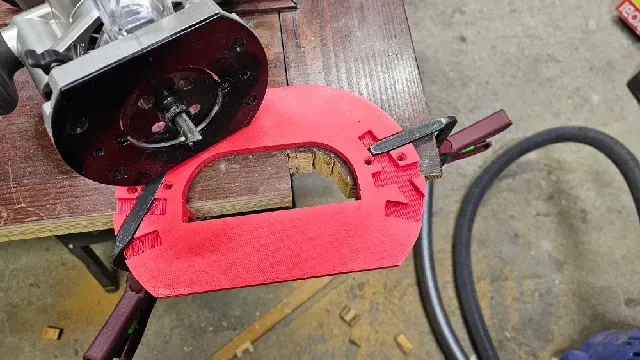




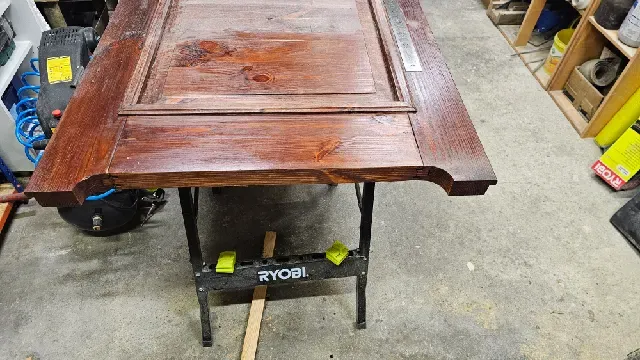

The mechanical ventilation system installed during renovation of my house needs to have a flow of air between rooms. It is usually realized by cutting out a 200 cm² opening near the bottom edge to let the air pass.
I did not want a straight, rectangular cut, as it looks too rough. I tried using a jigsaw, but the cut was not clean enough.
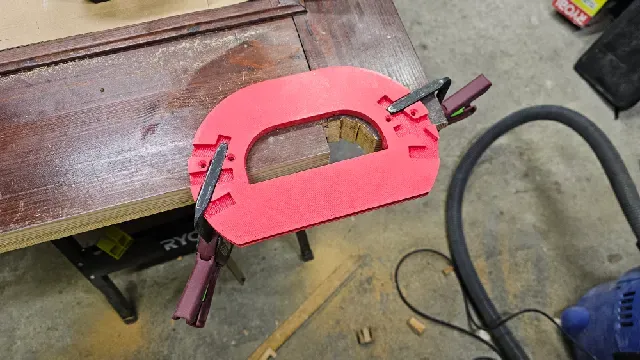
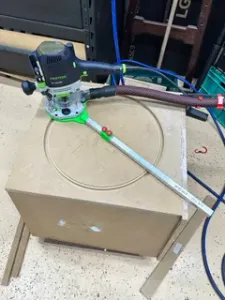
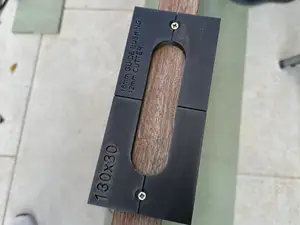
A friend suggested using a guide bushing (copy ring) and a handheld router. After 2 revisions of the template, I finally was able to get a satisfying result.
Obviously, you need a solid wood door or at least made of MDF/particleboard. I'm pretty sure it won't work on a cheap, filled with cardboard, but you're free to try.
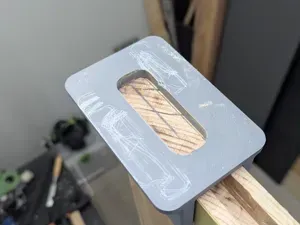
This template is designed for a ø16 mm guide bushing and ø10 mm cutter with 35 mm radius/undercut height. Having a 60 cm straight cut and two rounded ends gives roughly 230 cm² of area. The guide bushing is the standard, larger bushing found in the MAKITA DRT50ZJX2 set. I can make the template for whatever combination of guide/cutter diameter and undercut height you need - just let me know.
My workflow is:
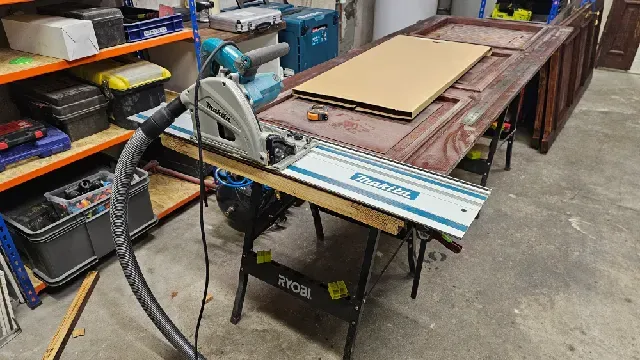
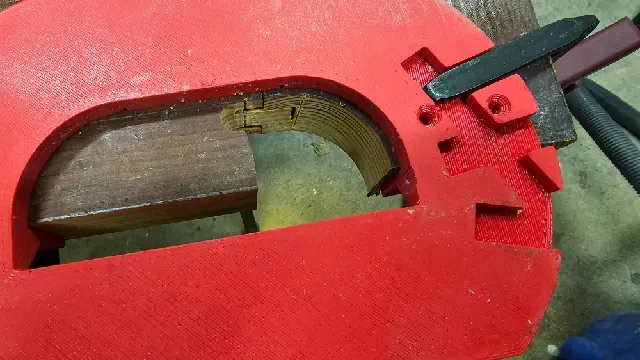
- Cut the bottom edge of the door straight with a track saw - Draw two 35 mm quadrants of a circle approximately 60 cm apart using the helper template (not shown on the photos); make them symmetrical, so the cut is not offset to any side - Draw a straight line tangent to both quadrants - Make a few straight cuts with a jig saw to get rid of excess material near the ends, but do not cut too close to the drawn line, leave 2-3 mm of wood for the router - Align the template with the drawn quadrant (it will be offset by around 3 mm due to spacing between cutter and the OD of the guide bushing) - Clamp the template with the track saw clamps or screws (screw holes in the bottom edge of the door will not be visible, but clamps provide enough force to keep the template in place) - Cut the radius in 2-3 passes, depending on your door thickness, overlapping the cut with the straight line for the track saw - Overlapping the cuts makes it easier later, as you will be able to get a complete cut with the track saw on the bottom face of the door - take the saw blade diameter into consideration, which will make the cut reach farther on the top face than the bottom - Cuts you see on the photos were not enough, as I had to use jig saw to get the last few milimeters - Make a straight cut connecting the rounded ends with the track saw - Sand down any edges where the cuts meet (may not be needed if you set your track saw right and make enough overlap cuts with the router) I have printed this using ASA, but even PLA should work well.




Названия используются только для указания источника результата. Polyzon не аффилирован с перечисленными площадками.