
Бесплатно 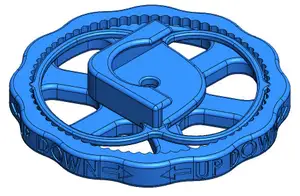
Ender 3 S1/S1 pro - Locking Bed Level Knob - For Silicon Spacer
Printables

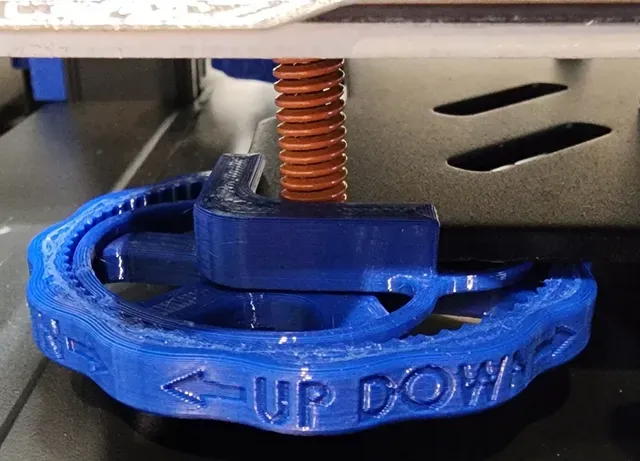

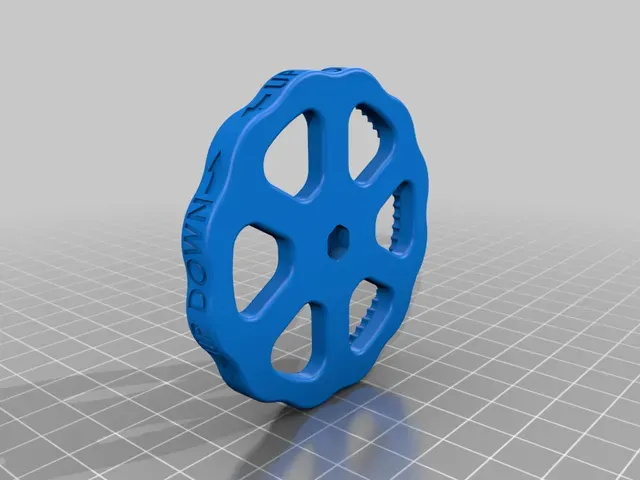

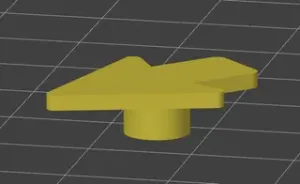
Locking bed leveling knob for the ender 3 s1/s1 pro. This design has snap features that keep the knob in place during/in between prints; so no more vibrating out of position or accidentally nudging the knob. The snap features also give tactile feedback so you know how much you have raised/lowered the bed; with this geometry, 1 click will raise/lower the bed .01mm.
Used the original ( https://www.thingiverse.com/thing:4743835 ) design as inspiration but this has been remodeled completely from scratch. compared to the original:
-This model is more specific for the ender 3 s1/s1 pro.
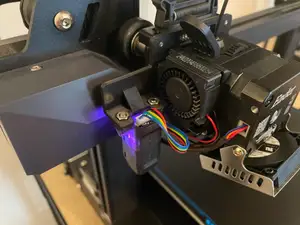
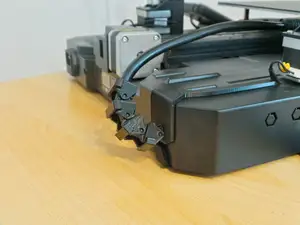
-An overhang has been added to grip the Y carriage plate and prevent slop.
-A second set of snaps have been added to improve the retention and keep the forces balanced in the system.
-The assembly has been thinned as much as I feel comfortable to reduce the minimum compression, improving overall range and making assembly easier.
-Up/Down indication has been added.
Print Settings
Printer Brand:
Creality
Printer:
Ender-3 S1 Pro
Rafts:
No
Supports:
Yes
Resolution:
.2mm Layer Height
Filament:
Overture PETG
Blue
Notes:
I printed mine using a .4mm nozzle and the design is optimized for a .2mm layer height. I recommend printing in PETG or similar as PLA may become brittle for the snap features and eventually fatigue (although I cant fully confirm this).
Post-Printing =============
You will need an M4 nut for each wheel. I purchased mine from a big box store for ~$1 for a pack. This is fairly standard but check that the width is 6.95mm flat-flat and 3mm thick. These are designed to be press-fit into the holes to prevent the need for glue, and may require something hard to help press it in.
To assemble, you need to slide the snap parts firmly into place first; check to make sure the holes are concentric to know it is fully pressed on. You can then assemble as you normally would, being careful to not cross thread the nuts. You may need to compress the springs slightly to allow the threads to grab.
Category: 3D Printer Parts




Названия используются только для указания источника результата. Polyzon не аффилирован с перечисленными площадками.