
Бесплатно 
S.T.E.V.E - CoreXY 3D Printer
Printables
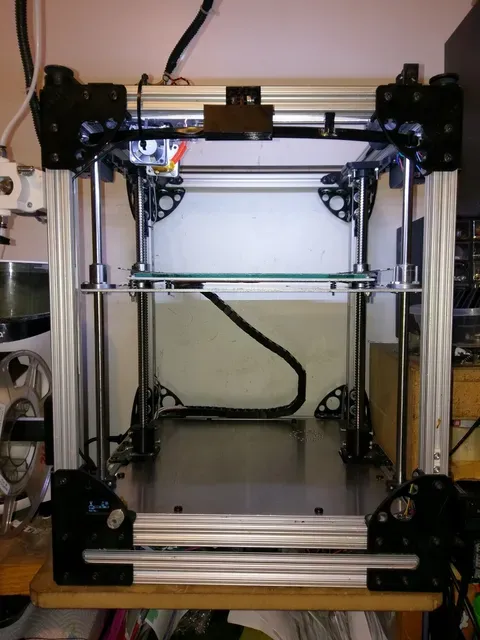


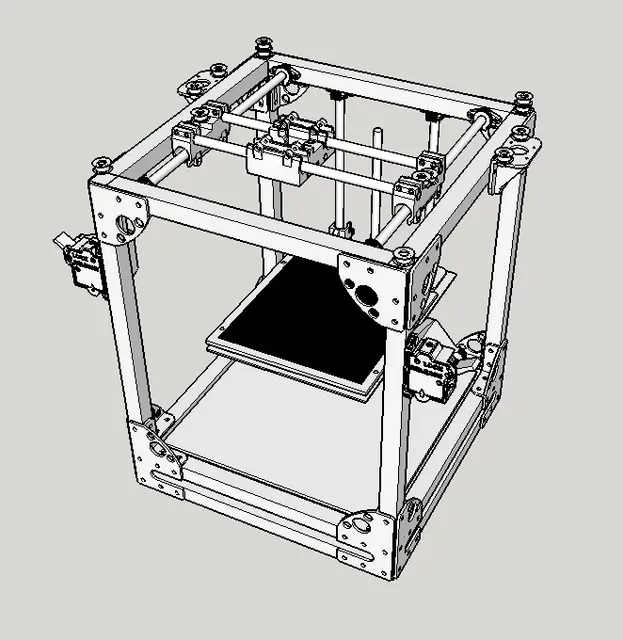
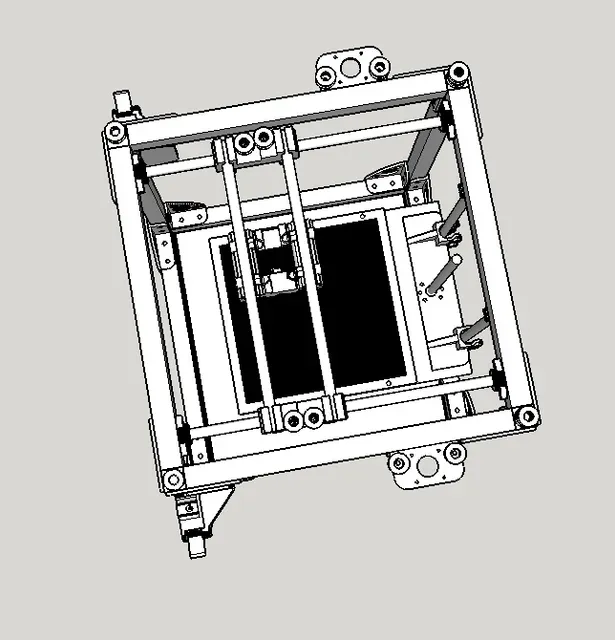
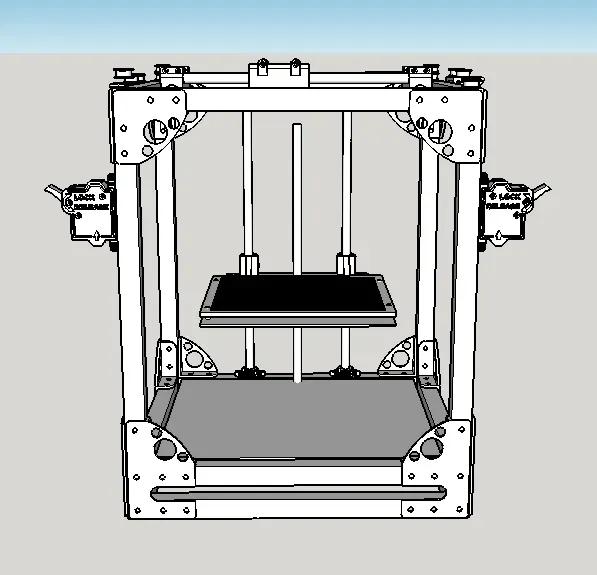
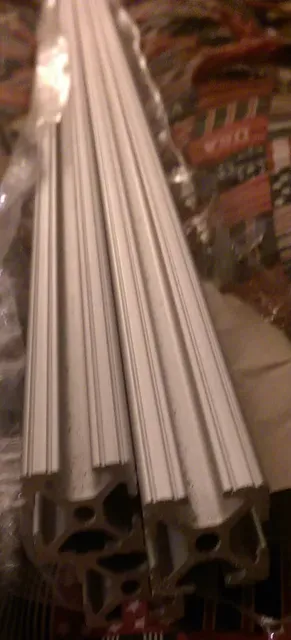

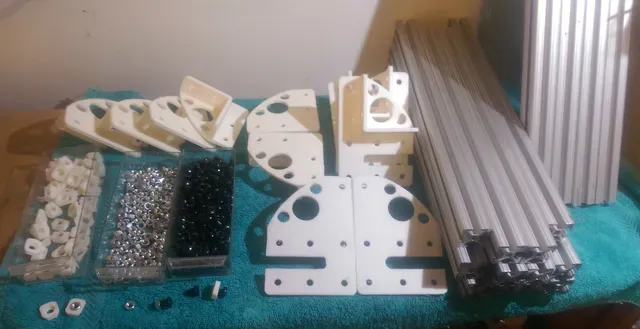







I know, I know, we need another 3D printer design like we need a hole in our heads but.....
I love the Ultimaker with a passion, in my opinion it is THE printer to beat, it has the smallest layer height of a personal FFF printer I have found and in my drooling but lack of $2773 US dollars (at the moment) there was no way I could have one so at looking at it and dreaming of it I realized that I could do that and if I use a CoreXY mechanism I might even improve on it.
so I made a scratch built printer from wood, nylon sheets, L shaped angle aluminum, wire ties and hot glue and it works really well but it could be better, you can see those exploits here http://rob-o-printer.blogspot.com/
I bought new printer parts to rebuild it but didn't want to tear it down so decided to take all the parts and use it to make a smaller printer and then use that printer to rebuild the bigger one so here it goes.
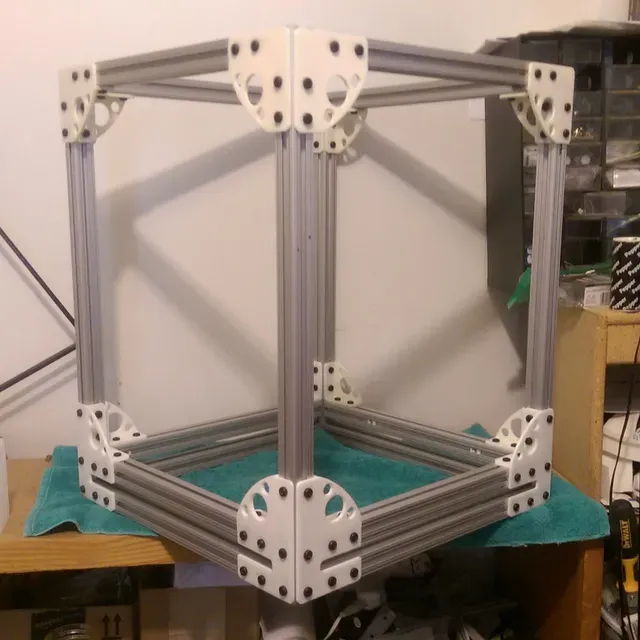
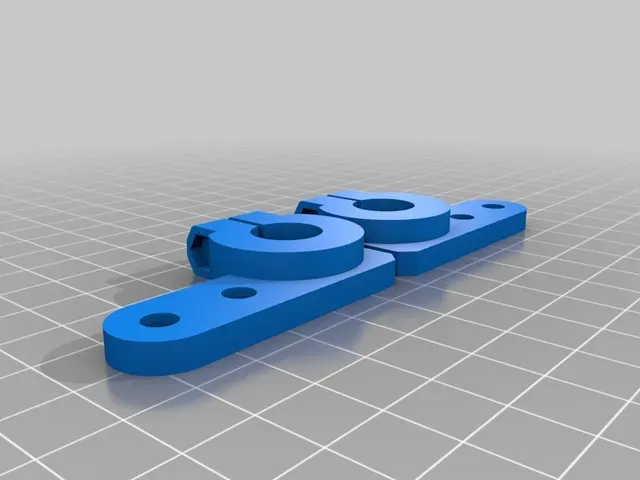
I have everything designed, I have to print a couple more parts that I had to tweak but I will not add any parts to this that I have not printed and tested, so far the frame is done and I am working at printing some 12mm shaft clamps now to get the XY carriage installed into the frame so I can work out the motor mounts.
In learning from my mistakes with ROB-O I am working at correcting them with R.J. btw I suck at names and was thinking robo printer but it exists but since my name is Rob I am going with Rob - O Printer until I can think of something better.
So some differences between mine and Ultimaker besides the build volume is that I am using a CoreXY mechanism which Ultimaker has a unique way of getting some of the same properties in a smaller space.
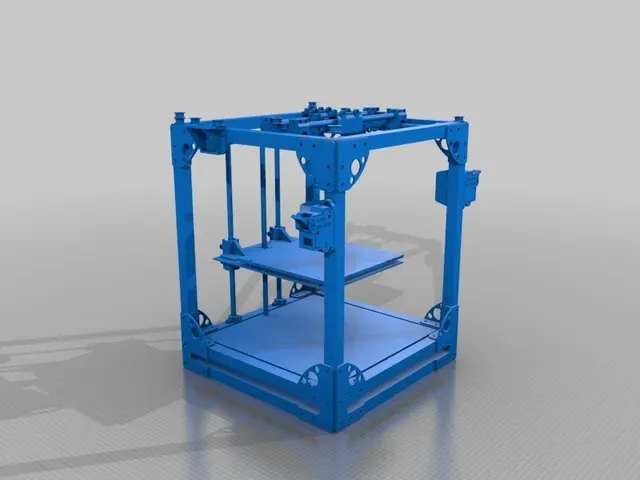
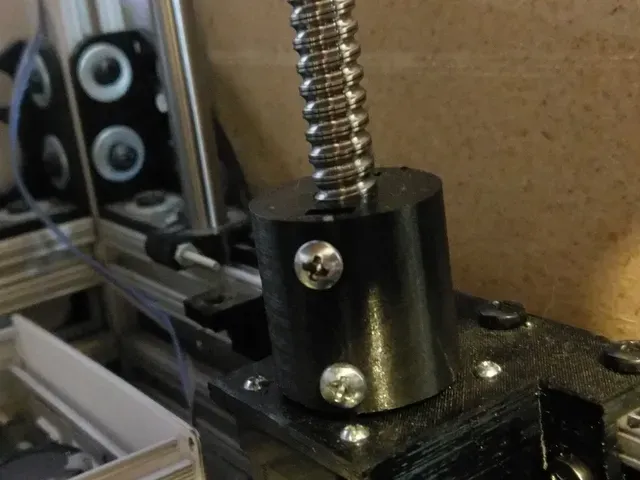
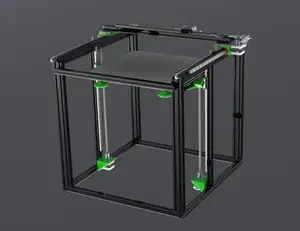
The other thing that I have learned and am excited to try that is different is getting the Z shafts and the Z screw off of the same plane, with them all being in a row it seems to cause more tension on the three, you are suspending a bed and just holding it on the edge with 3 shafts, on this design I am staggering the shafts and the screw pulling the Z shafts back a bit, that gives it a three point stand and that hopefully get rid of all the flex at the far end of the bed. I will let you know if that idea pans out.
To get an idea of what it can do check this link out, it was done with the "Bubblegum" printer lol i.e. it is held together by bailing wire and bubblegum, if it can do this good of a job I can wait to see how well R.J. does as it has no slop in the heads at all. http://rob-o-printer.blogspot.com/2015/04/height-test.html
My next update will be the CoreXY mechanism build.
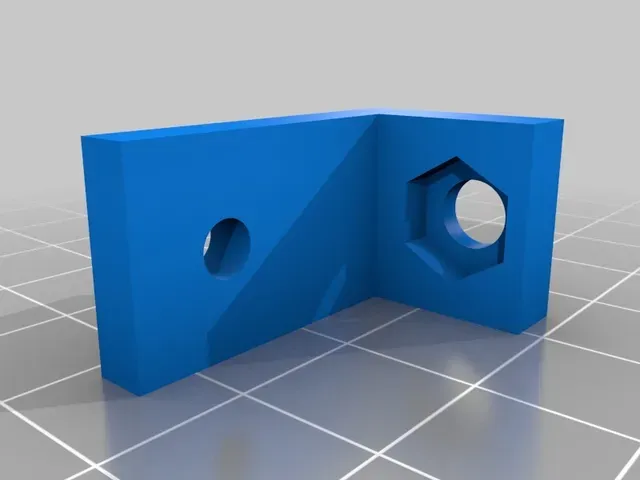
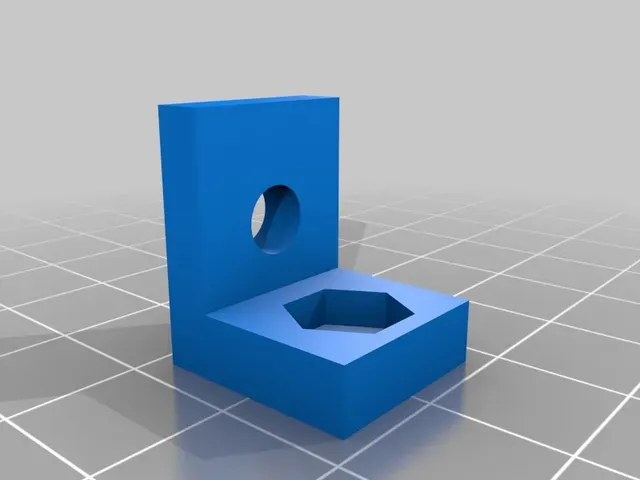
List of printed parts I have used so far. http://www.thingiverse.com/thing:980961 http://www.thingiverse.com/thing:980981
Dual CoreXY setup http://www.thingiverse.com/thing:990244
Update 8/25/2015:
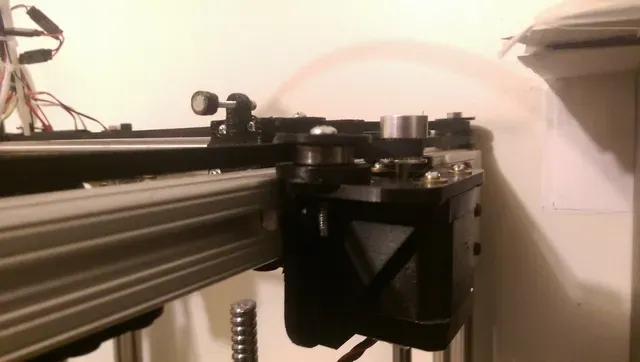
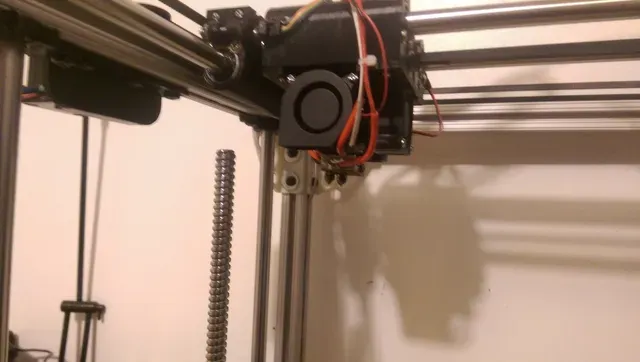
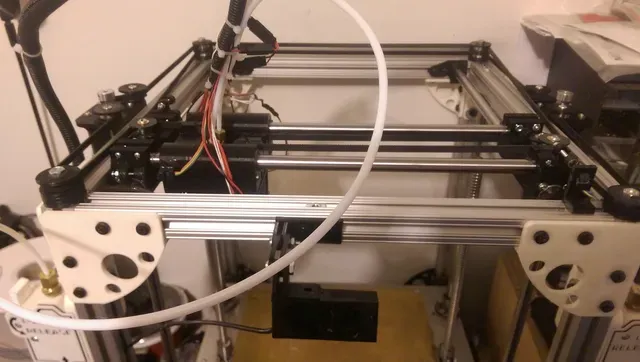
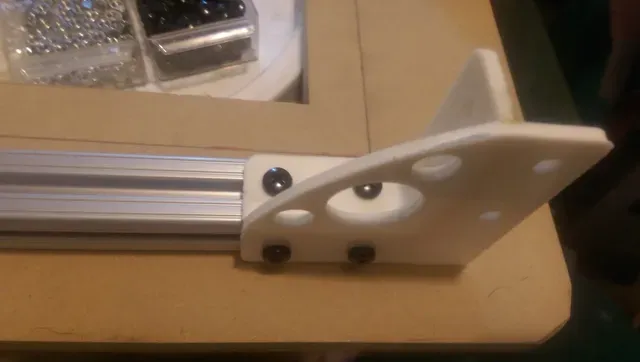
I added a couple pics of the corexy mechanism in place, it is not the final parts or final shafts but I wanted to get a better idea of where everything was going so used some test prints I had kicking around.
The X carriage is printing now and it should be the final working version, if so I will post it as a separate thing, I left room for z probes etc.
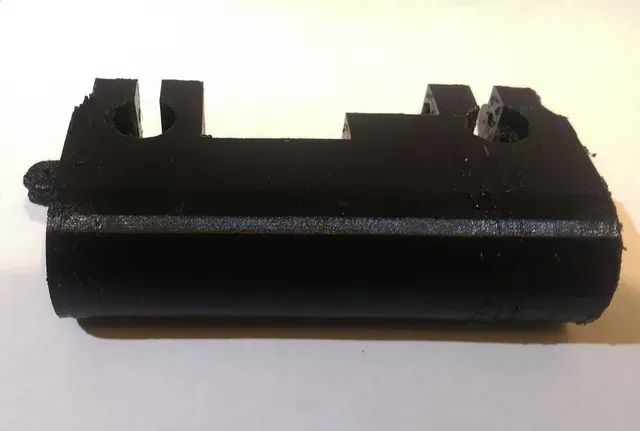
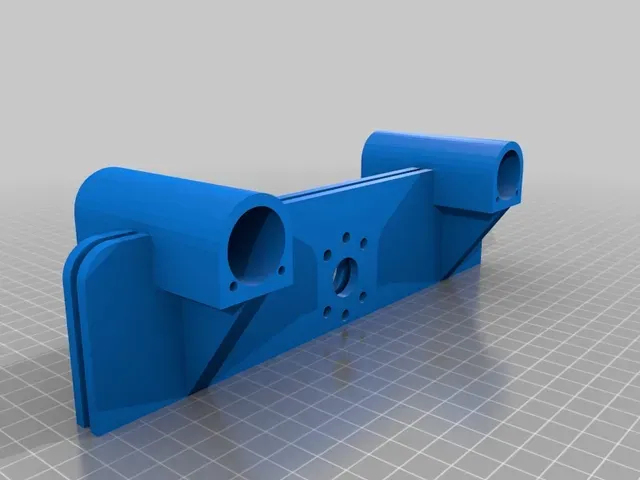
In the STL model is a version of the X and Y parts if you want a closer look for now.
Update 8/29/2015:
I finished my version of the CoreXY mechanism everything lines up and works now, I just need to make the corner bearing mounts and the motor mounts and it will be fully functional.
Update 9/11/2015:
I will be posting new pictures etc this weekend, I had to do a lot of rework on the coreXY mechanism, keeping the belt inside the frame hanging down was just not going to work with the corner pieces and were too big of a pain so I went with just the motors outside on the sides with the filament extruders and bearings in the corner, I reprinted the parts and everything is lining up, I just need to print some more bearing flanges and should have it all hooked up and hopefully wired together and printing this weekend.
I will update the corexy with the new parts and the motor mounts probably tomorrow.
Update 9/25/2015:
I have everything hooked up but the hotends and the extruders and told it to print, told it to do a print speed of 150mm/s and a move speed of 300mm/s and it didn't blink an eye, I cranked it to 999% and it flew, I doubt it could push the plastic out that fast especially as I normally use a 0.3mm nozzle but the mechanism handled it just fine and flew, it was a glorious sight.
Update 9/26/2015:
I have it completely assembled and printing.
It is printing beautifully, I am going to use it to reprint all the parts in the final colors then I will document the assembly, etc. when I put the new parts in, I may even do a build video or two.
I ended up going with a silicone heat mat for the heat source it is the same price as the circuit board but much more efficient.
Update 10/12/2015:
Everything is up and printing and working nicely but I have encountered two issues.
- Hotends get jammed.
- Bed bounces.
for #1
I had designed the fan to blow across and then the exit path for the air was up so it couldn't blow the hot air towards the plastic and I figured that was the cause of the jams so I opened it up to blow straight accross.... nope.
I realized cura was retracting 16mm on hotend change, set it to 5 thinking it was pulling the molten plastic up too far... nope.
I only printed with one hotend and everything worked flawlessly so I am thinking the fan is not blowing hard enough to cool both hotends so I ordered a 40mm x 40mm x 20mm fan that blows roughly 3 times more than the one I have, hopefully it will be here by the weekend, will update if that cures it.
for #2 the shape of the bed is rectangular, the Z axis is on one of the short ends, if I was to put the Z axis on the side of the printer I would have to extend that side of the bed for it to reach and again would be causing it to be a rectangle held on the short end so there is a lot of bounce on the far end and I mean A LOT, every time the head moves the bed shakes.
I ordered two 8mm shafts and bearings for the front corners of the bed, that SHOULD keep it from bouncing around and still allow it to move up and down, may have to have it home slower but printing at 0.2 - 0.02 layers like I normally do is slow enough for it not to bind during a normal print.
I have the parts but have not had time to make it yet.
I have had lots of ideas but this was the easiest, a great idea was to have a high 2" plate in the back top and bottom that then goes from their down each side tapering to the end of the bed but it would almost need to be one solid peice and it would add a lot of weight and the bed and build plate is heavy enough as it is.
The Ultimaker has the same issue and the result is ghosting, on the ultimaker a lot of people slow down and print towards the Z mount, I want to find a way to let me print normally and get better results.






Названия используются только для указания источника результата. Polyzon не аффилирован с перечисленными площадками.