
Бесплатно 
Goblin FPV Drone
Printables


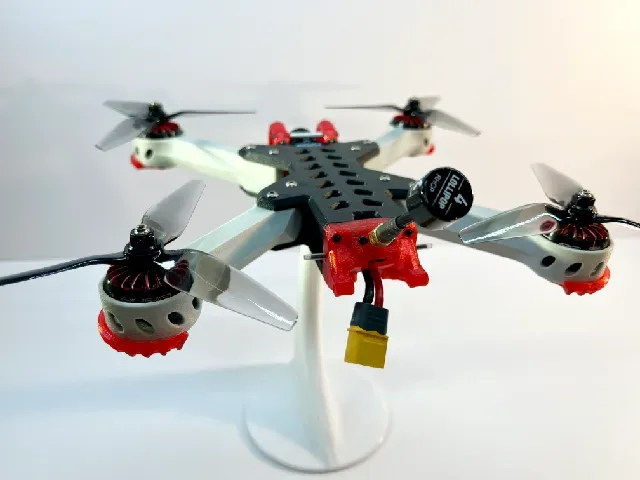
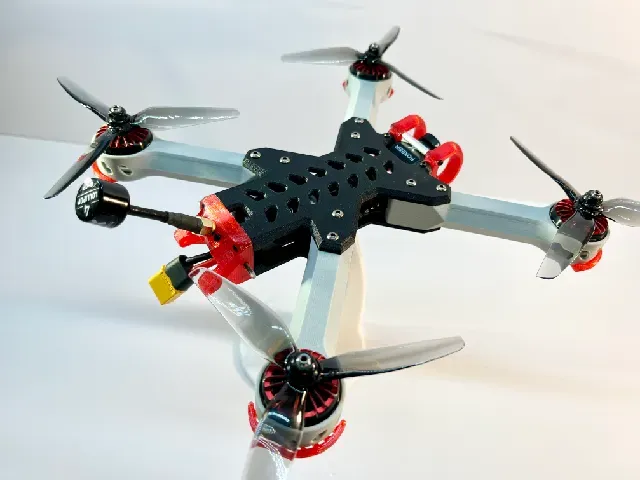


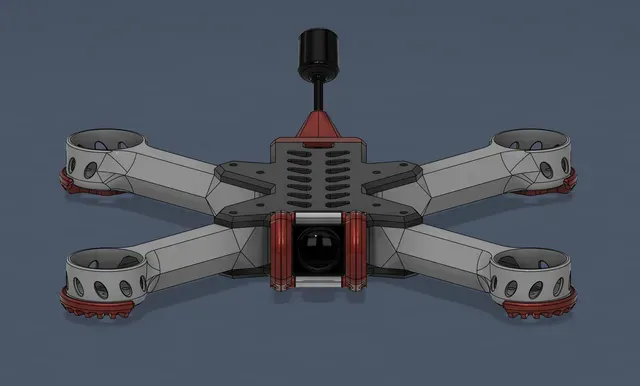


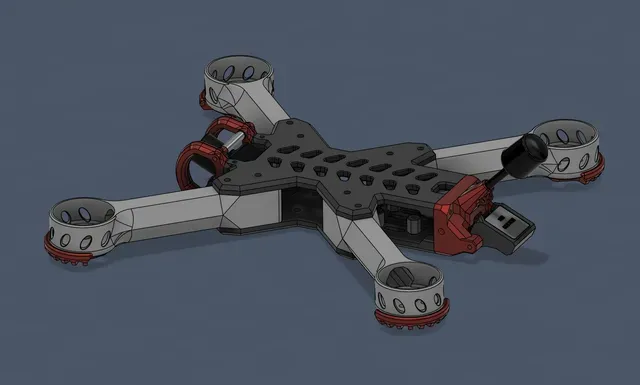
ATTENTION: as of 1/21/2026, The Phoenix FPV Drone has been "modernized" to compete with my other 5" drone, the Leopard. Though I maintain that the Leopard is slightly tougher, and the Dragonfly is slightly lighter, you need only choose which appeals the most. Or heck, build both.
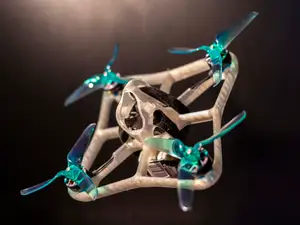
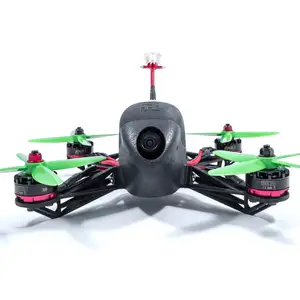
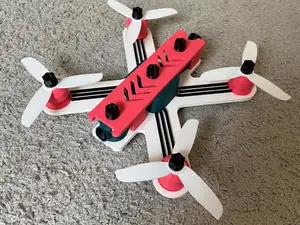
The ferocious Dragonfly FPV Drone is the final evolution of a journey that started years ago, to create a fully printable 5" drone. The predecessor of this model was once called the Phoenix. This new version addresses structural and compatibility issues, while preserving the style of its ancestor. Over the course its evolution, the base design split into two brothers, the Leopard and the Dragonfly. The Leo has a sleeker and more elegant aesthetic. The Dragonfly's appearance is sharper and more aggressive by contrast. In either case, the assembly process is so similar that you can follow the Leopard build photos for this drone as well
And now, without any further adieu, here are the details of the build. Read them carefully.
The Electronics:
- 1x flight controller / ESC stack
- No taller than 20mm if using 20x20 or 25.5x25.5
- No taller than 18mm if using 30.5x30.5
- what I used: SKYSTARS F722 HD MINI 55A STACK
- 4x 22xx size brushless motor
- what I used: iFlight XING 2207 2450KV
- 1x ELRS receiver
- what I used: HAPPYMODEL EP1 2.4GHZ
- 1x HGLRC M100 GPS
- I made the mount specifically for this affordable module, but since it's TPU you might be able to stuff in a similar GPS unit if you're lucky
- what I recommend: HGLRC M100
- 1x Digital or Analog FPV system
- A digital FPV system comes with everything you need; the camera, transmitter, and antenna
- An analog FPV setup usually requires camera, transmitter, and antenna be obtained separately
- what I used: Foxeer Razer Mini V3 + TBS Unify Pro32 HV + Foxeer Lollipop Antenna
- 1x LiPo Battery
- Depending on the KV value of your motors, you choose a battery
- For example, motors with KV around 2400 want a 4S ~1600 mAh battery
- While motors closer to 1900 KV can handle a 6S ~1300mAh battery
- What I used: OVONIC 4S 1600MAH
- 1x ELRS radio controller
- what I used: RADIOMASTER POCKET
The Hardware:
- 4x 5" drone propeller
- I suggest getting more as replacements though
- 1x 250x20mm velcro battery strap
- Simply holds the drone battery
- 4x male-female pair MR30 connector
- These are for the motor / ESC connections
- 1x XT60 female connector
- Usually the flight controller / ESC stack comes with one of these
- 4x M3x22-20 screw
- These are for mounting the FC / ESC stack. Depending on stack height, you can get away with 20mm screws, otherwise you need 22mm screws.
- 16x M3x10 screw
- These are for mounting the motors
- 16x M3x8 screw



Названия используются только для указания источника результата. Polyzon не аффилирован с перечисленными площадками.