
Бесплатно 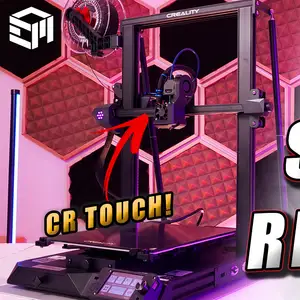
CR10 Smart X - SKR Mini E3 V3 Mounts and BTT TFT35 V3 Case (Easy Swap)
Printables


THIS PAGE IS FOR THE PARTS COMPATIBLE WITH THE CR-6 SE. YOU CAN FIND MY “EASY SWAP” PCB KIT HERE:
- https://embracemaking.com/products/cr10-smart-cr6-se-mainboard-easy-swap-pcb-kit The Creality CR10 Smart and CR-6 SE are platforms that have a lot of potential. However, there are a few design elements of these printers that could use some improvements to allow the printer to realize their full potential.
The Creality hot end incorporates a strain gauge sensor into the design for the purpose of autobed levelling. Essentially, the nozzle becomes the auto bed level probe. While this is interesting, it limits the number of compatible upgrades and has been proven to be unreliable and unstable over time. Most issues with these printers can be traced back to this strain gauge probe not functioning properly.
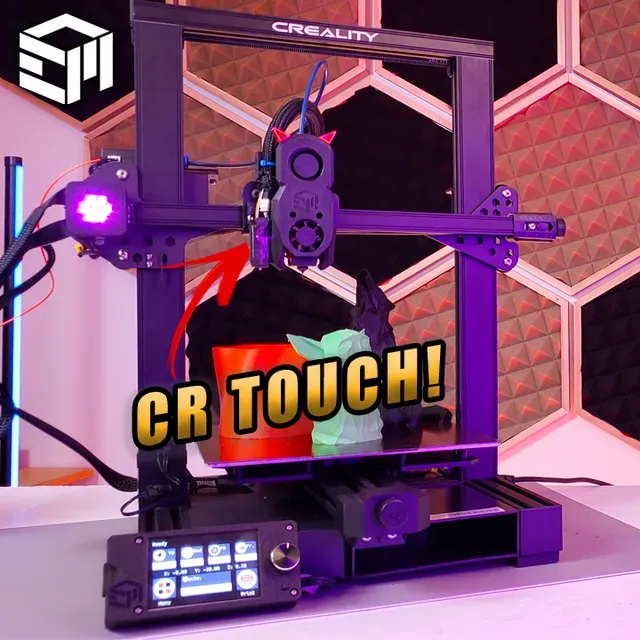
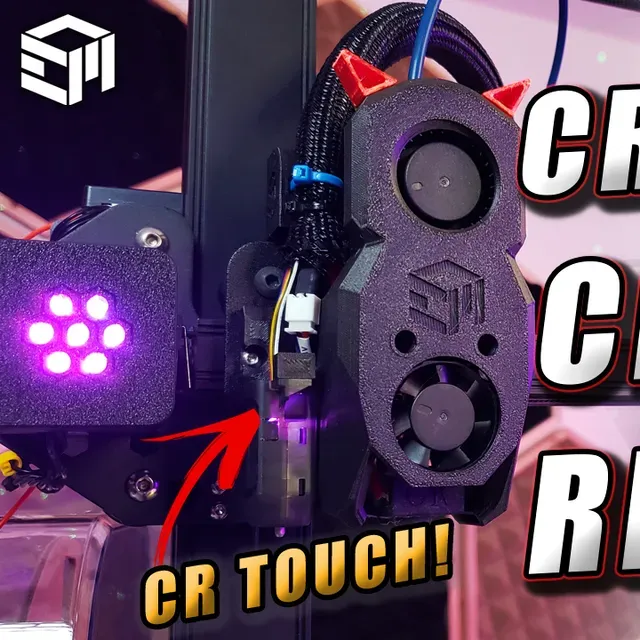
It would be convenient if their mainboards were compatible with the CR-touch / BL-touch probe style sensors found on the newest higher end Creality models. Unfortunately this is not the case and the lack of platform support for these printers has left owners helpless when it comes to upgrading - until now .
My PCB boards unlock the potential for you to use a huge array of control boards, auto bed levelling sensors, screens, hot ends, and extruders by making the wiring simple and easy.
You can easily upgrade your mainboard to any modern controller of your liking by retaining most of the original printer's wiring. This means no more hours of researching pinout diagrams and painfully making new wiring harnesses from scratch with many tiny terminals and specialty crimping tools. This makes the whole process as "plug and play " as possible. I have done the work for you.
The original gantry PCB is replaced with the "auxiliary" PCB, and the "breakout" PCB is located inside of the main electronics enclosure at the bottom of the printer. The original ribbon cables (unique to the CR10 Smart and CR-6 SE) plug directly into these boards and all of the connections are broken out for quick and easy identification.
The use of spring terminals makes the connections simple without the need for specialty crimping tools. Swapping wires is also fast and efficient as you will not need to re-pin small connectors if you make a wiring mistake. Simply release the wire using the push spring terminal and swap connections in seconds.
Connections from the printhead (most importantly ABL probe) can be conveniently plugged directly into the new auxiliary board on the gantry. You will not have to spend time cutting and extending longer wires to reach the mainboard.
You can select any modern main control board of your liking but the Big Tree Tech SKR Mini E3 V3 is recommended and is demonstrated in the videos above. It is hard to beat for the price and performance. The example wiring diagrams can be found here:
- SKR Mini E3 V3 Wiring Guide To make things even easier for you, I have also configured firmware for this controller. It can be found at this link:
- SKR Mini E3 V3 Firmware for CR-6 SE You can also find the PrusaSlicer configuration for this printer here:
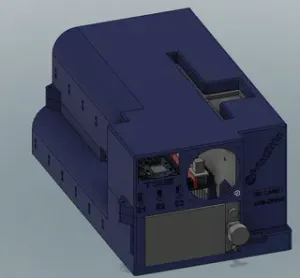
- CR-6 SE ‘X’ Prusaslicer Profile Additionally, I have done even more of the work for you and designed all of the necessary mounting adapters for the SKR Mini E3 V3 and these custom PCBs for use on the CR10 Smart and CR-6 SE. They are downloadable and free to print!
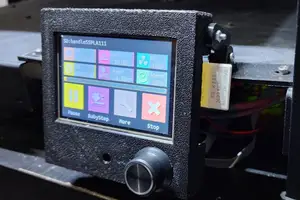
As a bonus, I even designed mounts, adapters, and housings for the other upgrades shown in the video (ie. Neopixels, TFT touch screen). Those design files are FREE and can be downloaded here:
- YOU ARE HERE To round out the whole package, I also designed a print head solution to mount a CR-touch / BL-touch and optionally upgrade to a direct driver extruder with the Bondtech LGX Lite. It has an improved part cooling fan setup and you can find out more about that solution here:
- Creality CR-6 SE CR-Touch + LGX Lite + 4020 Cooling Fan Conversion Please keep in mind that the amount of customization is limitless and you can either use the parts I've designed or venture down your own path if you wish to design your own. The point of this is to make the process easy where I have done the hard part for you and have made the electronics aspect of the upgrades convenient.
What is included in the kit on my website:
- Breakout PCB - Auxiliary PCB Hardware you need to mount the two PCBs in my kit:
- QTY:8 M3 x 6 thread forming screws - QTY:5 M3 x 8 thread forming screws - QTY:3 M3 x 6 Button Head Cap Screws - QTY:3 M3 Flat Washer Recommended accessories and equipment:
- Pre-terminated JST XH kit - JST Wire Extension Kit - Big Tree Tech SKR Mini E3 V3 Control Board - Big Tree Tech TFT35 Touch Screen - Big Tree Tech Relay V1.2 - Neopixel Jewel As an Amazon associate, I may earn a small commission (at no extra cost to you).




Названия используются только для указания источника результата. Polyzon не аффилирован с перечисленными площадками.