
Бесплатно 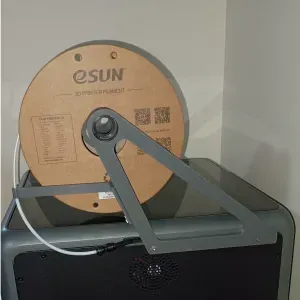
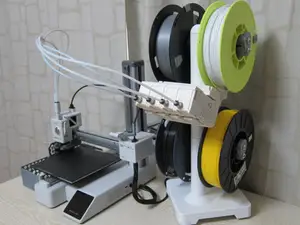
K2 Top Spool Holder
Creality Cloud
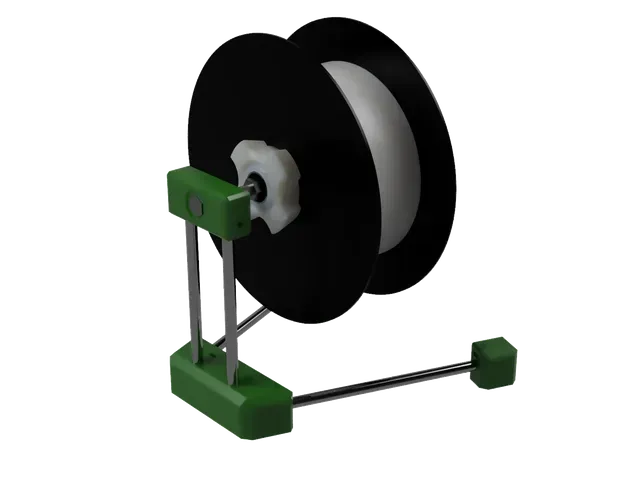
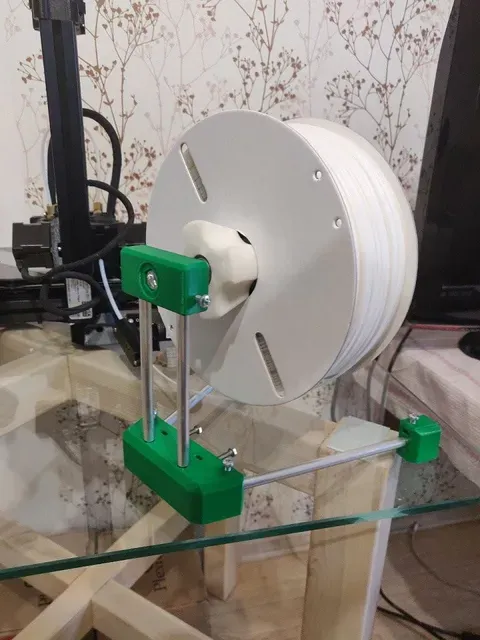
This design is based on the following model: https://www.thingiverse.com/thing:1241566
Print instructions
Video: https://youtu.be/CjRTTAGys1g
Materials: PETG or PETG+PLA; optional FLEX(TPU) for the feet
Supports: Not required
Print settings: 30% infill; 0.25 layer height; Printed on Original Prusa Mini
Hardware:
- 1x M8x160mm hex bolt (spool axis inner bolt)
- 5x M8 hex nuts (1x for spool axis fastening, 4x аs horizontal move limiters of printed spool bolt/nut; 2x nuts tightened up against each other in different directions)
- 2x 8mm x 160mm metal rod/pipe (for vertical spool holder arm)
- 2x 8mm x 200mm metal rod/pipe (for spool holder legs)
- (optional) 2x 608 bearings (for printed bolt/nut)
- (optional) 2x M4x25 or longer (for reinforcement of metal rods fastening)
- (optional) 6x M4x12 or longer (for reinforcement of metal rods fastening)
- (optional) 8x M4 nuts (optional, for reinforcement of metal rods fastening)
Printing/Assembly:
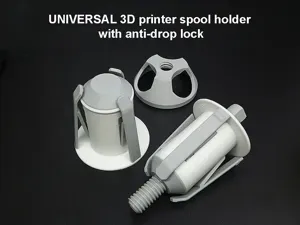
- Print "Spool_Axis_Bolt" and "Spool_Axis_Nut" parts. The material is not so important here, PLA or PETG will be fine.
- Alternatively, if you want to use bigger spools, other variants of spool axis bolt/nut can be used from the original model https://www.thingiverse.com/thing:1241566 . Take a note that in case of bigger spool axis bolt you need longer spool axis M8 bolt too.
- (Optional) Push in two 608 bearings to the "Spool_Axis_Bolt" part
- Print "Top_Joint", "Stand_Base" and 2x "Leg" parts. Recommended material is PETG. This part will withstand a lot of force from the weight of the filament spool.
- Use 200mm metal rods to connect "Stand_Base" and two "Leg" parts. If available, use M4 bolts and nuts to fasten rods to the parts. NOTE: Rods will fit tightly with the stock clearances, a little bit of gentle hammering may be required
- (Optional) Print 4x "Foot" parts with flexible filament (100% infill) and glue them to the outlined areas of "Stand_Base" and "Leg" parts. (CA glue should be fine)
- Connect "Stand_Base" and "Top_Joint" parts with the two 160mm rods. If available, use M4 bolts and nuts to fasten rods to the parts. (longer bolts needed to fasten rods to the "Stand_Base" part). NOTE: Rods will fit tightly with the stock clearances, a little bit of gentle hammering may be required
- Fit M8x160mm bolt to the "Top_Joint" part and fasten it from the other side with M8 Nut
- Use 2 nuts to create first limiter on the M8 spool axis bolt
- Fit "Spool_Axis_Bolt" part on the M8 spool axis bolt
- Use 2 nuts to create second limiter on the M8 spool axis bolt, so that "Spool_Axis_Bolt" part will be fixed on the axis. Using M8 nut limiters you can adjust how easy will spool rotate
- You are done, put your spool on the "Spool_Axis_Bolt" and fasten it with "Spool_Axis_Nut" part
%2Fhttps%3A%2F%2Ffbi.cults3d.com%2Fuploaders%2F13495371%2Fillustration-file%2Fcfe3deff-0c9c-46f9-b400-32c5bd0f1ea7%2FLad04-1.JPG&w=300)




Названия используются только для указания источника результата. Polyzon не аффилирован с перечисленными площадками.
Комментарии