
Бесплатно 
Ortur Obsidian - GCODE
Printables
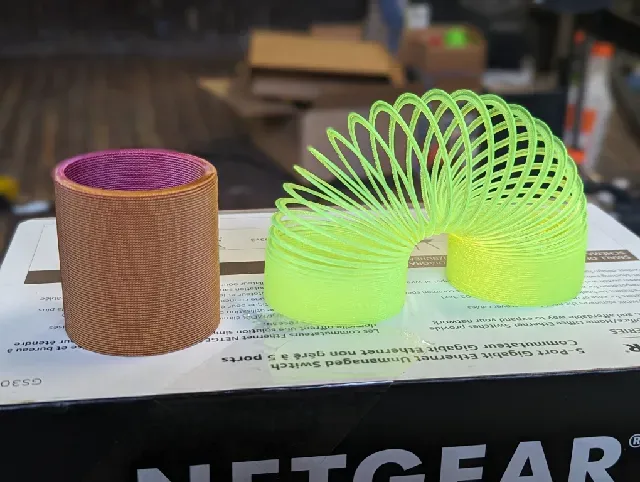
Found this on Hackaday years ago. It is a unique way to 3D print an object (Slinky style Magic Spring) which would otherwise be impossible to print in the traditional slicer toolchain.
Since the Magic Spring is a coiled strand of plastic, it cannot be printed using either fixed layers or vase mode slicing. Hackaday user mpclauser https://hackaday.io/MikeC developed a java tool to input parameters such as radius, width of plastic, coil height, and the ever helpful “Fudge Factor” which is key to the print process. The print consists of repeated back and forth print head motions which spiral upwards, printing the spring. The Fudge Factor changes the relative extrusion factor to enable the spring to print in place, but it prints separate enough that it will only slightly adhere to the previously printed coil. You then take the completed spring and use a fingernail (tedious and painful) or a small 3D tool spatula (just tedious) to zip the spring open.
On his Hackaday page, he links to the file spring3.jar, a Java archive file, which can be opened on any computer running a current JRE (Java Runtime Environment). You invoke the file from a command prompt. You cd to the directory containing the file, and
enter: java -jar spring3.jar
You then get a series of text questions which allow you to specify the parameters for your spring.
Read mpclauser's Hackaday page to get the details.
The reason I'm posting this in Printables is to make it easy to download a working gcode file for a spring which I've tested on multiple printers with a 0.4mm nozzle.
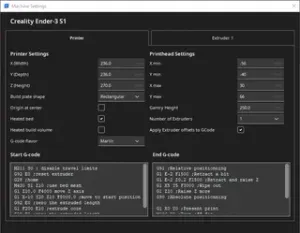
I also had to modify the start and end gcode a bit to make it work on my printers.
The start code has entries for mesh bed leveling, and the end code has a shutdown command for the bed. Here is my modified start gcode:
;temp:190.000000 ;outer radius:23.250000 ;inner radius:18.750000 ;layer height:0.660000 ;degrees of movement per zigzag:1.000000 ;overall height:45.000000 ;extrusion factor:0.026000 ;calculated extrusion factor:0.100571 ;z offset:0.000000 G21 M104 S190.000000 M140 S60 G28 M109 S190.000000 M190 S60 G90 G92 E0 G1 F1700 M106 S255
Not listed in the description from the java generated gcode is the X and Y offsets which center the spring on X75 Y75 on the bed.
Here is my modified end gcode:
G92 E0 M107 M104 S0 M140 S0 G28 X0 M84
If you generate your own gcode from spring3.jar, you can cut and paste these Gcode sections and it will be safe to print on your Prusa or similar printer.
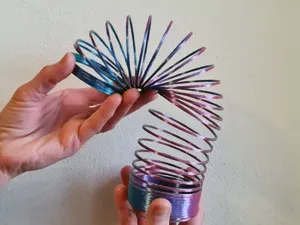
Happy Slinky-ing!




Названия используются только для указания источника результата. Polyzon не аффилирован с перечисленными площадками.