
Бесплатно 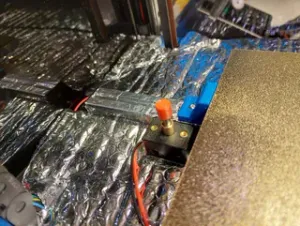
voron 2.4 Z endstop pin cap for reliable Z home
Printables
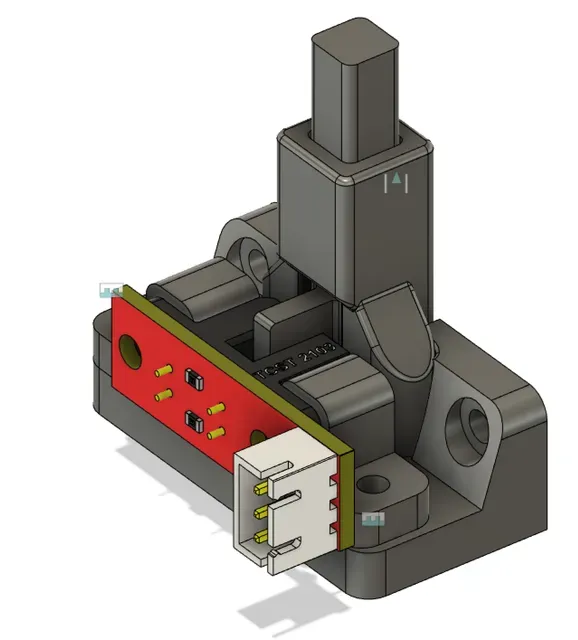


video, how it works
Z home action using this optical end stop.
https://www.youtube.com/shorts/sI1ZvfzMKzE
In Voron2.4 3D printer, it's using a metal M5 pin for Z endstop, it uses the pin to let the nozzle to touch and get a Z=0 position.
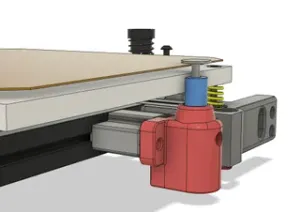
Since I don't like doing Z home using the dirty/ooz nozzle, it always create a wrong Z offset unless the nozzle is super clean ( imaging the nozzle has 0.1mm thick of filament…bad enough to ruin the next print), so I made an easy and simple mod to let the PIN taller and touch the omron probe body to do Z home.
https://www.printables.com/model/503485-voron-24-z-endstop-pin-cap-for-reliable-z-home
now it always can get accurate Z zero.
However, it still has two problems:
- when I need to flip the voron up side down, the pin drops down and hit the acrylic panel pretty hard, it's accident waiting to happen. - the original z endstop uses a mechanical micro switch. it shall encounter problem in months…I assume. So I made this mod to address these two problems.
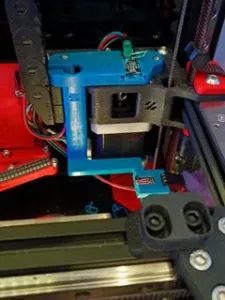
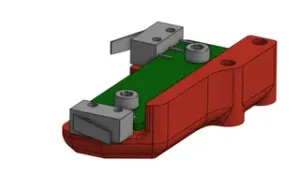
1 use a 3D print endstop body, so it won't drop, must use ABS since it's a high temperature environment.
2 use an optical switch so it shall last a lot longer than mechanical microswitch
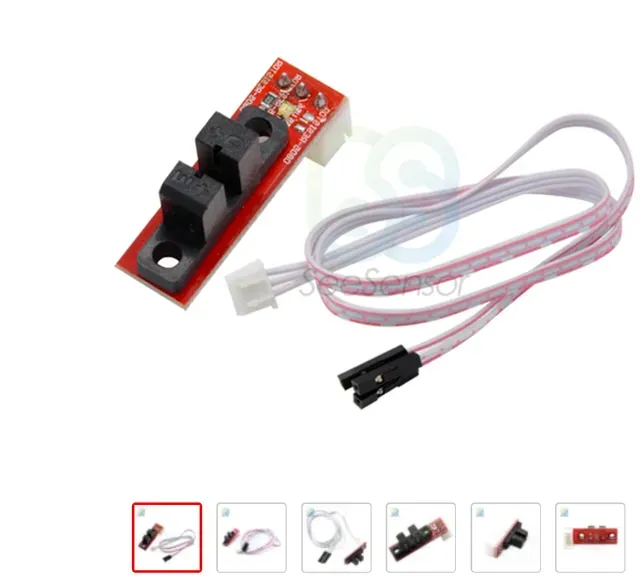
that optical endstop /switch is super low cost, I have a few floating around when I played with CNC/3D printer years ago.
hardware / electronics needed:
- 3mm spring about 10-15mm. - optical endstop ( it works for 3.3V - 5V ), output normal = high, blocked/trigger = low for example link1 or link2 - 2.6mm tapping screws 8mm, 6pcs, to assemble the body/base etc. - M3 X 8 mm screw, 2pcs - to mount the endstop on the 2020 extrusion, at the similar place as the original mechanical metal pin endstop. depends on how high your omron probe is mounted on the tool head, can choose one of
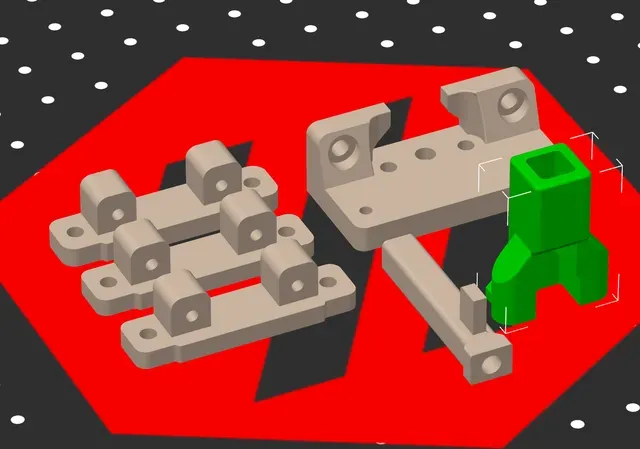
the pcb mount part has 3 versions, 3.2mm 3.4mm 3.6mm.
taller the optical endstop is mounted, earlier it gets triggered. ( higher Z offset)
depends on the accuracy of your 3D printer, the part may not be exactly thick. ie 3.2mm part maybe 3.3mm thick etc.
suggest print 3 version of pcb mount all, so that more can be chosen.
Part probe_pin_41.8.stl : recently I installed Klicky (pcb),
option1 is to let klicky to do z home with the klicky mechanical switch,
another option is use this optical pin to do Z home. Aim this pin to tool head body, (the one has Y magnet) , I assume everyone's tool body has same size, so it dooesn't depend on some random variables. my z position_endstop is 0.82
wire connection:
the one I have has VSG, connect it to the original mechanical Z endstop connector on the controller board, but it requires VCC (3.3V probably, my octopus).
Double check polaris before connect.
Adjust position_endstop value in klipper config file.
and so do a few 1st layer print.
In my opinion the final Z offset is between 0.3mm to 0.8mm would be optimal.
note , this is designed to touch the Omron Probe (TL-Q5M) body since it's always clean, it has no ooz debris what so ever, so the Z zero is always correct.
It cannot touch the hot nozzle obviously, since it's printed by plastic.
Print:
ABS (quite close to hot bed)
40% infill, no support
4 parameter
check the fan setting, fan should be on when layer print time is less ## seconds.
otherwise the small light blocker part of the “probe pin” will be totally a mess.
for example PRUSA slicer, Filament Settings, -→ Cooling, Enable Auto cooling, fan speed 0% and 20%, Enable fan if layer print time is below …





Названия используются только для указания источника результата. Polyzon не аффилирован с перечисленными площадками.