
Бесплатно 
(V2) For BIQU B1 - DIY Enclosure - Remix of Prusa's V2 IKEA Lack Enclosure - with extra doors (opening on 3 sides)
Printables

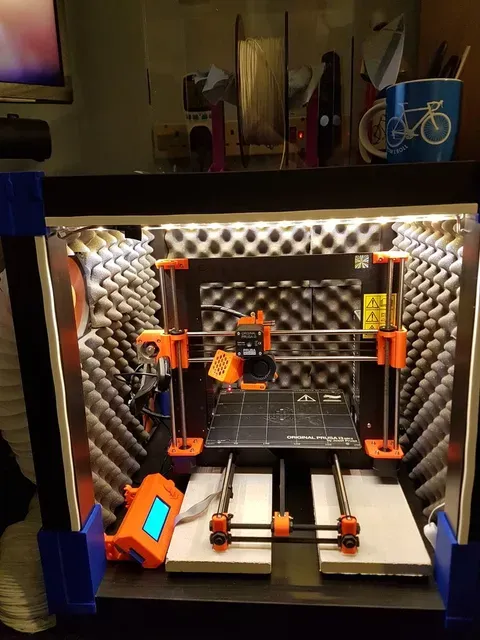


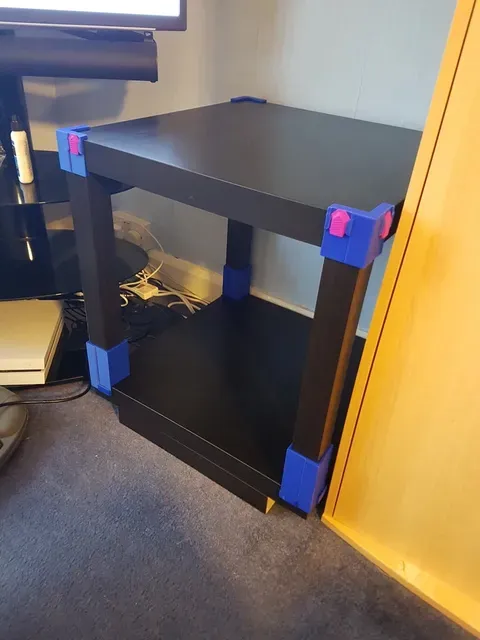


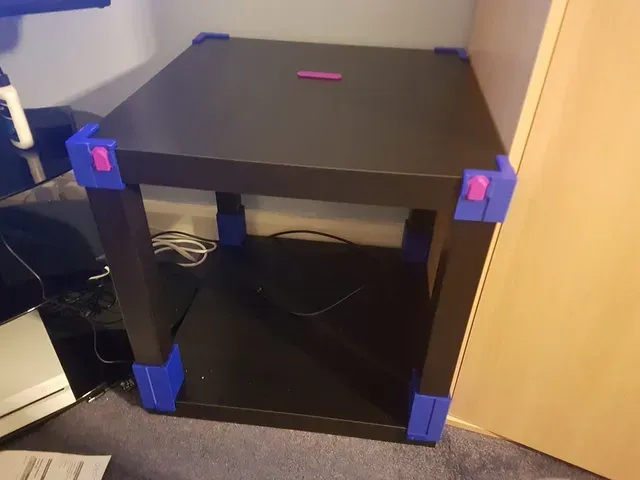
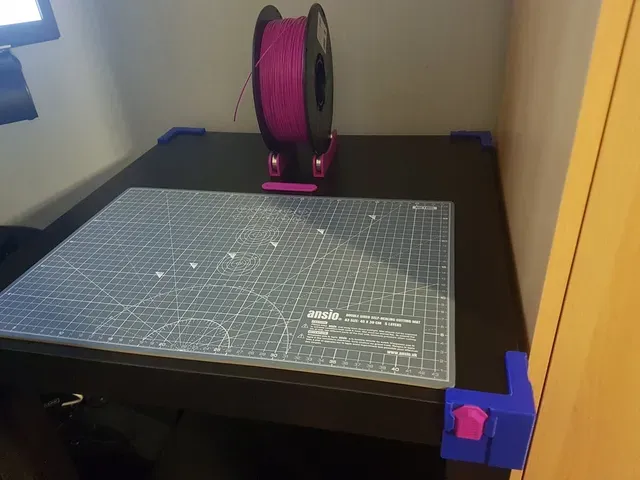

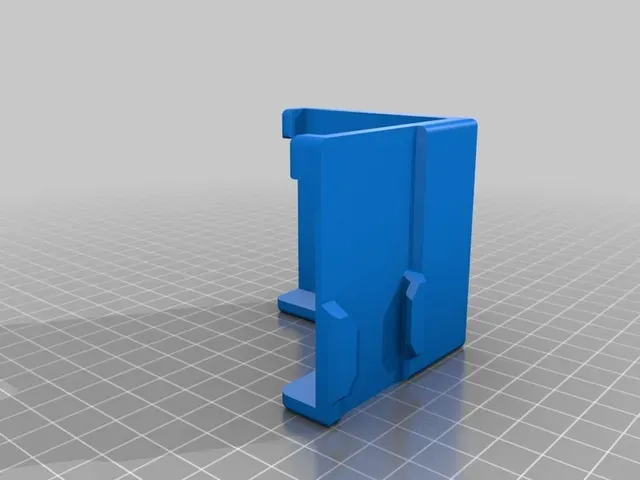


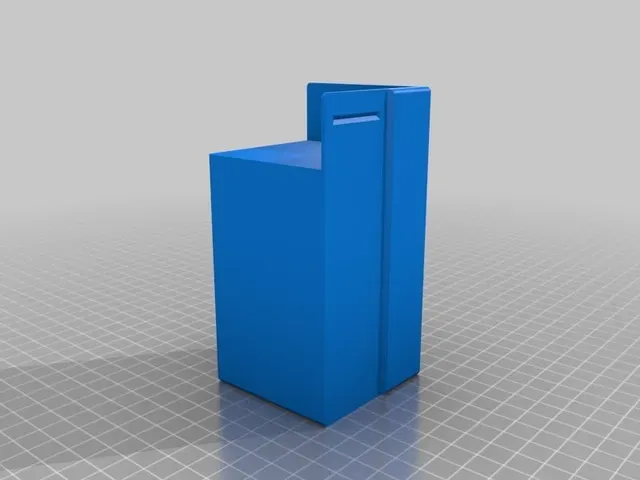
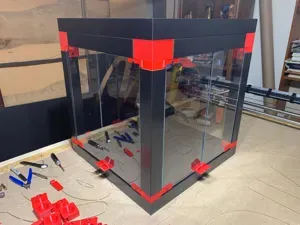
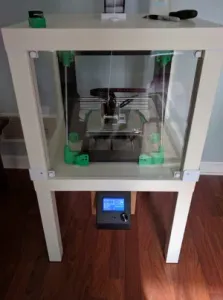
Inspiration for my lack enclosure came from https://www.thingiverse.com/thing:2226678 , the printed legs and corner caps are as the original design although updated to accept 3mm material.
What I Used:
• Two Ikea Lack tables
• 500x500 mm plexiglass panel for front
• 1x sheet 1829x3x607 sheet of MDF (used the cut the other 3 sides from)
• 4x printed feet (as uploaded STL file)
• 4x Printed tops (as uploaded STL file)
• 1x Printed filament guide (as uploaded STL file)
• 1x acrylic 250mm 5 sided cube (brought from http://www.plasticsforyou.co.uk/250mm\_5\_Side\_Cube\_Box\_display\_stand\_clear\_acrylic\_p/5sc250mm.htm )
• 2x 120mm computer fans
• 2x Printed fan locking rings (as uploaded STL file)
• 2x Printed fan cap (as uploaded STL file)
• 1x Printed fan duct cap (accepts 100mm ducting) (as uploaded STL file)
• 1x length of 100mm air ducting (length depends on your requirements
• LED lights (optional)
Assembley:
First build 1x lack table and add the 4x printed feet to the table legs, and the 4x tops to each corner of the the table top. Use the table top from the second table (legs optional) as the base and sit printed feet over each corner of the base.
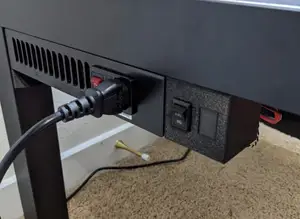
Next cut MDF & plexiglass to size and istall weather stripping (if required) to close any gaps between table and side panels. I then cut two circle in one of the side and installed the 120mm fans (1x intake at bottom, 1x exhaust at top) I installed the intake near the electronics of the printer so I could keep some cool air on them (doesn’t really effect the temp inside the enclosure to much, this can always be closed off by using a printed cap should you need a higher temp like when printing ABS). I re-wired the computer fans to run off a standard USB plug adapter although fans are 12v I am running on a 9v adapter which means they run almost silent (slightly slower) but move enough air for my needs.
I then cut the lack table top (using a craft knife) and install the filament guide to run filament through the table top. I then used the 250mm acrylic cube as a filament enclosure which simply sits on the top of the enclosure and can hold two spools. I attached some weather stripping to the bottom of the cube to create an air seal to the lack table top.
I then lastly installed some LED lighting to the underside of the table as the enclosure was getting dark with 3x solid sides. You could of course use plexiglass for all sides but in my case 3 of the sides aren't really going be that visible so i opted for the cheaper MDF sides.
Currently a work in progress almost complete, just waiting on the arrival of the plexiglass (currently using a towel to close front off), MDF sides will be sprayed satin black. I will update item when complete.
UPDATE
So after using the enclosure for awhile now rather than paint the MDF sides as originally planned i've installed sound proofing foam. I did this to dampen the vibration noise i was experiencing it will also help with enclosure temps.
Foam from Amazon https://www.amazon.co.uk/gp/product/B0045Z94EY/ref=oh\_aui\_detailpage\_o00\_s00?ie=UTF8&psc=1
Print instructions
Category: 3D Printing Summary
Inspiration for my lack enclosure came from https://www.thingiverse.com/thing:2226678 , the printed legs and corner caps are as the original design although updated to accept 3mm material.
What I Used:
• Two Ikea Lack tables
• 500x500 mm plexiglass panel for front
• 1x sheet 1829x3x607 sheet of MDF (used the cut the other 3 sides from)
• 4x printed feet (as uploaded STL file)
• 4x Printed tops (as uploaded STL file)
• 1x Printed filament guide (as uploaded STL file)
• 1x acrylic 250mm 5 sided cube (brought from http://www.plasticsforyou.co.uk/250mm\_5\_Side\_Cube\_Box\_display\_stand\_clear\_acrylic\_p/5sc250mm.htm )
• 2x 120mm computer fans
• 2x Printed fan locking rings (as uploaded STL file)
• 2x Printed fan cap (as uploaded STL file)
• 1x Printed fan duct cap (accepts 100mm ducting) (as uploaded STL file)
• 1x length of 100mm air ducting (length depends on your requirements
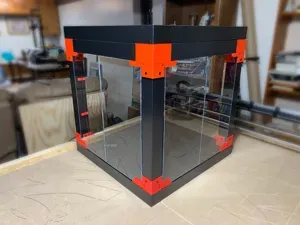

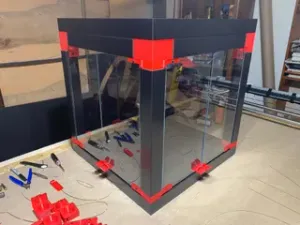




Названия используются только для указания источника результата. Polyzon не аффилирован с перечисленными площадками.