
Бесплатно 
Knife, Scissors, Chisel & Razor Sharpener - Leading Edge System
Printables


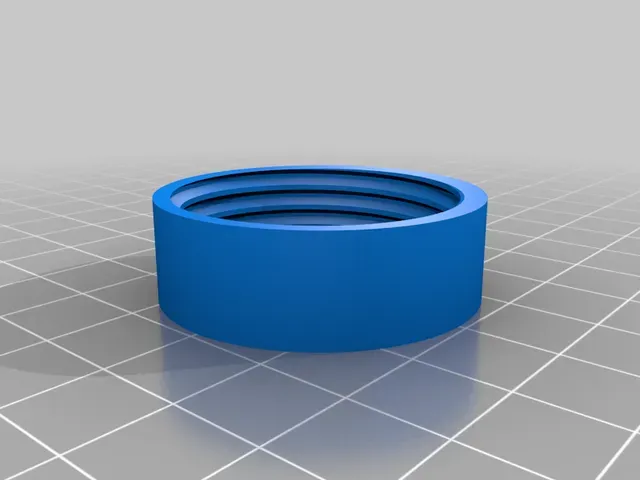
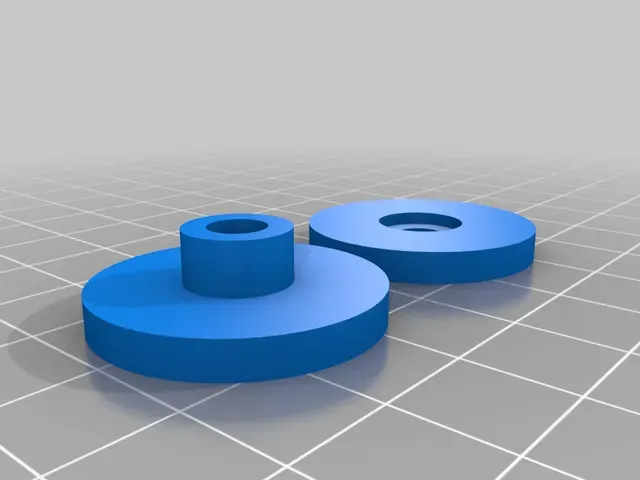

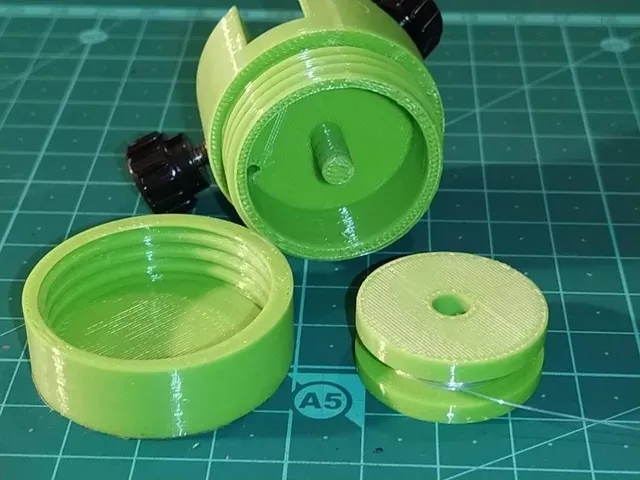
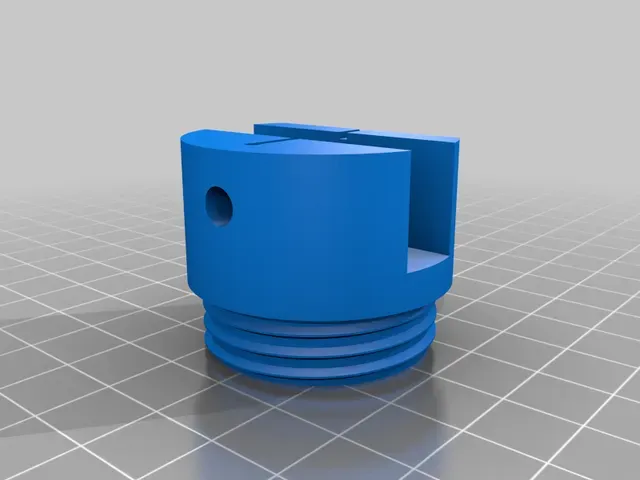
This is my version of an Edge sharpness tester
This is based on the popular BESS Edge-On-Up Industrial edge tester. It is used to test the sharpness of knives, razors and any other edged tools.
The original uses a regulated filament for edge testing, but I just use very thin 0.165mm monofilament fishing line and a double-edge shaving razor as my calibration value for cutting, and I use a very accurate digital pocket scale for measurement.
Make sure the fishing line is not pulled tight between the 2 locking screws, a tight or stretched fishing line will affect your measurement and make it inaccurate. Always keep a little bit of slack in the line between the 2 locking screws when testing your edge. Carefully and very slowly push your edge down onto the line while looking at the scale to see at what value it cuts the line. Slow and careful is important for an accurate value.
Parts required:
2 x M4 Brass threaded inserts (max 5mm long).
2 x M4 Thumb screws (1 needs to be no more than about 5mm long, the other 8mm long).
Your choice of cutting media. (0.165mm monofilament fishing line recommended)
Accurate digital scale.
Assembly:
Super glue the 2 parts of the small reel together and put it aside to dry. Heat and insert your brass inserts into the 2 large holes of the main unit and make sure the small 2mm hole for the fishing line is not obstructed after installing the brass inserts. If it is blocked due to melted plastic after installing your brass inserts, then drill it open again carefully with a 2mm drill.
Spool as much fishing line onto the small reel as you need (about half full is more than enough for hundreds of tests). At the bottom of the main unit, insert the end of the fishing line into the small 2mm hole from the bottom up, past the first locking screw and then carefully install the small reel into the bottom recess of the unit, making sure the fishing line does not un-spool or knot while you carefully screw the bottom cap and the main unit together. Install the short 5mm thumb screw on the diagonal cutout of the main unit, and the longer thumb screw in the side.
How to use:
Unscrew your 2 thumb screws a bit and pull out about 2 inches of fishing line through the small 2mm hole at the top of the unit. Now lock the fishing line with the first thumb screw on the side of the unit, while feeding the line through the small channel and under the second thumb screw. Tighten the second thumb screw to pinch the end of the line in place, making sure that the line is very slightly slack. If it is tight and stretched your measurements will not be consistent.
Place the unit on your accurate small digital scale and then use your double edge shaving razor blade to very slowly and carefully cut the line, using this measured cutting force as your calibration value. Compare your other edge cutting values to the calibration value of the DE razor blade as a reference. As an example, my own 0.165mm (slightly slack) monofilament fishing line takes about 25 to 30 grams of pressure to cut with slow gradual pressure using a new Feather DE blade. Thinner line will give a lower value and be too easy to cut. Much thicker line will be too hard to cut, and not give accurate results.
Every time you want to test the sharpness of an edge, just feed some more line through and lock it between the 2 thumb screws, making sure it is not tight or stretched.
You can search online for videos on "BESS edge tester" for more reference.
If you find my designs useful, please go ahead and click on "Tip Designer" to the right of the photos at the top of this page. Proceeds will be used to purchase printing filament so I can keep testing and designing cool new things that you might find useful.
Thank you!
Note:
Have a look at my other designs, I have some nice sharpening accessories for all your knives / scissors / tools.
https://www.thingiverse.com/leadingedge/designs
Print Settings
Rafts:
No
Supports: No
Resolution:
0.2mm
Infill: 80
Filament: PLA PLA Your Choice
Notes:
Make sure to print it accurately, and make sure not to print supports in the threads of the unit, or it won't screw together properly.
If you find my designs useful, please go ahead and click on "Tip Designer" to the right of the photos at the top of this page. Proceeds will be used to purchase printing filament so I can keep testing and designing cool new things that you might find useful. Thank you!
Category: Tools


Названия используются только для указания источника результата. Polyzon не аффилирован с перечисленными площадками.