
Бесплатно 
Remix Magnetic grille for Drop BMR1 Nearfield speakers Drop BMR1 - grille insert
Printables
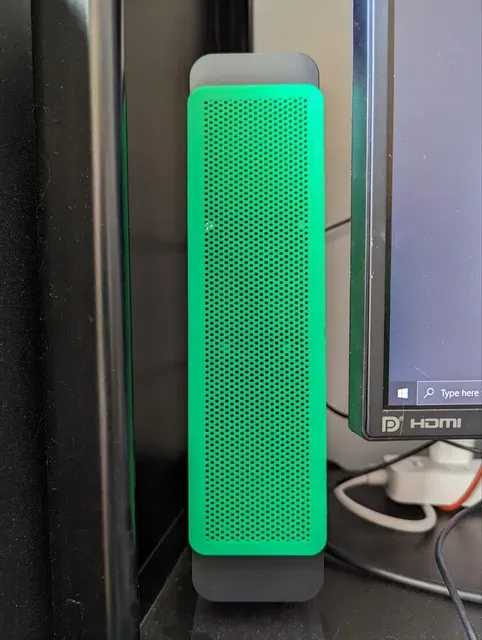




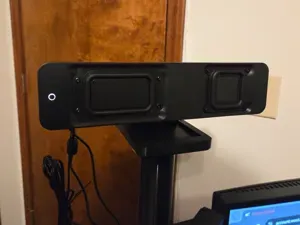
I'm a happy owner of the Drop BMR1 Nearfield desktop speakers (even though it is a bit of a Kickstarter-like experience and not everyone is happy - but then, it's nearly impossible to make everyone happy anyway). They did have an optional magnetic grille accessory, which looked nice, but (a) I was too cheap to pay for it in advance and (b) they seem to be struggling with manufacturing those anyway, judging by the feedback on the site.
So, since I have got the speakers and enjoy them quite a lot, and I also live in very dusty southern country, I decided to try my hand at doing my own magnetic grilles. Or maybe if you got Drop ones and they broke, you can now make these DIY ones :)
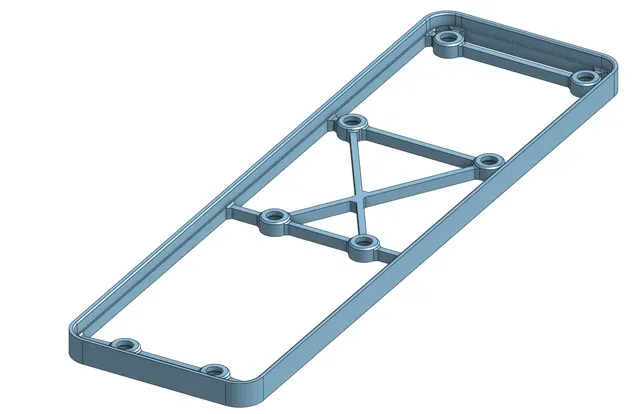
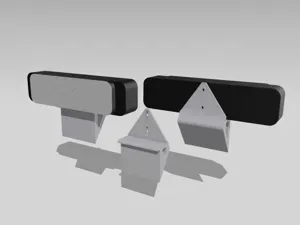
The model consist of three parts.
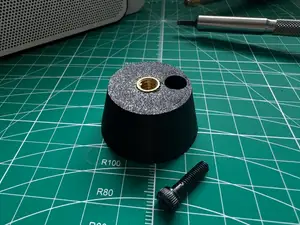
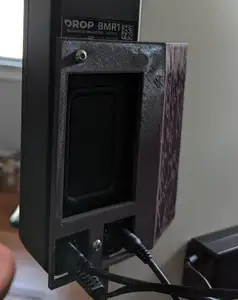
One is the actual magnetic mount. It relies on 8 6x3mm magnets which are press-fit (they are expected to stick out of the hole a teensy bit). I recommend placing magnets on a flat hard surface and press the mount onto them, not the other way around, to avoid breaking the mount. Polarity is not important. The model has the holes for the magnets at 6.05mm, which works fine for me (and even then I'm tempted to use a drop of superglue). If you absolutely can't get that to work for your printer or filament or settings, please comment, I'll gladly publish a variant with a different tolerance. I preferred to print the mount in black, but that's an aesthetic decision which is entirely yours.
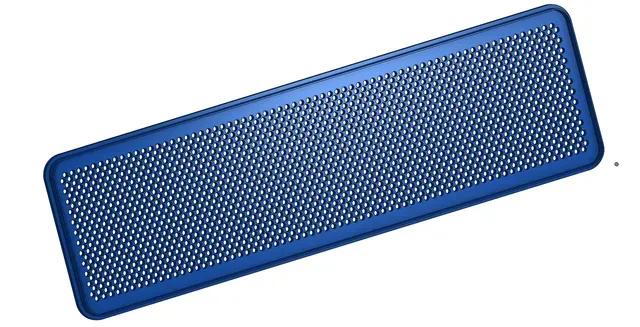
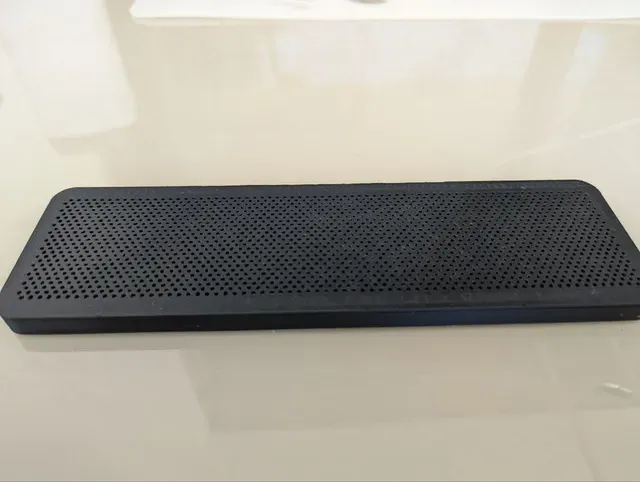
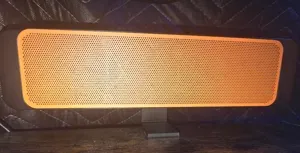
The second part is a pre-holed grille insert. It's a bit of a pain to print, and also the resulting hole pattern aesthetics are not the best, in my personal opinion (see photos), BUT you can just take the STL and print, no slicer tinkering required.
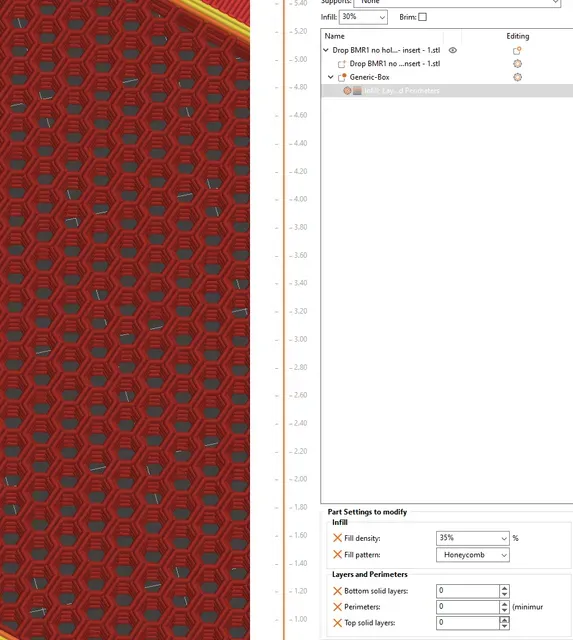
If you desire more, you can take the third file, which is an 3MF made in PrusaSlicer, and consists of the grille object with a modifier box ; for the box, set zero perimeters, zero tom and bottom layers, and then your desired infill pattern and density (see the attached picture). I have had very satisfactory results with Honeycomb at 35%, and you can also play with other flat patterns.
Another aesthetic decision is which print surface to use - I found that smooth PEI (or, perhaps glass) gives a bit of a glare, and that textured PEI gives a more pleasant surface finish, but your mileage may vary. When and if I get one of the now fashionable patterned smooth print surfaces (with diamond or carbon fiber patterns and the like), it will be fun to try those, too.



Названия используются только для указания источника результата. Polyzon не аффилирован с перечисленными площадками.