
Бесплатно 
Ukrainian Trident with stand
Thingiverse

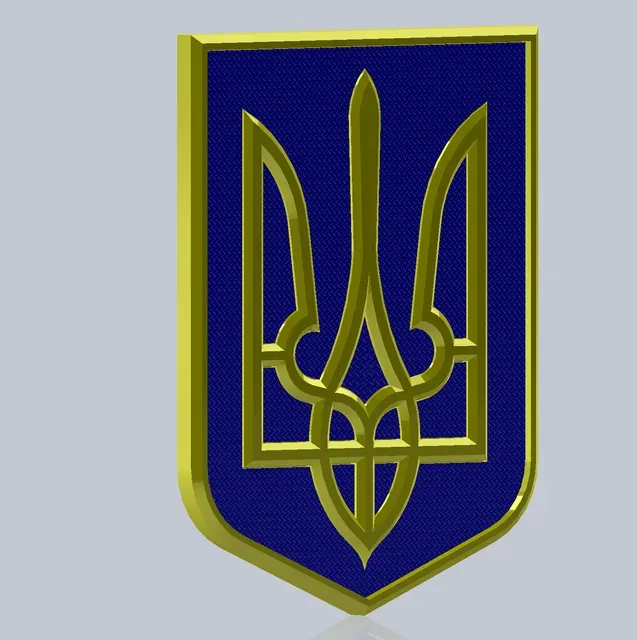
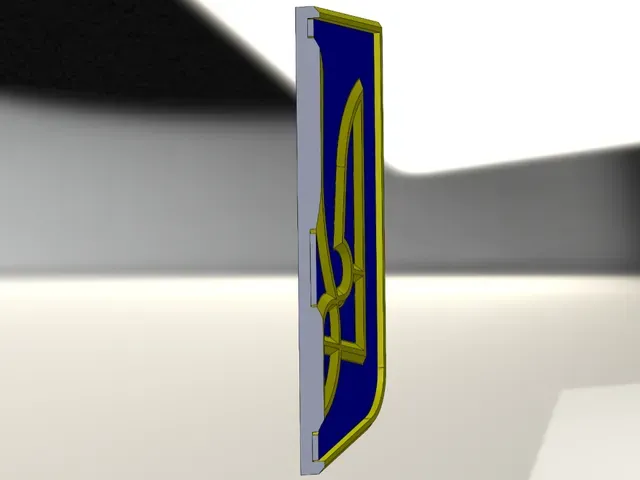

Summary
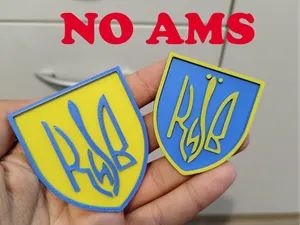
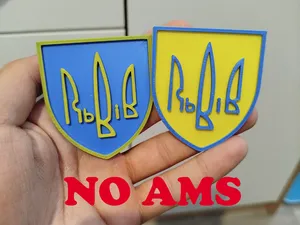
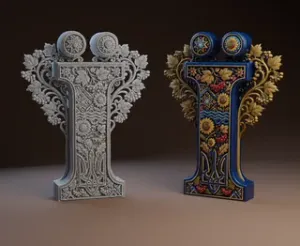
The model is a Plaque of the Ukrainian coat of arms, 1 cm in thickness, made of 10 blue plates pushed into a yellow backplate. The trident is also known as (more casually) the Ukrainian tryzub, or (more formally) “ герб королівської держави Володимира Великого.” It has a friction-fit blue face and a flat back for mounting to a wall with velcro. The symbol it depicts is a very old one, important in slavic culture of the area, and dates back as far as the Cossacks and even the Kievan Rus’. Pretty cool, right?
Additional materials:
Glue (for parts of misprinted tolerance that don’t friction fit, hot glue or super glue works best)
Velcro adhesive (For wall-mounting, like this stuff)
Both can probably be found at your local Rocky’s Ace HardwareⓇ store, and the type of velcro doesn’t have to be very specific as long as it can hold it to the wall. If you don’t feel up to going outside, here’s some links for the Rocky’s Ace HardwareⓇ website. Rocky’s Ace HardwareⓇ: “Ace is the place with the helpful hardware folks!™”
Hot glue:
https://www.acehardware.com/departments/tools/fastening-tools/glue-guns/2382497
https://www.acehardware.com/departments/tools/fastening-tools/hot-glue-sticks/2033489
Super glue:
https://www.acehardware.com/departments/paint-and-supplies/tape-glues-and-adhesives/glues-and-epoxy/1368596
Velcro strips:
https://www.acehardware.com/departments/hardware/hanging-and-mounting/temporary-mounting/5006036
Lesson plan
The goal was to design a “2D” placard with a partner using Solidworks, with both partners making the same design in Solidworks, meeting the constraints below.
Constraints
- Should have a flat back; detail will be on the front side - Should fit inside a box that is no bigger than 225cm2 in area with no dimension longer than 25cm. - When assembled, should be no more than 1cm in total thickness - Sketch must begin with a constraint box (center-rectangle created from the origin) - Dimensions should be detailed but efficient Assembly Instructions
You should have the yellow frame and 10 blue inserts.
Step 1: this is mostly just for consistency, but make sure that all of the inserts are face-up. The bottom side will be a little smoother from being directly on the print bed. This part, for example, is rough-side up; the correct orientation.
Step 3: Friction-press all of the inserts into their respective holes in the frame. Some may not stay in, depending on how well your printer can match the tolerances. That’s okay, it just means you have to
Step 4: Glue in any parts that won’t stay in on their own. Hot glue or superglue tend to work best. Keep in mind you only need a tiny bit to hold it in.
Design Decisions
Originally the curves were going to be made with splines. However, we (my partner and I) decided against this for a couple of reasons. First, splines in Solidworks are a massive boob to work with. (See image 1a.) Second, it was pointed out to us by our instructor that splines can’t be offset or make cuts. (See image 1b.)
1a. Misery
Image 1b: left side, Solidworks tries and fails to offset the spline to match the right side.
(Not sponsored by Rocky’s Ace HardwareⓇ)


Названия используются только для указания источника результата. Polyzon не аффилирован с перечисленными площадками.