
Бесплатно 
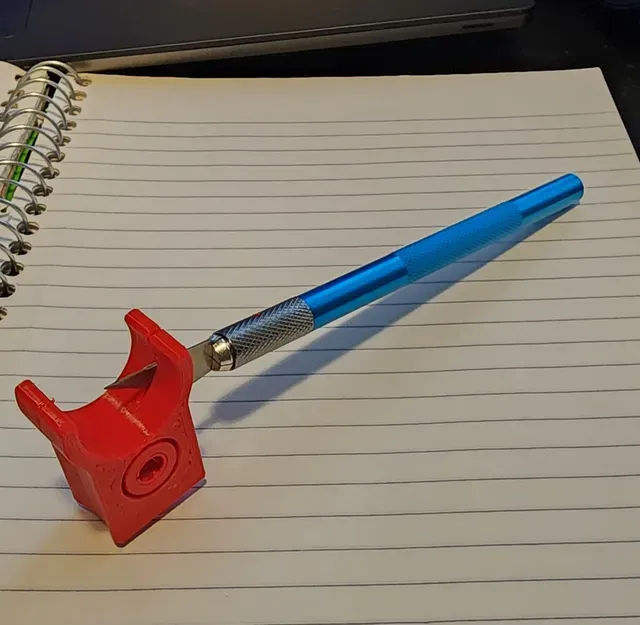
12GA Adjustable Shell Trimmer / Opener
Thingiverse
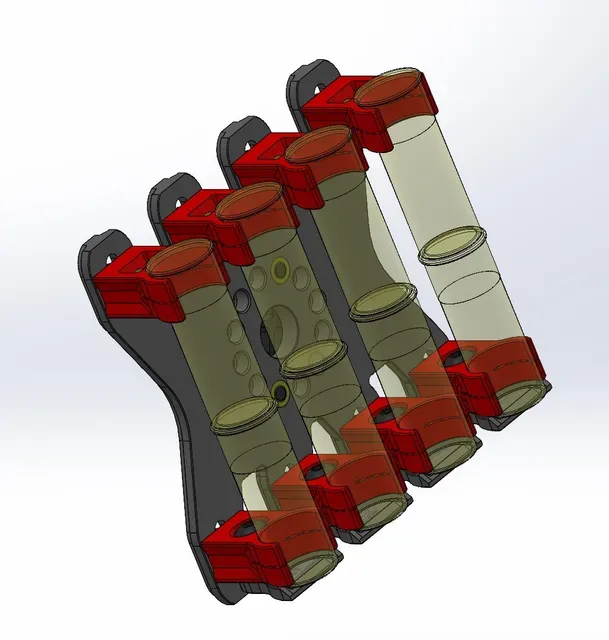
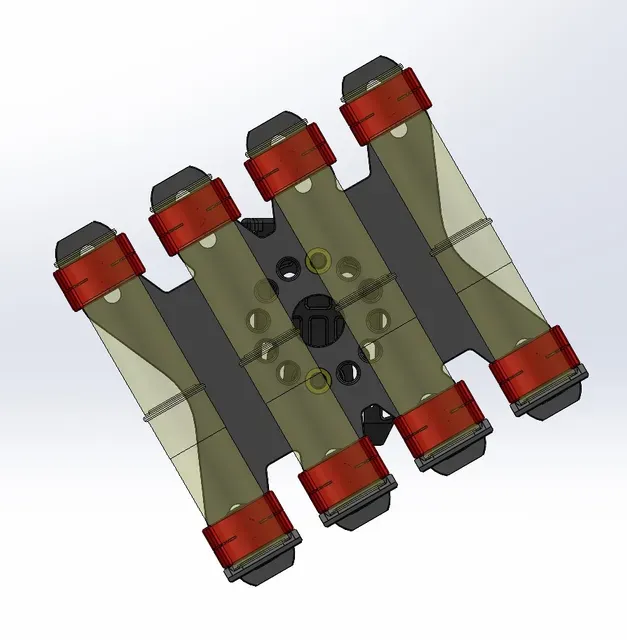
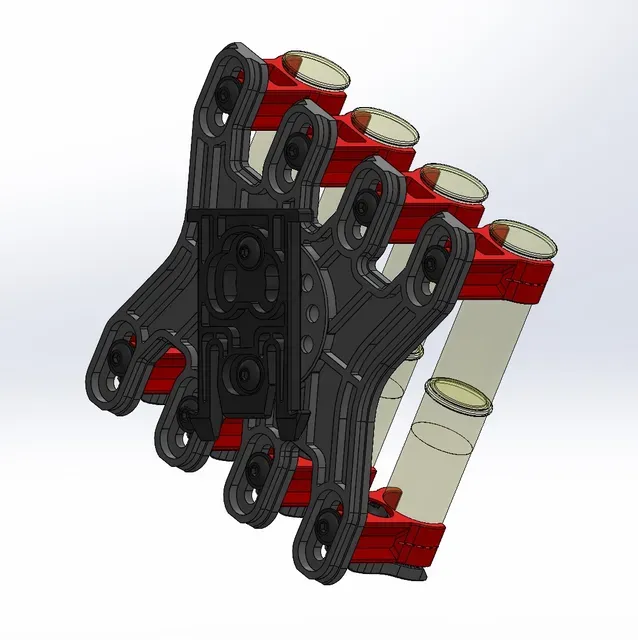
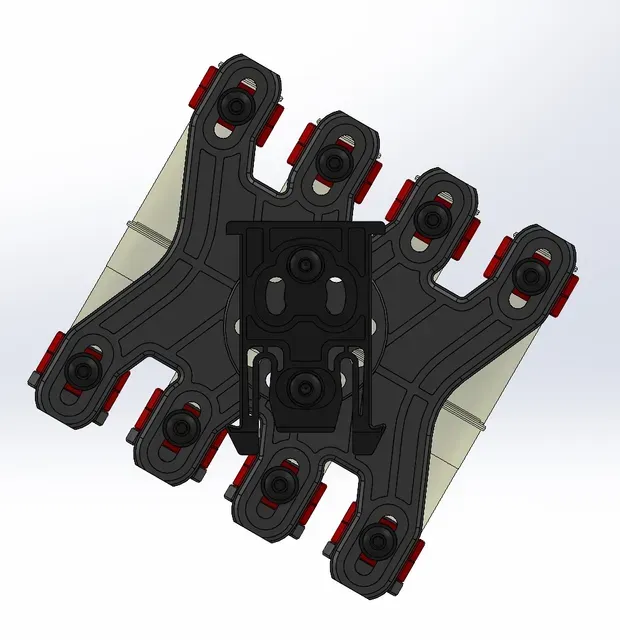

SFA Shell Caddy for loading Doubles in competitive shotgun shooting.
Update 12292023 - Added the end stop stl file…
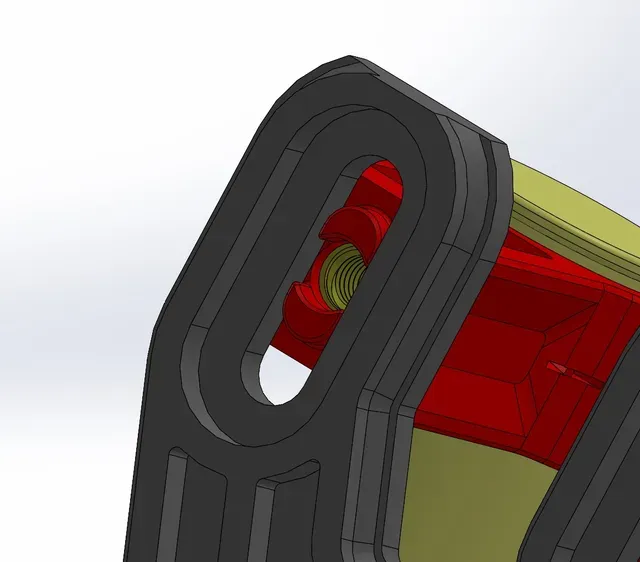
This utilizes a single back plate design and alignment tabs on the clips for easy setup and adjustability. 12 mounting holes for your ELS fork or Tek-Lok Mount so you can set it up to any angle you want whether it be on the left or right side. Slotted clip mounts allow you to adjust for the perfect grip on your different shells. “V” shaped clearanced areas on the ends of the back plate for easier first pulls. The idea behind the clips are the same as before with the double retention design to help grab the inconsistent low brass shells more securely (Now a 1 piece design!) The end stop geometry only contacts up to the center line of the shells which is designed to help quicker pulls if you do the wrist twist and pull instead of just pull.
Configuration options - 4x2, 3x2 and 2x2 - Because we all know that before we show up to a match we have no idea what to be ready for other than a round count. These back plates are designed with approx 5/8" between the shells when its loaded. This seems to be a very good middle road dimension. But If you got them sausage fingers or little lady digits just let me know i can get you the back plate .stl's with shell spacing that is better suited for your situation.
Print Notes
- These files were all designed to be printed with a 0.6 nozzle and 0.3 layer height with PETG, I have only every used PolyMaker PETG and it works amazing. If you dont have a 0.6 nozzle i highly suggest getting one for the print time savings but 0.4 / 0.2 will work also. Just takes longer. Heavy Wall count is a must for strength! mine is 3mm - with these big back plates you will want to make sure your bed adhesion and print settings are DIALED in to keep from corners lifting. - No supports are necessary for the back plate, Clip 1 or end stops. - ELS style fork and Clip 2 need supported. For the 4x2 rig you will need
- (1) 4x2 back plate - (4) Clip 1 - (4) Clip 2 - (4) End Stop - (14) M5 x 5.8 x 7.1 threaded brass inserts - (6) M5 x 16 socket head screws - (8) M5 x 10 (or 12) socket head screws For the 3x2 rig you will need
- (1) 3x2 back plate - (3) Clip 1 - (3) Clip 2 - (3) End Stop - (11) M5 x 5.8 x 7.1 threaded brass inserts - (5) M5 x 16 socket head screws - (6) M5 x 10 (or 12) socket head screws For the 2x2 rig you will need
- (1) 2x2 back plate - (2) Clip 1 - (2) Clip 2 - (2) End Stop - (8) M5 x 5.8 x 7.1 threaded brass inserts - (4) M5 x 16 socket head screws - (4) M5 x 10 (or 12) socket head screws Tools -
- (1) ¼ flat washer (larger OD than Metric) - Hobby knife - 3mm allen wrench
Assembly -
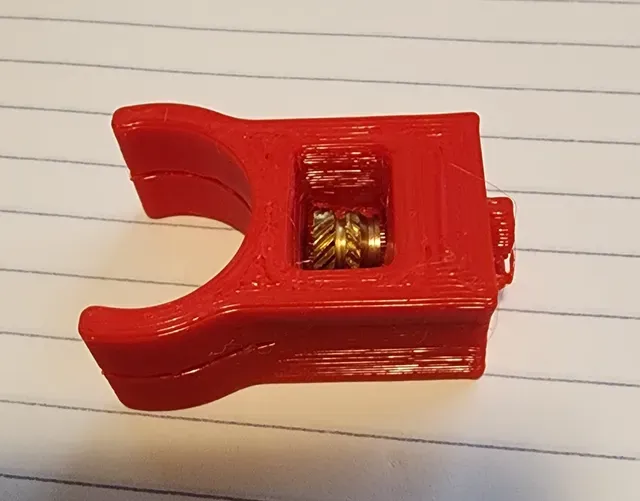
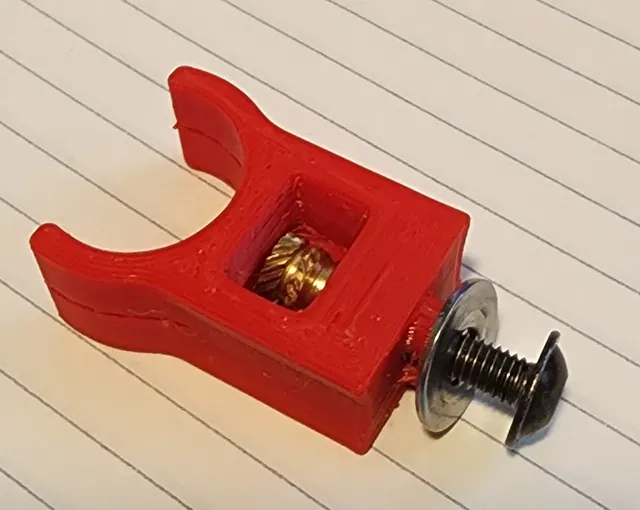
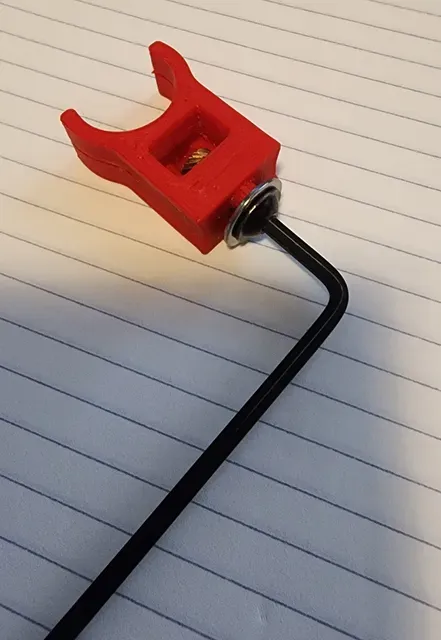
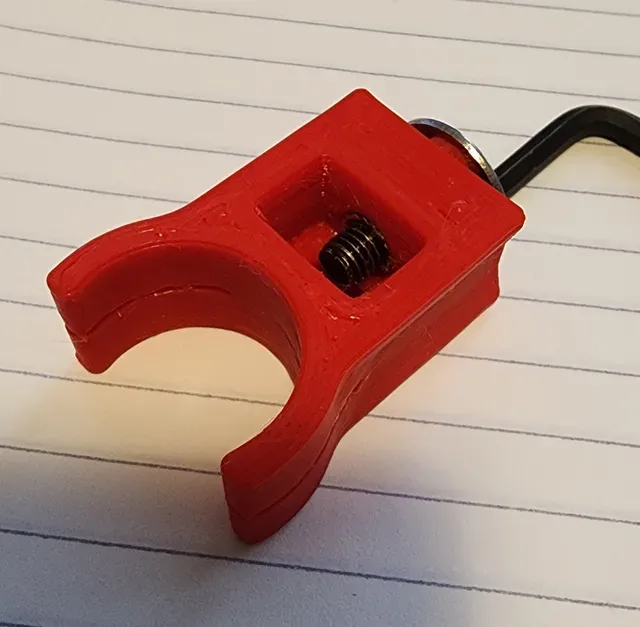
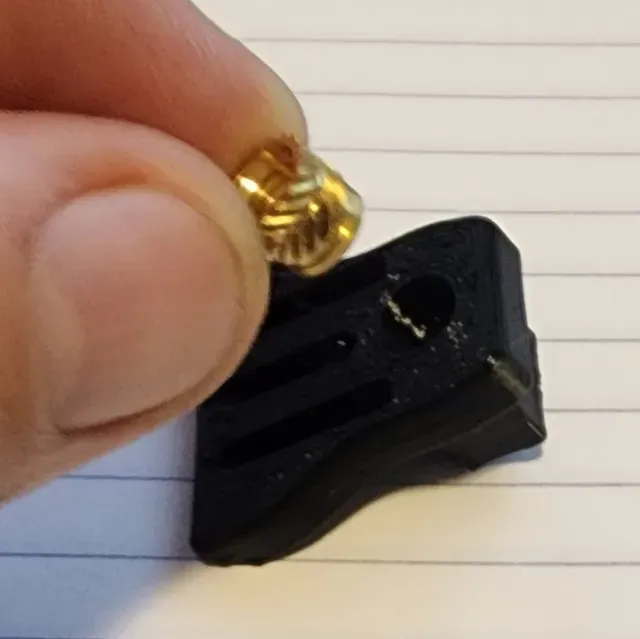
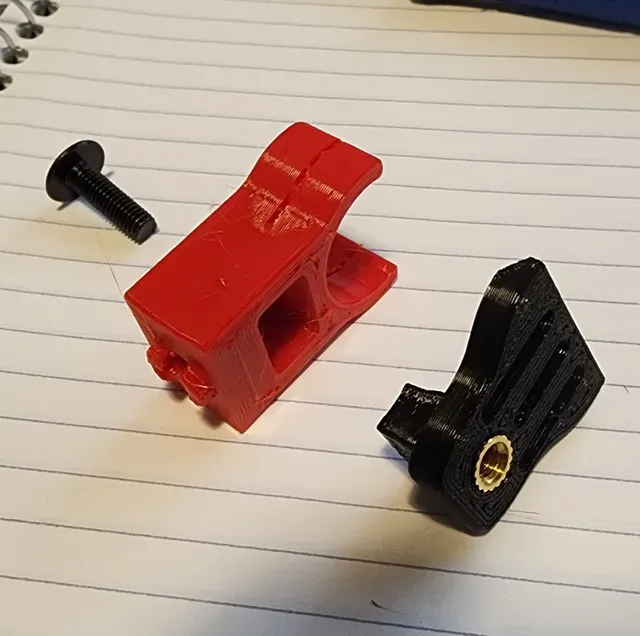
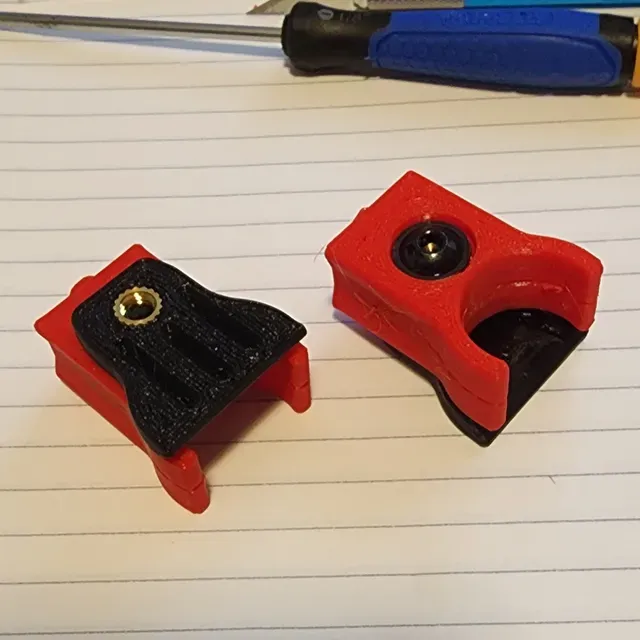
- Remove support material from clips - Cut built in supports between the clip retainers. See Pic. Youre going to have some bits of support material left in there, it doesnt matter. If you want to take the time to remove it you can. If not, as long as it splits youre good. - Lay the brass insert in in the cut out with the taper end facing the mounting side as shown in picture. Put the flat washer on the screw, then use the screw and allen wrench to pull the insert in to its final home. You will keep pulling it in until you get a very obvious difference in force needed to thread it in. Or you can screw it in, then unscrew and check it a few times until the end of the insert hits the lip in the hole. Do this for all Clips. See Pics - Put the insert in to the back stop hole from the bottom with the tapered end going in first, pointing up. I recommend setting these with heat to help the interlayer adhesion. Do not put in deeper than flush. - Assemble the back stops in to Clip 2 with M5 x 16 screw - With M5x10/12 screws, add all clips to back plate, adjust for your shells, load it up. - Hold the assembly where you want it on your belt to figure out which mounting holes to use. Install those inserts with heat. - Attach ELS. If using my ELS i suggest using 16mm screws. If using a real ELS then you would use 12mm screws. - Go reload really fast!!
Please upload MAKES! I like to see what everyone comes up with as far as color combos and materials used. Also please provide feedback!







Названия используются только для указания источника результата. Polyzon не аффилирован с перечисленными площадками.
Комментарии 0
Загружаем комментарии…