
Бесплатно 
Filament Dry Box w Desiccant Container +Hygrometer
MakerWorld

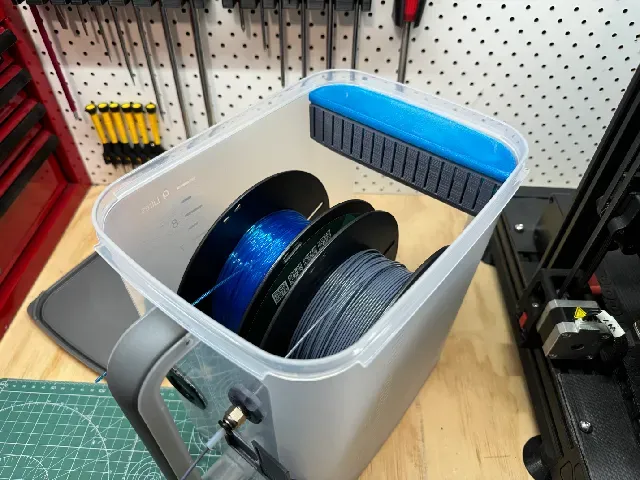


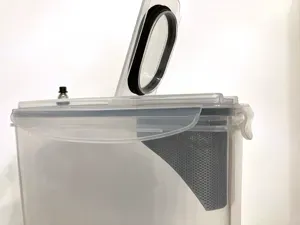
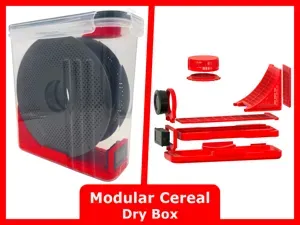
Ever scoured printables looking for a filament dry box solution that won't make your wallet weep? Many designs while absolutely awesome tend to require containers that aren't available in Australia or cost a lot to buy. So I scoured my local shopping centre, toting an empty spool and a stubborn commitment to keeping costs low. Then, jackpot! the K-Mart 9L Dry-Food Container at just $6. It's the perfect size to fit 2 1KG spools and have some room spare for desiccant and some fun extras.
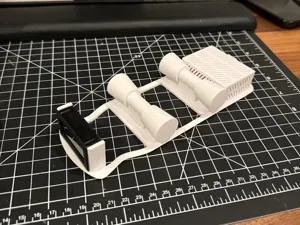
Many filament boxes use a rod fed through the inner diameter of the spool for feeding, while I understand the attraction (that's why spools are designed that way). I can't stand it, when replacing spools or moving them around it's an extra step that adds frustration. It's an opinion Adam Savage holds for his wire or tape storage that having it roll on something lets you dispense what you need, but keeps it much more mobile to move it about. The design uses standard 608 bearings which can be obtained from a variety of places and standard PC4-M10 PTFE couplings that one probably has lying about as spares from their printer.
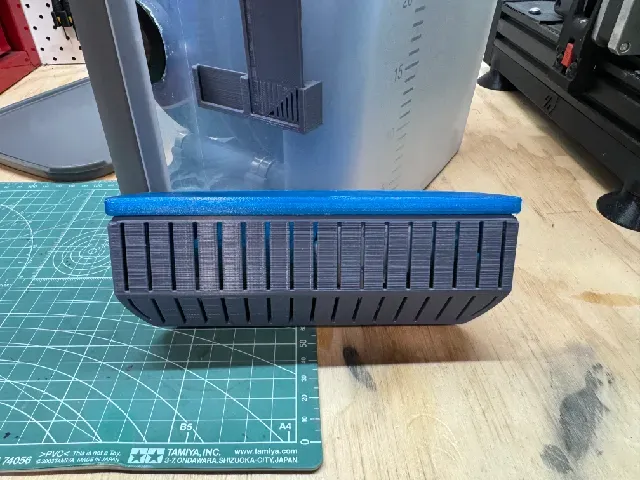
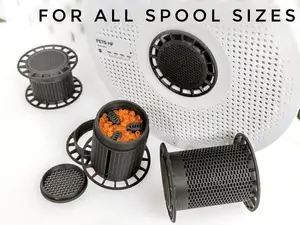
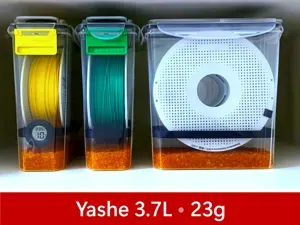
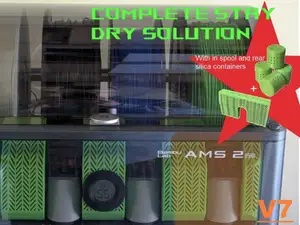
The desiccant box is designed to be printed in PETG such that when filled with silica gel desiccant one can place the entire container in the microwave or oven at a low heat to dry the silica without the tub deforming from the heat. The whole tub can be slid onto the mounting rail for easy removal for this purpose and to allow access to add or remove spools.
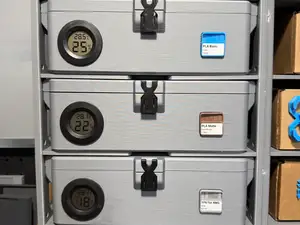
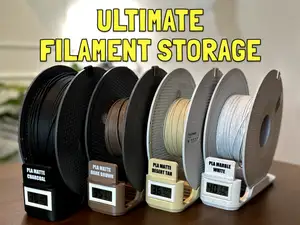
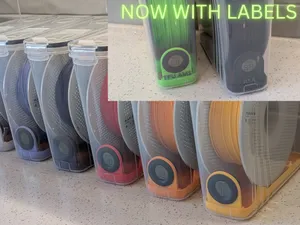
For monitoring humidity, with the ample space in the container, I allowed room for a round hygrometer that is quite popular on this site and can be found on amazon for a reasonable price. I also designed a small nifty filament ID card. Designed to use Avery L7144 sticker labels with an attached template to design your own.
Changelog
- V1 - 2023/11/23 - Initial release. - V2 - 2024/05/21 - Redesigned base plates to reduce filament wastage and increase printability, - Reduced roller diameter. - V3 - 2025/07/08 - Increased max allowable spool width to 67mm, - Improved hygrometer mount removing need to cut hole in tub. - V3.1 - 2025/07/26 - Added thread forming holes to MOUNT, - Added new clip on swatch.
Purchasables
- 1x K-Mart 9L Dry-Food Container - 1x Round 41mm Hygrometer - 8x 608-2RS Bearings - 2x M3x8 SHCS - 2x PC4-M10 PTFE Coupling - 200g Wiseorb Silica Desiccant (will fill 1 container) or 3.6kg Wiseorb Silica Desiccant or your preference - Avery L7144 sticker labels (for optional filament ID cards)
Assembly
Base
Materials Needed:
1x BASE A (PLA) 1x BASE B (PLA) 4x ROLLER SPINDLE (PLA) 8x 608-2RS Bearings 1x Round 41mm Hygrometer
Printing Instructions:
- Print all parts in PLA with 0.2mm layer height, >10% gyroid infill.
Assembly Steps:
1. Attach 608-2RS Bearings both sides of the 4 Rollers. 2. Connect BASE A and BASE B using the printed dovetail joints. 3. Snap into place the 4 ROLLER SPINDLE into the bearing mounts. 4. Press fit gently into place the Hygrometer into BASE B. 5. Place the assembly into the container (the design is rotationally symmetrical). Desiccant Box
Materials Needed:
1x TUB (PETG or ABS) 1x TPU LID (TPU) 2x TPU WASHER (TPU) 1x MOUNT (PLA) 2x M3x8 SHCS
Printing Instructions:
- Print the TUB and MOUNT in PETG or ABS with 0.2mm layer height, >10% gyroid infill. - Print TPU parts as best you can.
Assembly Steps:
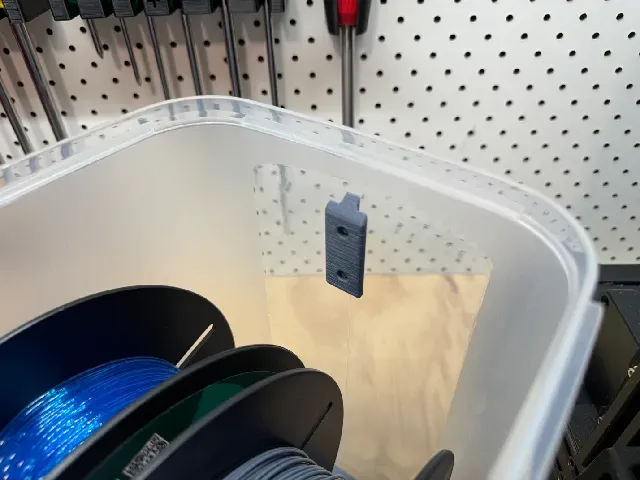
1. Position the MOUNT on the BACK inside face of the container, ensuring it aligns with the top curve. Mark and drill 3.5-4mm holes at the spots indicated on the drawing. 2. Attach the MOUNT using 2x M3x8 SHCS and the printed TPU WASHER. 3. Attach the TPU LID onto the TUB, the Tub can then be easily slotted onto the Mount for convenient removal. Couplings
Materials Needed:
2x COUPLING A (PLA) 2x COUPLING B (PLA) 2x PC4-M10 couplings
Printing Instructions:
- Print all parts in PLA with 0.12mm layer height (this is important for the threads to properly form), >10% gyroid infill.
Assembly Steps:
1. Drill two 14mm holes into the FRONT of the container using the attached drawing. 2. Screw the PC4-M10 couplings into the COUPLING A. 3. Attach the Couplings tightly with COUPLING B on the outside face and COUPLING A on the inside face. 4. Attach your PTFE tube from your extruder to the needed couplings OR attach a small length of PTFE tube for decreased filament friction. Accessories
Materials Needed:
2x DISPLAY FLAG (ANY)
Printing Instructions:
- Print all parts with 0.2mm layer height, >10% gyroid infill.
Assembly Steps:
1. Clip the DISPLAY FLAG to the handle of the container, flip 180 degrees to have a second on the other side.
Labels
Attached is the zip file LabelGenerator.zip which contains LabelGenerator.py .
To use this Python script you must have Python3 installed and install the required libraries with:
pip install reportlab qrcode With these libraries you can edit the variable filaments on line 365 and add the information about your filaments to it. Then run the script with:
python LabelGenerator.py A pdf file called FilamentLabels.pdf should be generated ready for printing on your label paper. The script also has facilities to change the type of label sheets used, I initially used this script for other label designs and edited it to work for filament labels on the Avery L7144 paper so using other label paper is untested with the current version.
Final word


Названия используются только для указания источника результата. Polyzon не аффилирован с перечисленными площадками.