
Бесплатно 
Ankermake m5 Ikea LACK enclosure hardware
Printables
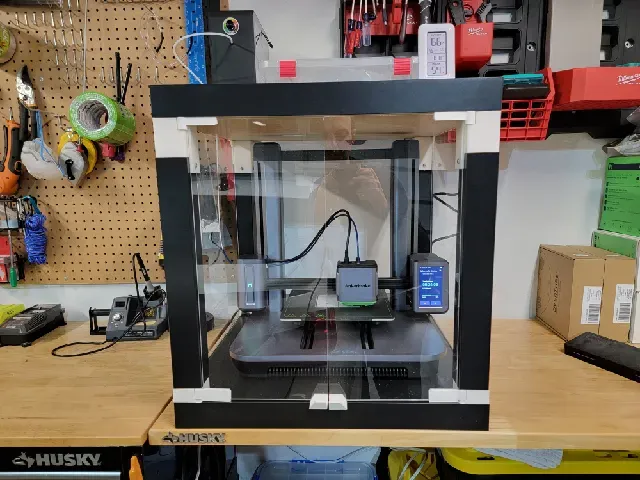
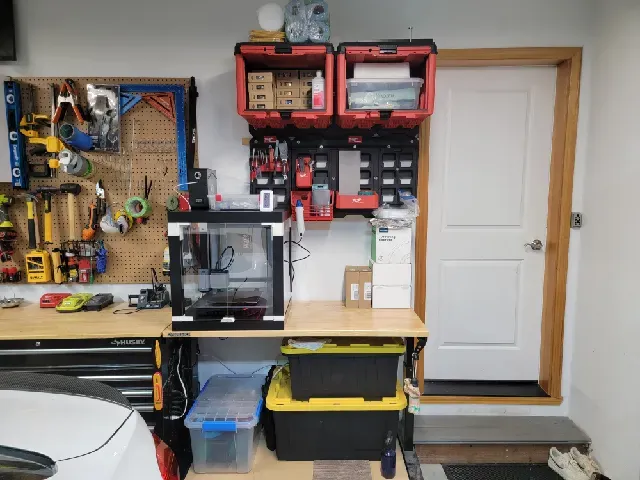
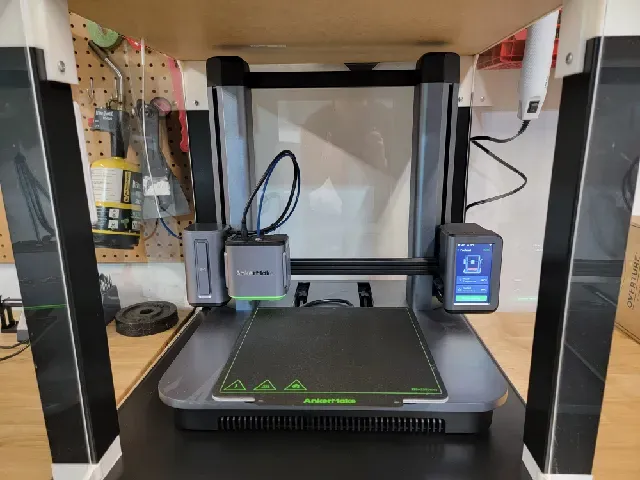
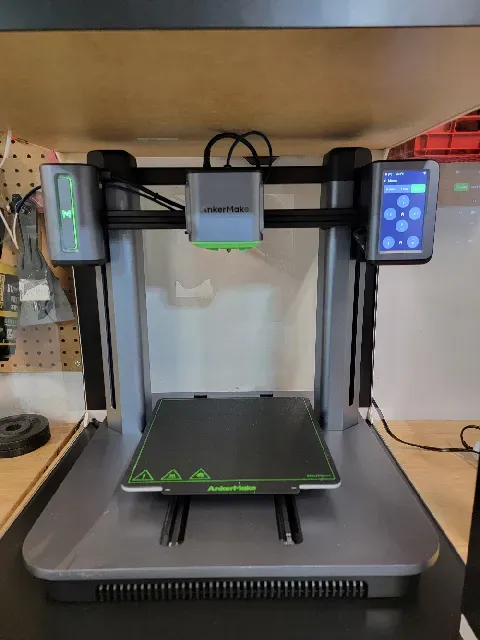
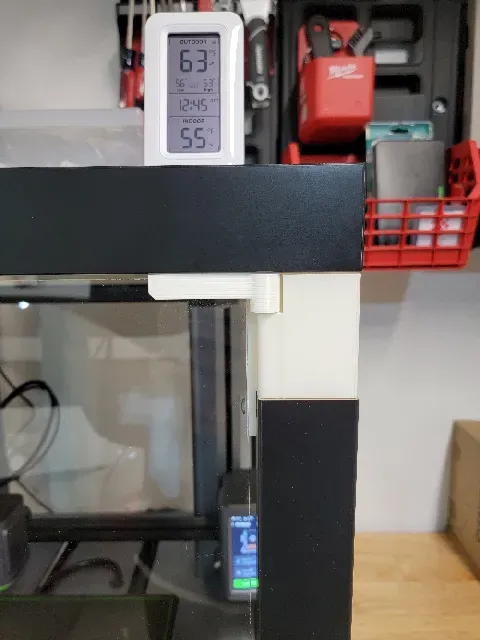


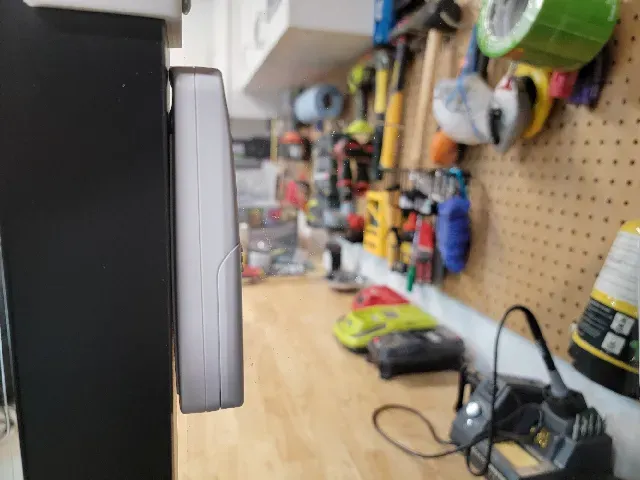

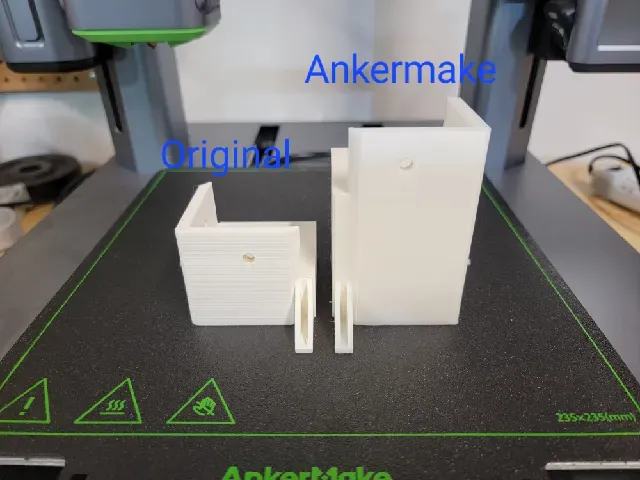

This design utilizes the parts from the "Original Prusa i3 MK3 Enclosure - Lack Enclosure" which has tons of build videos, remixes etc and can be found easily on Printables with a simple search or by following the link above. I only swapped out four parts from this build to increase the height by 40mm . I upgraded the top 4 corner pieces, and of course bought taller plexiglass. I run an eibos filament dryer up top and have the ptfe tube running through the top as well. In the original lack enclosure files the .stl for the top corners includes every part as a single .stl, which means you cannot print them individually. I pulled the hinges out of that file and added them bellow as an individual .stl because they are necessary but they are in fact the original design from the prusa lack enlosure.
*Edit 12/21/2023 - I would suggest upping the infill from 30% to 50% either that or choose stronger infill shapes. I had a hinge break on me
3D Printed Parts needed to upgrade Prusa Lack:
- All of the following parts listed on the "Original Prusa i3 MK3 Enclosure - Lack Enclosure"
- prusa_enclosure_door-knob.stl - prusa_enclosure_bottom-corners.stl - Prusa_Enclosure_Filament Guide.stl (optional) - All spool holder parts (optional) - All of the following upgrade parts listed on my remix
- Ankermake Enclosure Leg (qty x 2) - Ankermake Enclosure Hinge Leg 1 - Ankermake Enclosure Hinge Leg 2 - Ankermake Enclosure Hinges (qty x 2) - Ankermake Enclosure 2mm Spacer (qty x 4) (optional) see the final photo , my plexiglass was longer than requested creating a gap between the bottom corners and the lack leg. If you have the same gap I created 2mm spacers that that fill this void and create relief for the plexi. Parts needed for purchase:
- 3x 440 x 480 mm , 3mm thick plexi (TAP Plastics or Queen City Polymers)
- 2x 220 x 480 mm, 3mm thick plexi (TAP Plastics or Queen City Polymers)
- PC4‑M10 Straight Pneumatic Push Fitting Connector (for top filament feeding)
- AcuRite Digital Thermometer with Indoor, Outdoor Temperature (optional)
Printer Settings:
- 30% infill is perfectly adequate but feel free to use more. - Brim is recommended to prevent curling - .2 layer height - No supports needed HAPPY PRINTING!







Названия используются только для указания источника результата. Polyzon не аффилирован с перечисленными площадками.