
Бесплатно 
LUCKY 13 Printable Jointed Figure
Printables




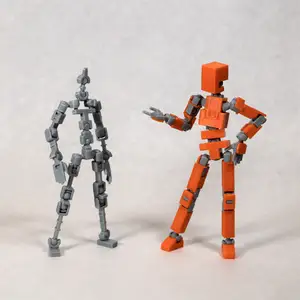
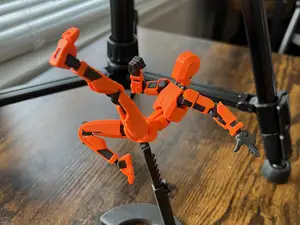
The orange Gyro 7 in the pictures is printed in 0.20mm layer height
Printing
Material: PETG
(PLA makes the joints too loose when using the normal skeleton and too tight for the tight Skeleton . Assembly is also more difficult in PLA.)
Layer Height: 0.10mm - 0.20mm lower makes the ball joints work a bit smoother and the model looks nicer.
Supports: None , But the ears have some model-in supports that can be broken off after printing
all other settings are the system presets for 0.10mm - 0.20mmQUALITY
Added the option to print them connected which helps printing the smaller parts. And makes assembly easier because it is harder to lose parts. also looks a bit nicer to give a kit(ten)-card to someone instead of a heap of parts.
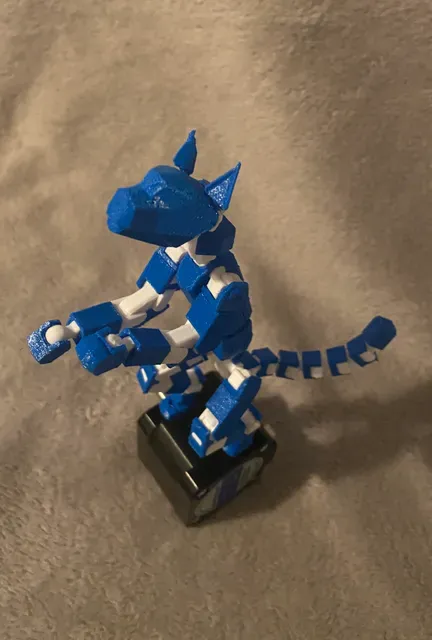
This one is printed at 0.15mm layer height.
Added the option for a stiffer skeleton to make posing easier. but it might limit play a bit, something to keep in mind if for example it is intended for a kid
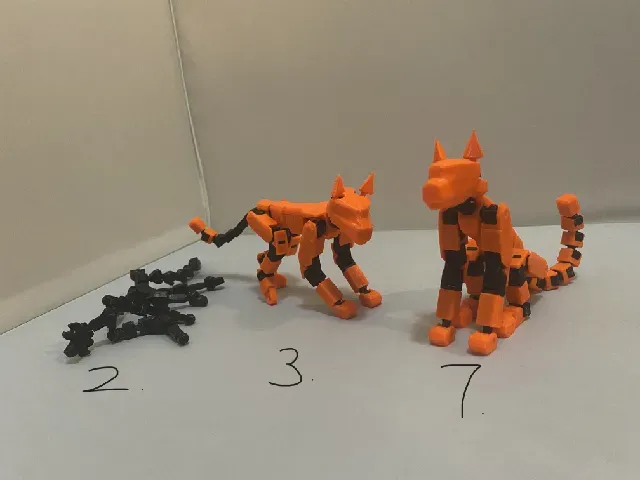
My very simplified design process and the reason for the 7
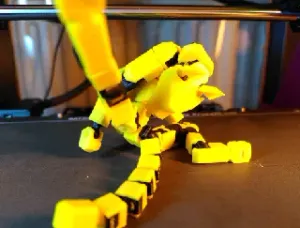
Gyro 1 is my actual cat who got slightly annoyed I kept inspecting his legs on how they move.
Gyro 2 was the first printed skeleton but the ball joints where to lose.
Gyro 3 had a better skeleton and was the first with the plating but some parts where to lose and some too tight, one of the hind paws wouldn't go on.
Gyro 4, 5 and 6 had a few parts that where too difficult to assemble.
Gyro 7 finally assembled nicely but i did decide to make a small tool to help assemble the tail.
Assembly
Some Arrows are numbered to show the assembly order
1. all grey parts have a particular orientation look carefully. Especially with the smallest part. The black parts in the middle are the same.
(for PLA: the body can be too loose)
2.1 The biggest black part DOES have a top and bottom note the protruding bit has chamfers and the “hands" for the ears have a curved corner
2.2 The head might need some force to be put in place
(for PLA: The head requires more force to put in place)
3.1
3.2 Make this part 4 times
4.1 the right front leg.
Note the 2 different types of paw. you need the one with a wider opening
*there are 4 lower leg parts you need the longer ones for this step
(for PLA: Knee plates aren’t as secure)
4.2 the left front leg (Part from step 3 is mirrored)
(for PLA: Knee plates aren’t as secure)
5.1 make this part 2 times
Note the 2 different types of paw. you need the one with a narrower opening
*there are 4 lower leg parts you need the shorter ones for this step
(for PLA: the black end point needs a lot of force to put in place. It helps if you push it in with the black part on the end of a table and pushing on the underside of the paw)
5.2 the right leg
(for PLA: Knee plates aren’t as secure)
5.3 the left leg (Part from step 3 is mirrored)
(for PLA: Knee plates aren’t as secure)
6.1 place the grey on the part




Названия используются только для указания источника результата. Polyzon не аффилирован с перечисленными площадками.