
Бесплатно 
Buck Boost Converter Wall Mount
Thingiverse
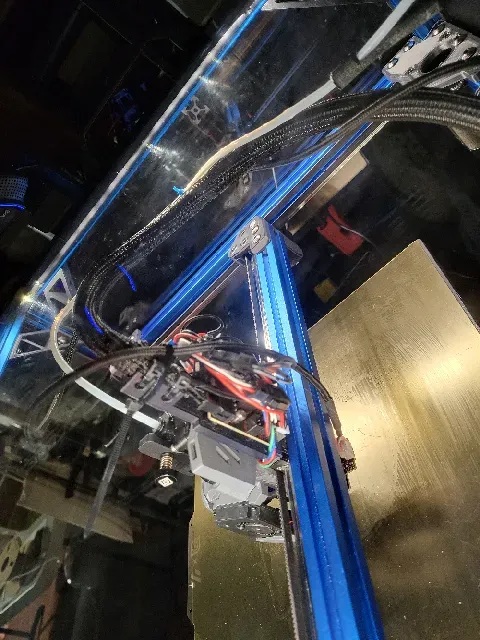

I wanted to get rid of the cable chain and use the harness that came with my LDO trident in an umbilical, so I made this mod to fit on the back of my Orbiter 2.
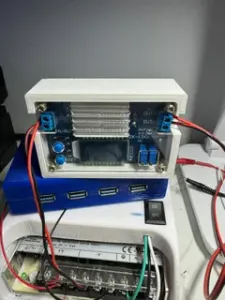
I also have an Xol Toolhead, where they recommended a 5 volt fan, hence the spot for the buck converter.
I did n't want to hassle with canbus. 14 wires are dumb and fine with me.
Buck Converter i used: https://www.amazon.com/gp/product/B08Q2YKJ6Q/ref=ppx_yo_dt_b_search_asin_title?ie=UTF8&psc=1
If you don't want the buck converter, just mod it to chop off the buck converter section.
BOM
2 x M3 heat inserts https://www.amazon.com/gp/product/B0BTYF2MMD/ref=ppx_yo_dt_b_search_asin_title?ie=UTF8&psc=1
2 x M2 heat inserts
https://www.amazon.com/gp/product/B09MCXHC87/ref=ppx_yo_dt_b_search_asin_title?ie=UTF8&th=1
8 mm M3 and m2 screws
16 mm aluminum female female standoffs to attach it to the back of orbiter. Your screw from orbiter needs to stick out enough to allow it to attach.
If you want to mount the kusba, add 2 more m3 inserts in the holes under the strain relief that have no standoffs.
I used this kusba https://www.amazon.com/gp/product/B0C734JL4Z/ref=ppx_yo_dt_b_search_asin_title?ie=UTF8&psc=1
Put heat inserts in back of the standoffs. After mounting, next step is the screw the boards onto the plate using the m2 and m3 screws.




Названия используются только для указания источника результата. Polyzon не аффилирован с перечисленными площадками.