
Бесплатно 
FLSun SR Orbiter & Revo Voron Mod
Printables

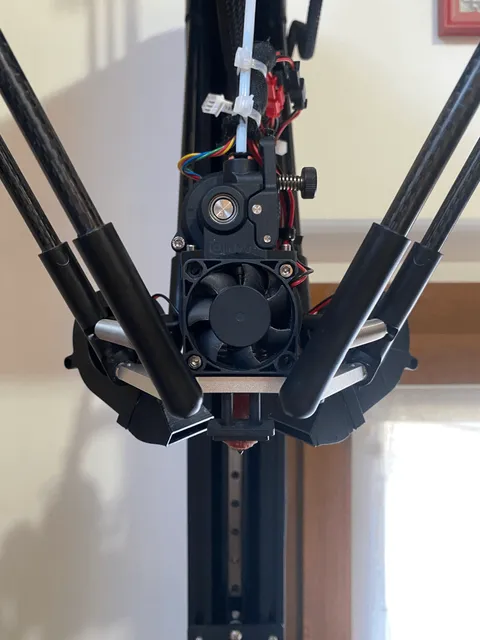

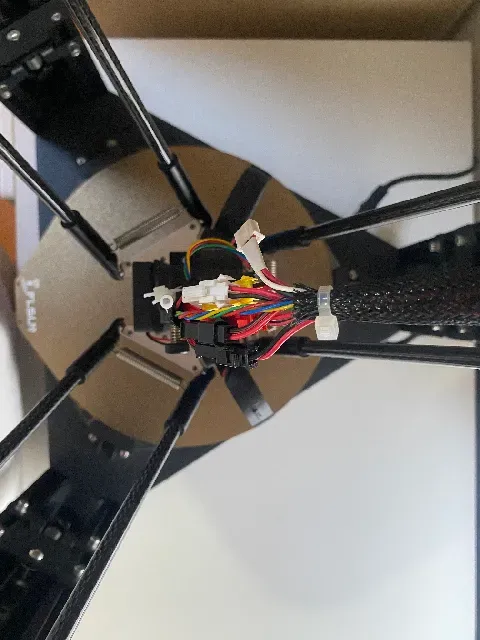
This model takes a rather unique approach to cooling, with the fans moved under the effector for the smallest air restriction possible and the lowest weight.
Why the Orbiter 2.0?
Orbiter 2.0 is a workhorse, praised for its low weight and high gearing reduction, thanks to its reliable planetary gearbox. This extruder is not pricy and offers very good balance between cost and performance. It's also very easy to buy thanks to many sellers on amazon.
Materials:
I tried to keep the tools and materials required to the very minimum, this model requires NO EXTRA SCREWS/BOLTS.
This model uses 24V 5015 radial fans , for superior cooling, this thing embarasses the stock cooling system. Some soldering is required, i suggest transferring the old connectors from the old fans.
Keep an eye on how long your wires are, cutting and soldering should be one of the last things to do.
The space available should always be kept in mind.
Some very small pieces of PTFE tube are required for keeping the fans in place, a very simple and light solution.
If the holes are not perfectly circular, carefully use a drill to round them, and before inserting the PTFE piece, check if the fan is clipped in place and doesn't move around.
If you did all of these steps correctly, your radial fan should be fixed in place.
A total of 6 M3 THREADED INSERTS are required. I used these ones from Ruthex i got on amazon.
another 2 pieces of PTFE tube are required as a strain relief for the cables, and between the extruder and the heatsink.
keep that in mind!
How do I print this model?
All of the pieces are easily printable with supports, i suggest the smaller layer height possible for better overhangs.
I used organic supports where needed. If your model shows a lot of stringing like mine, use a lighter to remove it.
Don't worry if the holes are not perfectly round, a drill can be carefully used to fix them.
When all of your pieces are printed, get a soldering iron, then carefully heat the threaded inserts and put all of them in their individual holes.
At this point, the project is mostly done.
MOUNTING INSTRUCTIONS:
Get the right screwdrivers and mount all of the pieces to the effector in this order:
-Heatsink, block, nozzle, heating cartridge and thermistor.
-Extruder mount (with the inserts already mounted)
-PTFE tube between the heatsink and the extruder, cut at the correct lenght
-Orbiter extruder and its bolts
-Stock 4010 axial cooling fan for the heatsink, and its bolts
-Mount the radial fans to their respective mount and put the small PTFE tubes to fix them in place
-Mount the fans with its mount to the lower part of the effector, and use the bolts from the stock air ducts
-carefully clip all of the connectors, route the extruder cable up the sleeve, then plug the connector to the motherboard (where the stock extruder cable was)
-use some zipties to tidy the cables
-consult the Orbiter manual to calibrate steps/mm, current, and other calibrations.
-test if all works as intended.
DONE!
Thanks for reading this, and hopefully for the download!
HAPPY PRINTING!
(Proudly) Made by Cae





Названия используются только для указания источника результата. Polyzon не аффилирован с перечисленными площадками.