
Бесплатно 
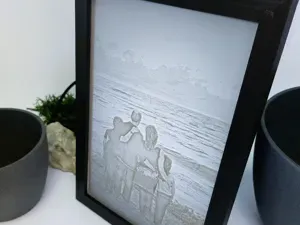
15cm x 10cm Hangable Lithophane Frame For Windows
Printables


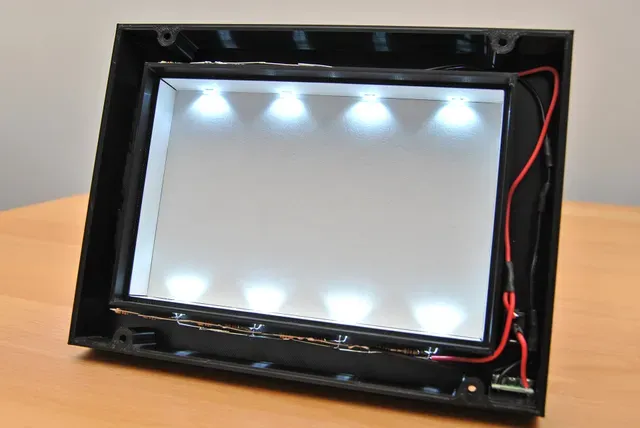
Features
- A photo frame designed for a 2.5 - 3.0mm thick (Cura default) lithophane, with a hollow frame and holes for 8 LEDs to shine through as a backlight
- Fits: - One 15cm x 10cm (6" x 4") photo - Two 10cm x 7.5cm (4" x 3") photos - Two 10cm x 6.67cm (4" x 2.67") photos (with “Lithophane Centre Separator” piece)
- Hole for Micro-USB power at the rear and a simple on/off mini rocker switch
- Pairs well with the Parametric Photo Frame Stand Parts Needed
- 4 M3x16 socket cap bolts (or M3x18) - 2 M3x5 socket cap bolts - 8 2x5mm rectangular LEDs - 8 Through-hole resistors (100-200 Ohm for white LEDs depending on desired brightness) - 1 Miniature rectangle rocker switch (13mm x 9mm cutout) - 1 Micro-USB breakout board - Wire, soldering iron, solder Printing Guidelines
- Layer height: 0.2mm Supports: Yes ("Lithophane Frame Top" only) Brim: Recommended ("Lithophane Frame Bottom" only) Walls: 3 Infill: 10-20%
- I recommend printing the top and bottom in the given orientation to help ensure a neat, tidy frame. This does mean that the top piece will need tree supports. You might also need a brim for the bottom depending on your bed adhesion. Assembly
- Take 8 LEDs, cut down one of the leads on each (leaving the other one long), and solder 1 resistor to the short lead of each LED. Make sure to check your polarity before doing this!
- Take 4 LED-resistors and space them 36.5mm apart. Bend the leads, add extra wire as needed, and solder them together in parallel.
- Repeat Step 2 with the other batch of 4 LED-resistors so you have two batches. Press them firmly into the rectangular holes on the upper and lower sides of “Lithophane Frame Bottom” - you may need tweezers to help with this.
- Wire the two batches together in parallel (positive end of one batch to positive end of the other batch, and same for ground), then wire the ground side to the GND (ground) hole on the Micro-USB breakout board.
- Slip the rocker switch through the hole, and wire the positive side of the LEDs to the switch. Solder another wire to the common (usually middle) switch terminal, then wire this to the VBUS (positive) hole on the Micro-USB breakout board.
- Take the M3x5 bolts and put them through the breakout board, then screw the whole thing into the raised part of the print, near the switch cutout. This can be a pain, but is possible with a normal allen key. The micro-USB port should be poking out of the rear of the frame.
- (Optional) If you've printed the frame in a dark colour like in the photos, I recommend gluing some thick white paper/thin white card to help bounce the light.
- Check the wiring and make sure there are no shorts.
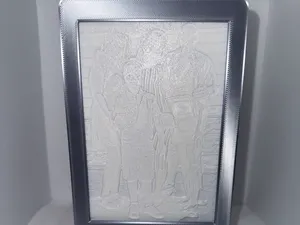
- Add your lithophane, with the following suggested settings: - Height : 2.5mm Base : 0.4mm Width/Depth : Varies (depending on what size photos you want, see “Features”) Smoothing : 0-1
I suggest adding a 2mm wide black border in Photoshop to make sure it fits snugly in the frame
- Add the front of the frame. Screw it in using the M3x16 bolts - they will tap the plastic the first time round so might require a bit of force.
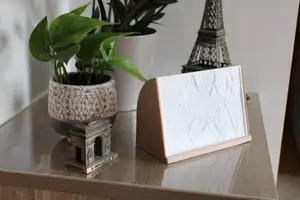
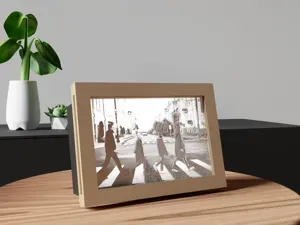
- Plug in a Micro-USB cable and switch it on! It will stand on its own, but feel free to add any other stand (like my Parametric Photo Frame Stand , designed for this especially).





Названия используются только для указания источника результата. Polyzon не аффилирован с перечисленными площадками.