
Бесплатно 
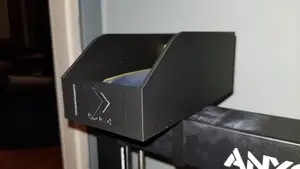
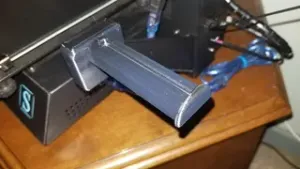
Anycubic i3 Mega-S Extruder Filament Guide (cone)
Printables
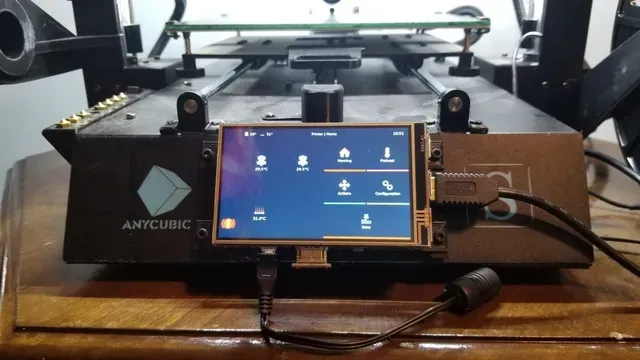
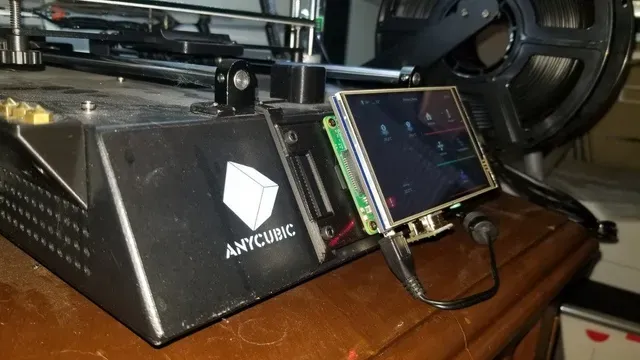
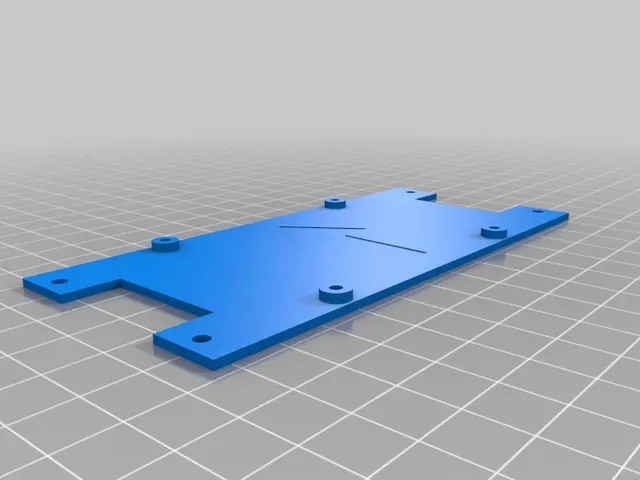
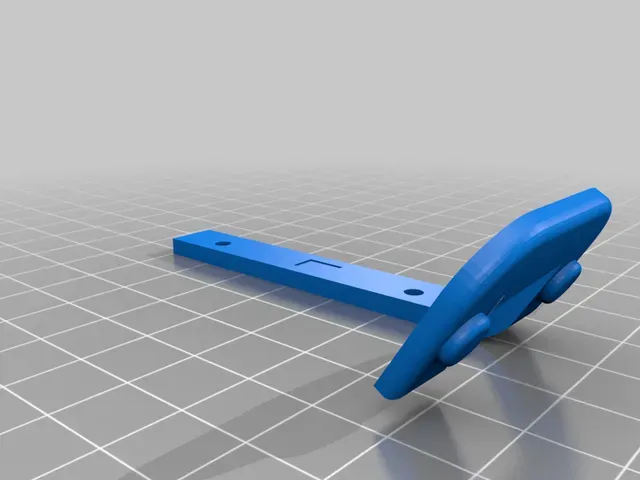
I have been experimenting with the Klipper firmware on my Anycubic i3 Mega S and controlling my printer using KlipperScreen ( https://github.com/jordanruthe/KlipperScreen ). I got sick of having the screen just hanging from some cables, but I'm not yet at a point where I want to make a permanent change to my printer because I'm not sure if I want to stay with Klipper.
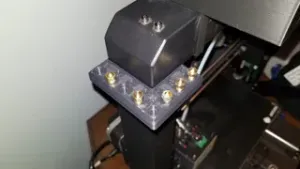
As a result, I created this temporary screen mount which allows me to mount my Raspberry Pi 3b and the accompanying screen that sits on top of it to the front of my printer, directly in front of the currently non-functional factory display. It hangs from the mounts for the Y axis rods. It is made to be functional, not look fantastic. There are definitely much nicer looking ways to mount the screen if you're looking for a permanent installation.
Note that I did need to rotate the screen in the OS in order to make it so I could orient the raspberry pi with the power cable facing down. Otherwise it would likely be on a collision course with the bed. Note also that if your LCD is too big, this may not be a good mounting option. I am using the following 4 inch LCD touch screen that I ordered from aliexpress: https://www.aliexpress.com/item/33035369560.html?spm=a2g0s.9042311.0.0.27424c4dSnLXeY
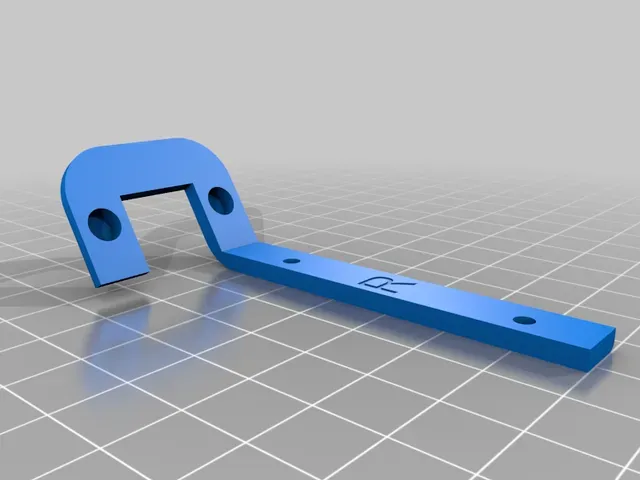
Installation will require four M2.5 screws to affix the raspberry pi to the backplate (I used screws from an old laptop - this is a very common size for this application) and four M3 screws to affix the hanger pieces to the backplate. I just forced them in and used the screws to self-tap the plastic. Do pay attention to the orientation of the backplate (the arrow goes up) and which hanger goes on which side (marked with an L and an R). The screw recesses that fit over the cap screws for the Y axis mounts can be a bit tight. This is intentional. If you have trouble getting them to fit, push harder!
Print Settings
Printer Brand:
Anycubic
Printer:
All-metal Mega
Rafts:
No
Supports:
Yes
Resolution:
0.2 or 0.3
Infill:
25
Filament:
filaments.ca econofil PLA black
Notes:
I recommend printing it in the supplied orientation using tree supports.
If this design was useful to you, please post a make!
Check out my other Anycubic i3 Mega accessories at : https://www.printables.com/social/55222-tyler/collections/95780




Названия используются только для указания источника результата. Polyzon не аффилирован с перечисленными площадками.