
Бесплатно 
Portable Conveyor Belt for RC trucks
MakerWorld
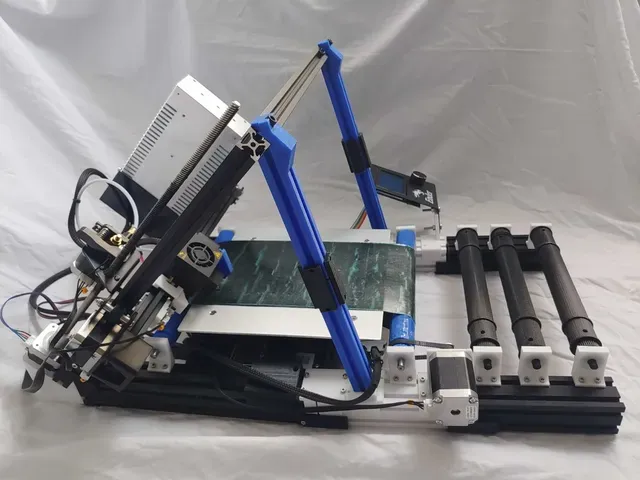
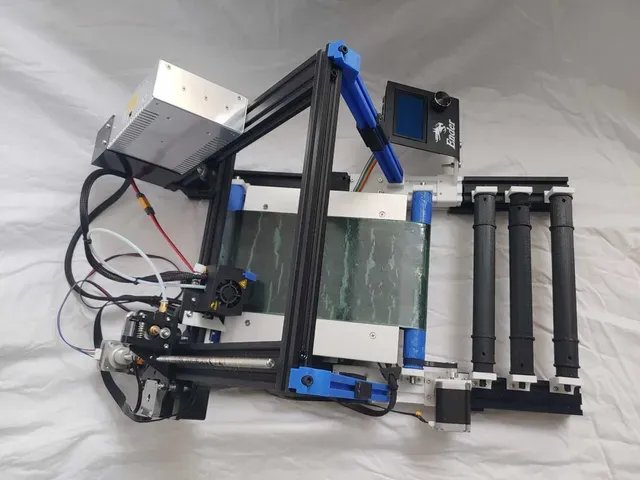
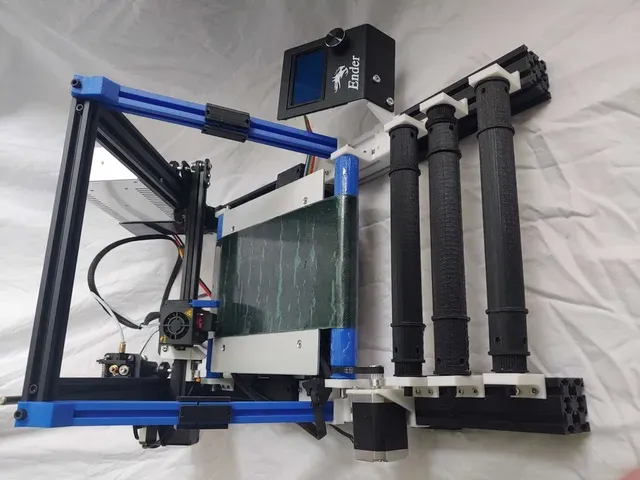

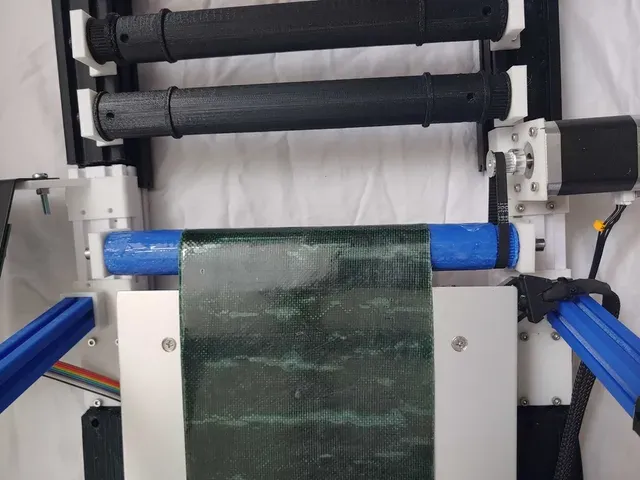


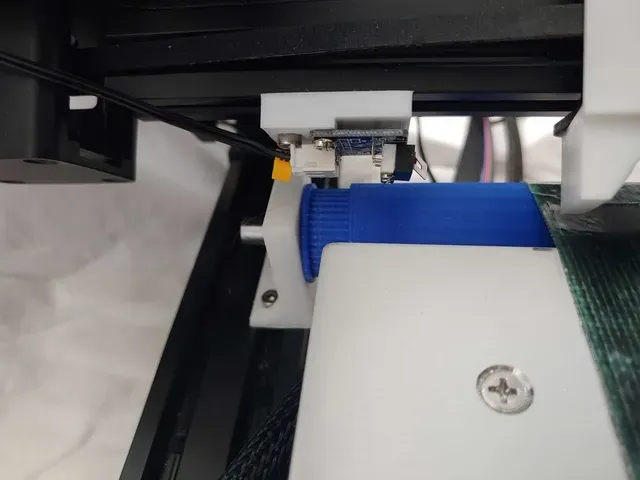


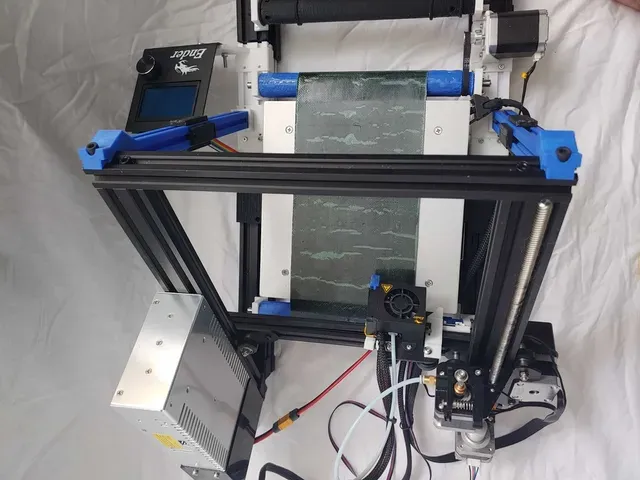
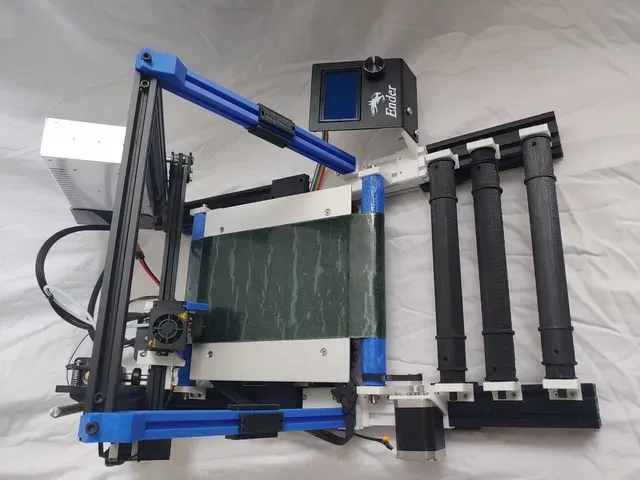









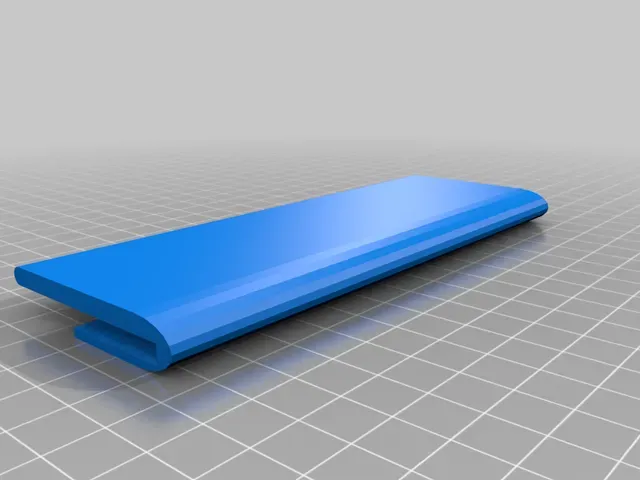
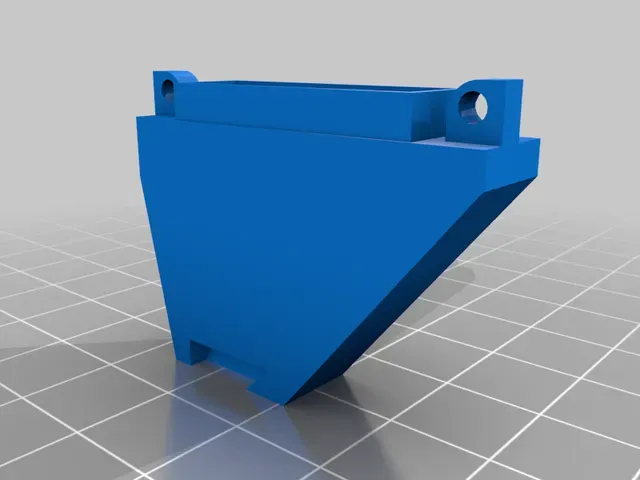

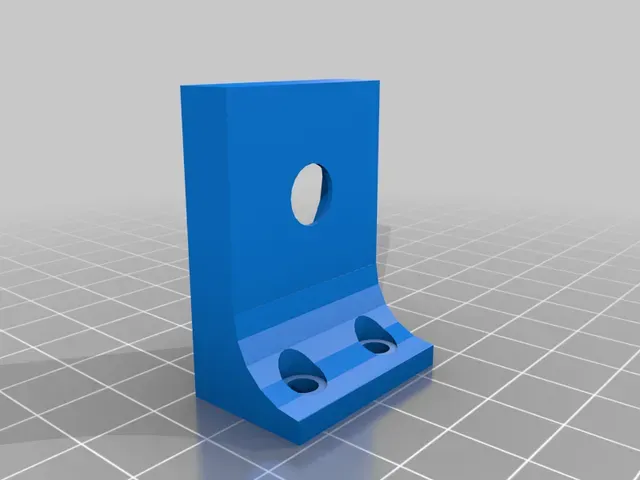
This has now been updated to the V2 version!
I've cloned all the materials available here into a Github repo here: https://github.com/mcsgroi/EnderLoop
Here 's a great video with Adam at PowerBelt3D discussing the EnderLoop.
This supports around a 110x200xinfinity bed size.
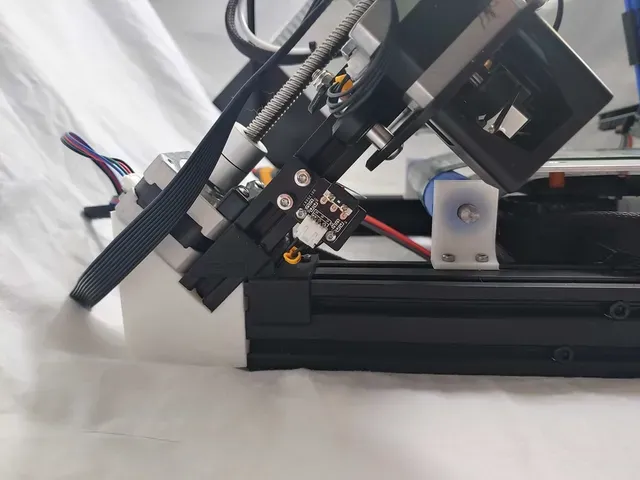
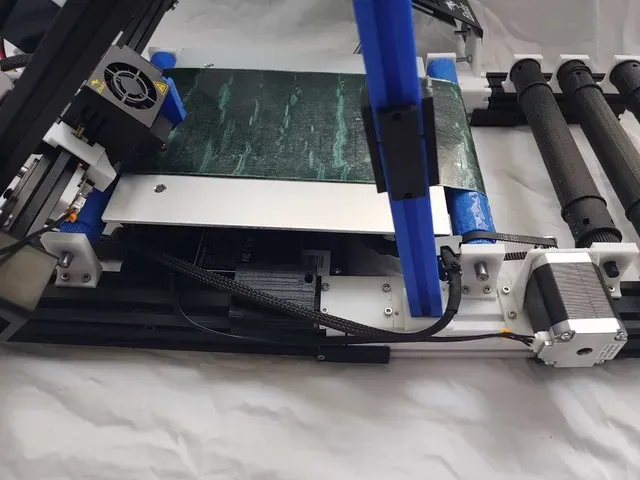
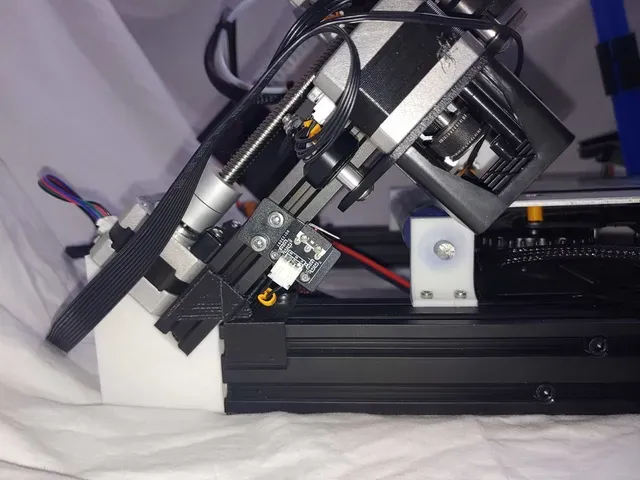
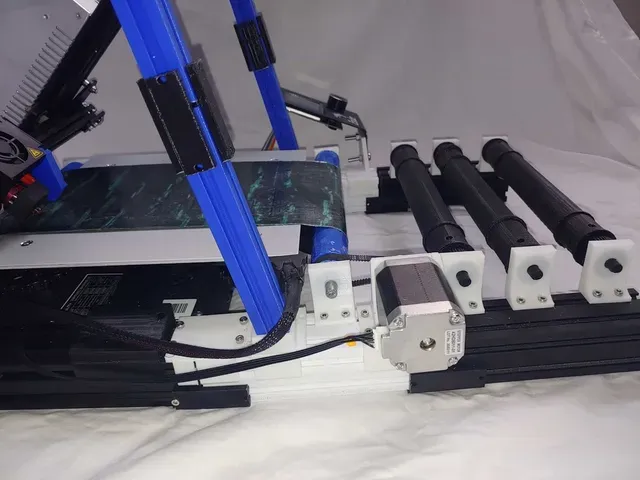
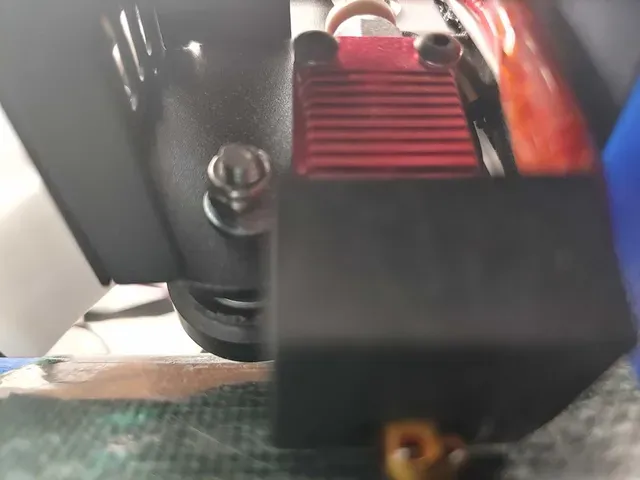
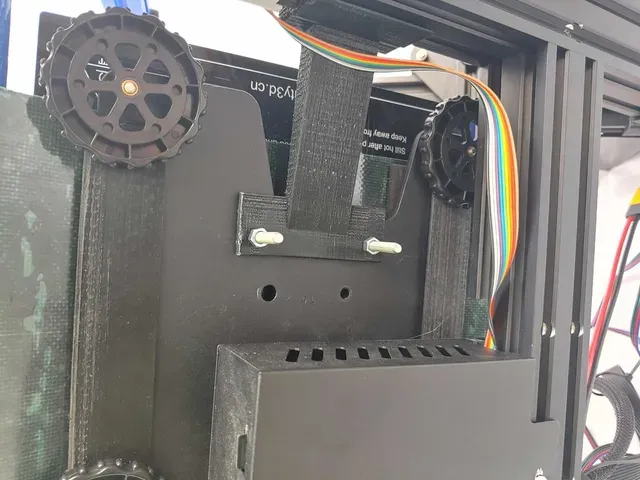
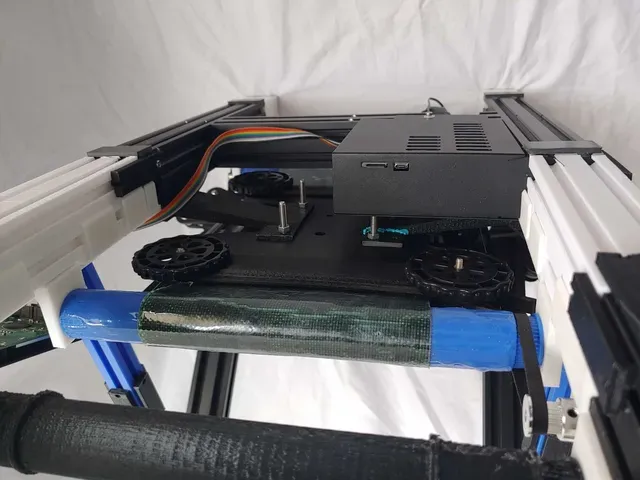
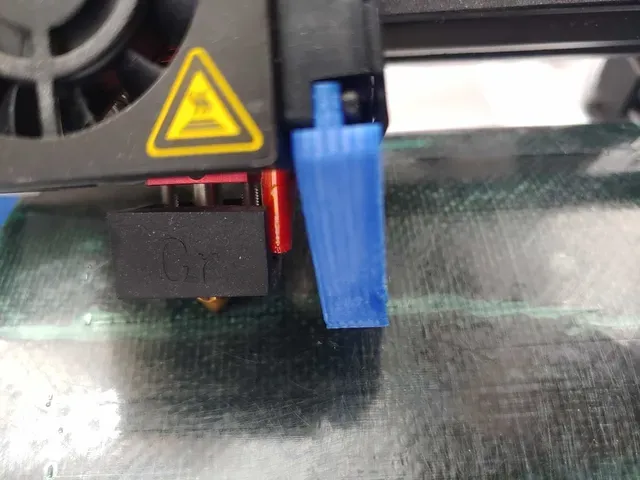
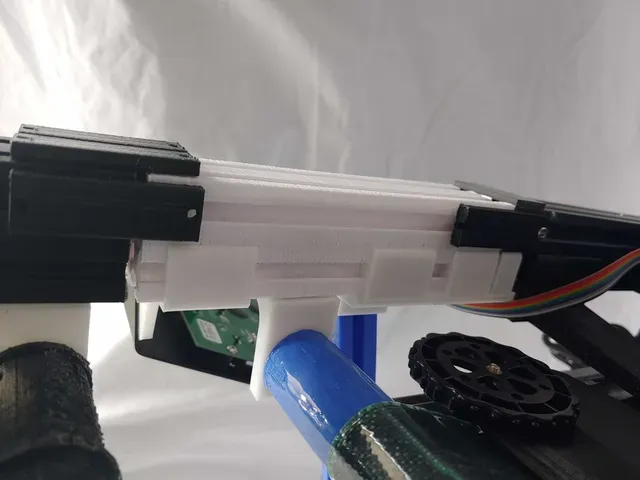
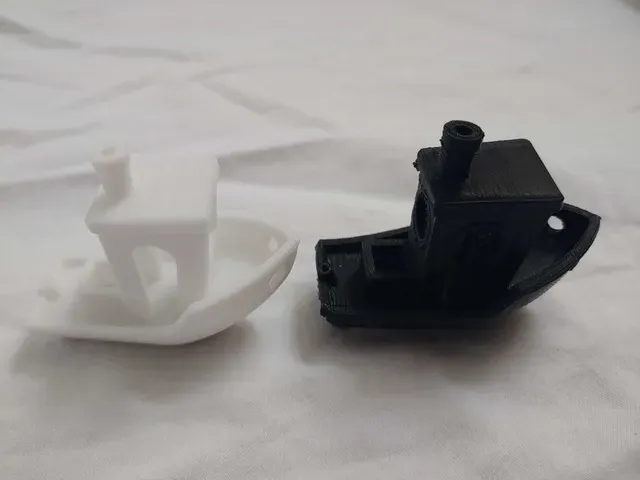
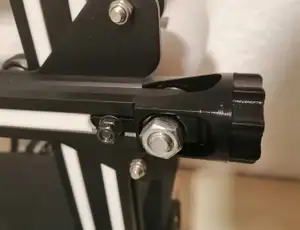
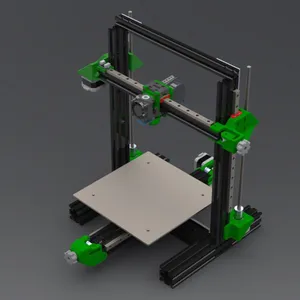
I've attached a few pictures. Models in the printer pictures should mirror what is in the latest source files. Any differences should be minimal and are usually just that I'm running a slightly older version of the model to save on plastic waste. I've also included some test print pics to demonstrate the quality of what I'm getting off of the EnderLoop. In the pictures with two benchies, the black one is off of the belt printer whereas the white one is from a CR-6 SE as a comparison point.
Note
This is still a work in progress and you will most definitely find issues. Currently, I've identified a couple outstanding problems in my build:
- Adhesion. I'm just gonna say outright that this isn't terrible adhesion. It's just not as good as I like it. It really depends on the model height and surface area touching the belt. You can improve the adhesion slightly by "scuffing" the surface of the belt with sandpaper. Slight angle on some parts. I believe this has to do with esteps or cooling. Most of the remaining issues are fairly minor and should either be small model updates or software tweaks.
If you experience any issues, they are most likely a result of bed leveling. I learned this the hard way so certainly check this first. Bed leveling a belt printer is trickier than with a "normal" printer and can cause some strange issues (adhesion, angled prints, head collisions, etc.)
Lastly, I'll note, and this is less of an issue and more of a limitation, but this will print slower than a normal printer due to the lead screw being used as the "de facto Y axis".
Parts
Printed Parts
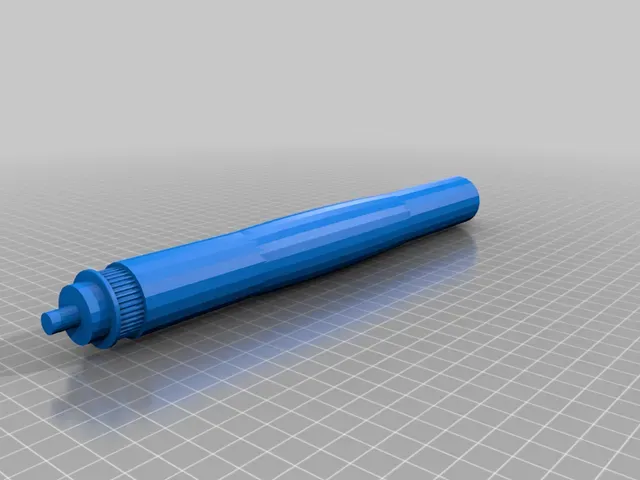
- 2 - AngledSupport - 2 - BedStandV2 - 2 - BeltSlide - 1 - EndSensorHolder - 2 - GantryBraceBottom - 1 - GantryBraceHolderLeft - 1 - GantryBraceHolderRight - 2 - GantryBraceTop - 1 - LcdHolder - 1 - LeftBeltClip - 1 - ModifiedMotorHolder - 1 - PartCoolerVent - 1 - RightBeltClip - 2 - Updated45ZHolder - 2 - UpdatedAxle or UpdatedAxleCrowned or UpdatedAxleSteelRod - 4 - UpdatedYIdler - 2 - YExtension - 2 - YExtensionClamp 11 - YExtensionSupport
Optional
1 - Scraper
Extension rollers
2 or 3 - UpdatedAxle
- 4 or 6 - UpdatedYIdler - 2 - Yextension 8 - YExtensionSupport
Purchased Parts
Belt
Currently there are 3 options (there may be a 4th option when Creality's CR-30 belt is officially released):
- Buy a custom belt. There are some sites that are willing to sell a custom belt. I believe BuildTak is willing to custom make a belt, however the price is fairly steep (based on my research on the WhiteKnight printer). - DIY. I'll include a section here on how to make a belt yourself should you want to. Note that it's going to take some patience to get a clean surface and the performance (adhesion and ability of the roller to grip the belt) will be worse than option 3. The price point for this option is also going to be about the same as option 3. - POWERBELT3D Belt . I've reached out to Adam at PowerBelt and he was willing to list a custom belt that he has been working on that is specifically designed for the EnderLoop on his store. This is what I use right now and has pretty good characteristics. A couple of notes from the PowerBelt folks on this: - For PLA, we recommend a bed temperature of 60-70C. - For PETG and TPU, they recommend a bed temperature of 70-80C. PETG tends to stick very well to the Polyester top layer, and might rip the material. They also recommend applying glue stick to the conveyor belt as a release agent to prevent this. If tearing still occurs, increasing the speed of outer contour that contacts the conveyor belt may help. T Nuts - I would recommend buying an assortment pack like https://www.amazon.com/gp/product/B07FPLZXTF/ref=ppx\_yo\_dt\_b\_asin\_title\_o02\_s00?ie=UTF8&psc=1 although you mainly need M3 sized parts (and the Ender 3 kit comes with a couple extra M4 T nuts in case you go that route).
- M3 washers to use as spacers for the hotend. You shouldn't need more than 4. - Assorted M3/M4 screws, mostly M3 8mm. I would recommend buying an assortment to slot in. Most of it is fairly flexible in what you use. Most holes in the parts I designed are for M3 screws, but you can enlarge the holes in the models if you go with another screw size. - 2 M3 20mm screws and 2 M3 nuts for attaching the hot end lower on the print head mount plate. - 4 M5 screws for attaching the gantry to the base. I would recommend they be 40-50 mm long since they will be holding the gantry, but the length is fairly flexible. 2 M5 screws and 2 M5 nuts for attaching the lcd screen to the mount. I would recommend around 30 mm long, but, again, that's fairly flexible.
Tools
I've tried to make this install as "tool-less" as possible to make it accessible. That said, I've determined that in order to make this as functional as possible, there are a couple tools you'll need (or you can go to your local metal/machine shop to have done for you).
Drill with titanium bits (or another bit that can drill steel)
Dremel with a diamond coated cutting bit (or another bit that can cut steel)
Optional:
You may want to consider purchasing a few nylon washers to go above the springs, but below the heated bed. This will prevent damage to the heated bed from the metal spring. This is more of an Ender 3 design upgrade than an EnderLoop mod component, but I think it's worth mentioning, especially if you replace the default springs with stronger ones.
- I sadly managed to break endstops while I was tinkering with design and assembly. If you find yourself in a similar predicament, these work as replacements https://www.amazon.com/gp/product/B08G7Y5C63/ref=ppx\_yo\_dt\_b\_asin\_title\_o01\_s00?ie=UTF8&psc=1 - I also unfortunately managed to fry my mainboard (specifically a driver) while I was tinkering and ended up replacing it with https://www.amazon.com/gp/product/B07TYFJ924/ref=ppx\_yo\_dt\_b\_asin\_title\_o01\_s00?ie=UTF8&psc=1. These boards are fantastic because the drivers on them are INCREDIBLY quiet. The loudest part on the printer after installing one of these becomes the fans. If your mainboard is V1.1.5, you will need either an Arduino or a USBTiny (https://www.amazon.com/gp/product/B07S9BX98K/ref=ppx\_yo\_dt\_b\_asin\_title\_o04\_s00?ie=UTF8&psc=1)
DIY Belt Instructions
In order to keep this lower cost, the backing is steel shim, which I taped into a belt using kapton tape. I then coated the hole belt in kapton tape. Your other options are PET tape or PEI sheets with an adhesive coating between the sheet and the steel shim. Steel shim link: https://www.mcmaster.com/steel-shim-stock/shim-stock-6/ Instructions on sizing this are further down in the assembly information.
Firmware
You will note that there are a few combinations of mainboards/drivers that ender 3's can come with:
Motherboards:
V1.1.5
- V4.2.2 V4.2.7
Drivers:
HR4988
- A4988 - TMC2208 TMC2225 The precompiled firmware is meant for V4.2.7 and TMC2225 drivers (should also work with TMC2208 drivers). If you are using any other board/driver combination, you will need to edit the firmware I provided. Best I can tell, it seems that V1.1.5 comes with A4988, V4.2.7 comes with TMC2208 or TMC2225, and V4.2.2 can come with any of the drivers listed. V4.2.7 and V4.2.2 are simple enough to program. Simply place a compiled binary on a microsd card and insert into the printer. When you turn it on it will flash the printer. If it complains about mismatched EEPROM, just ignore it and update the EEPROM in the menu on the printer (lots of examples on the internet). If you have a V1.1.5, you will need to flash the firmware using and Arduino or a USBTiny (https://www.amazon.com/gp/product/B07S9BX98K/ref=ppx\_yo\_dt\_b\_asin\_title\_o04\_s00?ie=UTF8&psc=1). Not gonna go into to many details here as there's plenty of information on flashing the firmware available online.




Названия используются только для указания источника результата. Polyzon не аффилирован с перечисленными площадками.