
Бесплатно 
Tingkat Buddy - HEPA attachment for Exhaust Fan (Creality K1C/ K1)
Printables
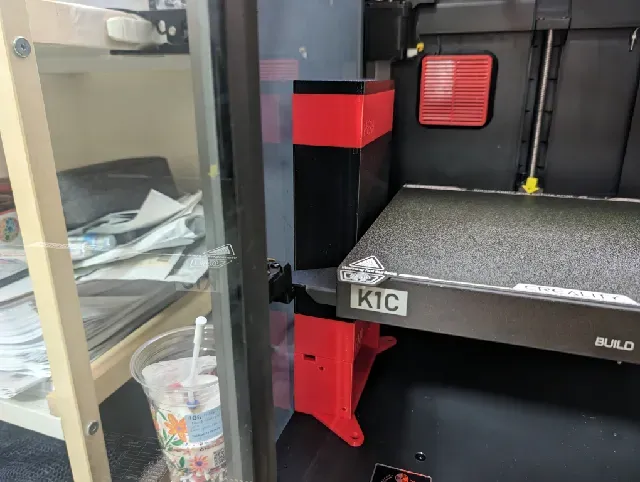




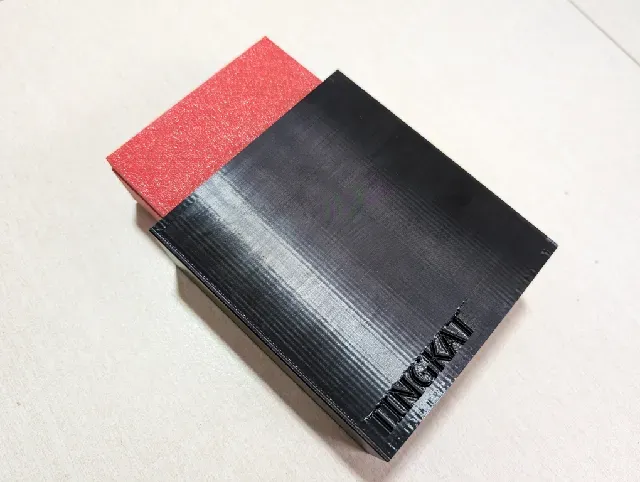
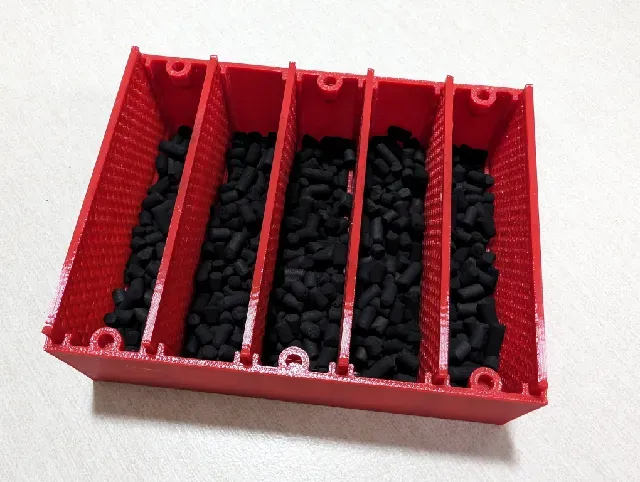
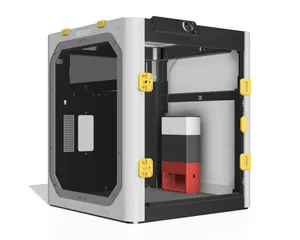
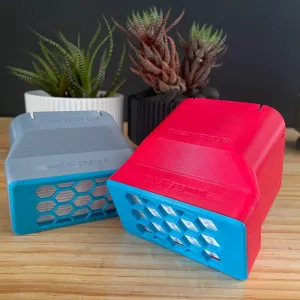
The Tingkat is a stackable HEPA filter and acid-free activated carbon (pellet) air scrubber is designed from scratch up for the Creality K1C. It should work for the K1 and K1 Max as well.
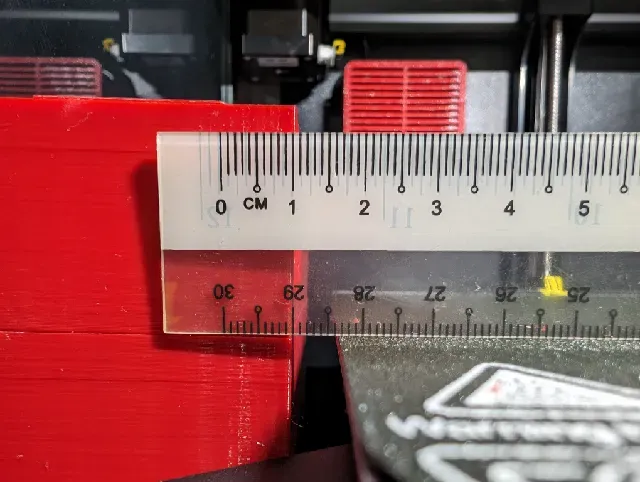
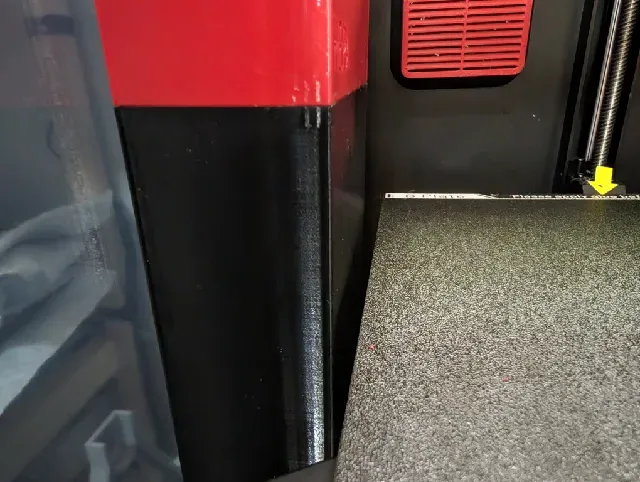
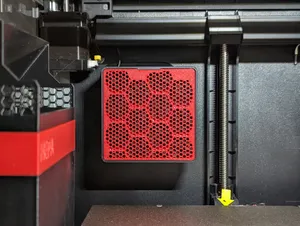
Less the mounting base, the Tingkat measures 116mm wide and 48mm deep. It is designed to be mounted on the left of the chamber, opposite the internal fan, with more than enough clearance from the print bed.
It draws in air from the top where the printing occurs and exhaust the filtered air near the base of the enclosed printing space. Theoretically, the filtered air will be drawn up by the internal fan. Thus maintaining the temperature in the enclosure.
For the activated carbon stage, you can choose to fill up to five layers of sparsely filled acid-free activated carbon pellets to improve the absorption of VOCs. You can also just fill one of the chambers. So it is really up to you.
It is not really necessary to install magnets for the activated carbon container (top and bottom) as it will be held closed by the activated carbon external case.
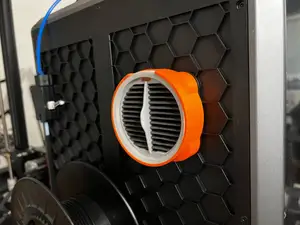
To scrub the air exhausted into the surroundings, check out Tingkat Buddy - HEPA attachment for Exhaust Fan (Creality K1C/ K1) .
Connecting the 4020 fans via PA0 header
If you have chosen 24V fans, you can either hook up to the power supply unit (PSU) or to the PA0 header ( https://github.com/CrealityOfficial/K1_Series_Annex/blob/main/pin%20out/motherboard-pinout.JPEG ) and control via Mainsail/ Fluid web interface.
I chose to connect to the PA0 header. For this, you need to ensure that the total ampere requirement of your fans does not exceed 0.1A. That is, each fan should be only 0.05A (at 24V). This is because the PA0 header is rated at 24V 0.1A.
Required parts
For the parts, you will need:
- JST-XH 2.54mm (pitch) male and female connectors - 2 females - 3 males - 1 meter 22AWG 2-wire cable - Heat shrink tubings Wirings and connectors
I did up a short 15cm splitter to connect the 4020 fans to a single power source using 2 males and 1 female connector.
Next is a 60cm extension cable with male and female connector at each end. This connects to the PA0 header on the mainboard and exposes the male connector in the printing chamber to connect to the fans [via the splitter].
Controlling via Mainsail/ Fluid
To expose the fan in Mainsail/ Fluid, you will need to edit the printer.cfg file on the printer itself. You can do this via the file interface on Mainsail. Add the following near the end right before the chunk of commented out text (those bunch of #).
[output_pin tingkat] pin: PA0 pwm: True cycle_time: 0.0100 hardware_pwm: false value: 0.00 scale: 255 shutdown_value: 0.0
Reference: https://www.klipper3d.org/Config_Reference.html#output_pin
After restarting, you should see the Tingkat fan control option on your Mainsail/ Fluid interface (e.g., dashboard).
I added some codes to the Machine G-code to automatically start and stop Tingkat's fan. At the end of the print, also start up the side fan (60%) to force the air to circulate so that Tingkat can scrub it.
To start on each print:
M140 S0 M104 S0 START_PRINT EXTRUDER_TEMP=[nozzle_temperature_initial_layer] BED_TEMP=[bed_temperature_initial_layer_single] SET_PIN PIN=bento VALUE=255.00 To stop 5 mins after each print:
END_PRINT M106 P2 S153 G4 P300000 M106 P2 S0 SET_PIN PIN=bento VALUE=0.00
Changelog
- v1.6 (03 May 2025) - Updated the Start and Stop codes for Tingkat. - v1.5 (13 Apr 2024) - Updated the 4020 fan stage to have a hole to pass through the JST-XH fan headers. Have also added a plug to reduce the hole to maximise air intake from the top - Updated fan stage to base coupling and support to ensure the fan exhaust are not blocked to maximise airflow - Added 1.0 and 1.5mm shims to tilt the air scrubber away from the print bed where necessary - Added a new shroud lid to “catch” air blow over by both the side fan and the fan on the print head. The shroud lid also have openings at the side to capture surrounding air - v1.4 (30 Mar 2024) - Minimised overhangs. Overhangs are just for the guide to connect the corresponding stage together (e.g., to sit HEPA nicely with the activated carbon stage) - Guides for fan wires. Included areas to store/ run the fan wires along the walls of the exhaust housing for wire management - New mounting base. Changed it to fixed position. The previous mounting mechanism (to the base of the Creality K1/K1C) allows it to slide toward the front or back of the printing chamber. However, it resulted in minor shifts over a period of time. - New shroud lid to “catch” the air blown over by the side fan. - v1 (22 Feb 2024 ) - Initial release
Required Parts
- 2 x M4x14 screws to mount it to the base (or you can use nano tape on the exhaust base and back to stick to the bottom and side of the K1/K1C) - 2 x 40x40x20mm fans (depending on where you draw power, you might need 5v or 24v. if you plan to draw from the mainboard, the total ampere should not exceed 0.1A) ( AliExpress ) - Note: If you are connecting to the mainboard, you should get the 24V 0.05A 4020 fans - 48 x 4x2mm magnets (excluding the 24 magnets for activated carbon housing) - Acid-free activated carbon pellets ( AliExpress ) - 1 x ILIFE Robot HEPA filter for V5S, V3S, V5, V3, etc. ( AliExpress ) - 4 x M3 brass inserts (outer diameter: 5mm, length: 4mm) for the fan mount - 4 x M3x25 screws to mount the fan
Mounting Order (Bottom to Top)
- Exhaust - Fan - HEPA (to filter off the activated carbon dust too) - Activated Carbon (six separators are required) - Lid






Названия используются только для указания источника результата. Polyzon не аффилирован с перечисленными площадками.