
Бесплатно 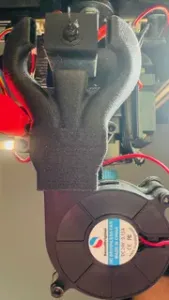
SV07 and SV07+ 5015 Tri-Horn Parts Cooler
Printables

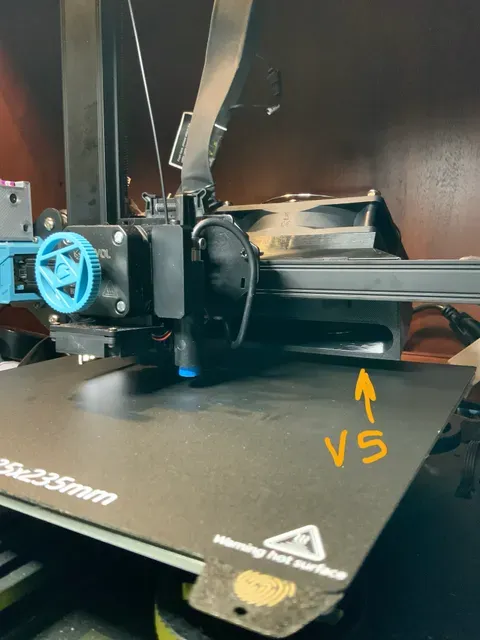


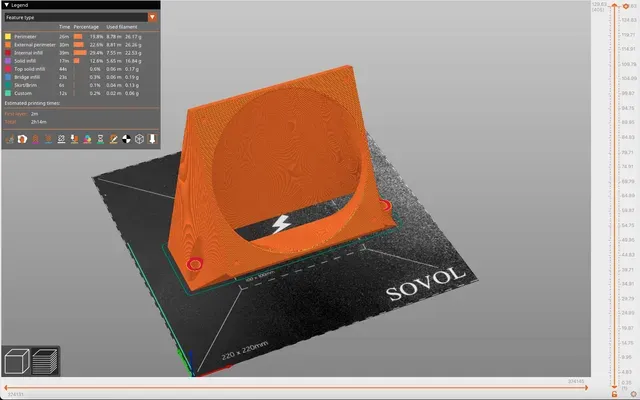
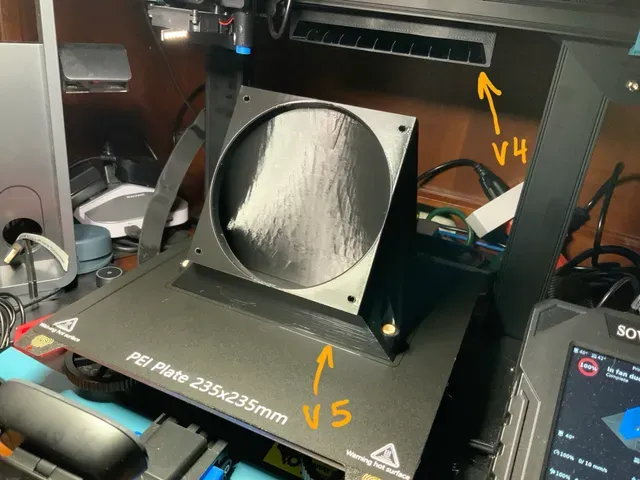
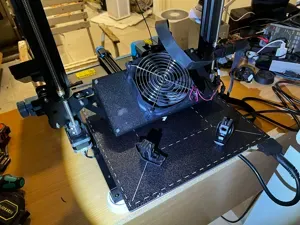
The stock SV07/plus curtain fan sounds like a jet engine on the runway. It's also not very good at spreading the airflow uniformly. This is yet another attempt to fix that. I drew a lot of inspiration from u:Porpoise Hork 's fan duct solution , including his recommended fan, but this is a complete redesign from scratch. Source FreeCAD files are also provided.
Update 4-6-25 fixed threaded hole distances based on a better 120-mm fan STEP model. Thanks u: kaoticone for the feedback!
What you will need:
- Print the curtain fan duct assembly in the orientation shown in the screenshot; - Buy the low-noise Wathai 120x120x25mm 24-volt DC fan ; - The 4 supplied M4x32 screws that thread directly into the duct; - Buy some M5 T-slot nuts if you don't already have them on hand. Print Settings
Printer Brand:
Sovol
Printer:
SV07
Rafts:
No
Supports:
No
Resolution:
0.32 mm
Infill:
5% rectilinear
Filament: CC3D PLA Max Black
Notes:
Print in the orientation shown in the screenshots. Two walls/perimeters provide sufficient strength. No supports needed at all! Use a brim or raft if you have issues with flat square prints warping off of the build plate. The 0.32 mm layer height is kind of the max layer that can be printed with my 0.4 mm nozzle. Can use thicker layers if you use a wider bore nozzle.
Post-Printing
- Unscrew the two M5 screws holding the stock 70 mm curtain fain horn assembly. Hold on to the screws, they will be reused. - Snip off ~1 inch of the stock fan's wire including the black JST SM connector. - Splice it into the wiring the Wathai 120 mm fan came with making sure you match the wiring colors. - Mount the new fan duct onto the back of your X gantry using the T-slot nuts and M5 screws (warning: you will not use the old threaded rail holes because this duct is wider!) - Place the new fan on top of the 3d printed duct and thread the four M4x32 it came with into the M4 mount holes in the print. - Connect the matching JST SM connectors, and you're ready to go! You'll notice that most of the residual part cooling fan noise will be coming from the stock 4010 blower that's mounted under the extruder, and not from the curtain fan! The two fans together add up to a 64 dB measured right in front of the curtain fan and next to the extruder (with stock board fan on).
Category: 3D Printer Parts




Названия используются только для указания источника результата. Polyzon не аффилирован с перечисленными площадками.