
Бесплатно 
Voron 2.4 Horizontal Cable Chain Mount for Wrist Watch G2 Extruder and BD Pressure board mount
Printables


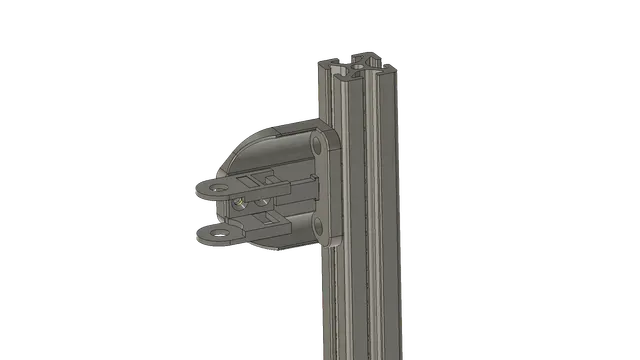


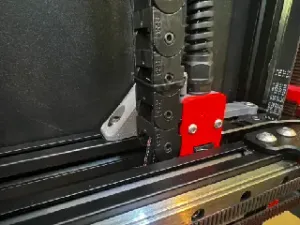
-Toolhead PCB adapter was designed around the XOL toohead and Orbiter 2, if you are silly and want to use something else, I think someone made something for Stealthburner already. It should also work with other extruders that use the NEMA 14. The support pin you have to play with scale and get it how tight you want, this one is on the loose side. I used a M3 heatsert in the bottom side of the pin mount, then put a M3 bolt through the cable chain, pin, and threaded into the heatsert. It uses the Stealthburner PCB, or in my case the LDO Nitehawk SB! Brass heatserts go in from the backside to mount the PCB to. Then I used brass standoffs of of longer motor bolts, then BHCS to bolt the PCB bracket to them.
-Trident Chain Bracket mounts to a vertical extrusion with M5 bolts and roll in nuts. It is designed for standard Voron heatserts to be inserted from the back side.
-2.4 Chain Bracket mounts to the top side of the gantry using M5 bolts and drop in nuts. It is designed for heatserts to be inserted from the back side.
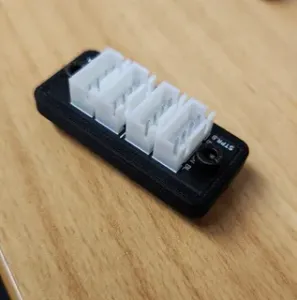
Wiring- Instead of using the Stealthburner PCB, I just used a push on wire connector similar to those used on a Raspberry Pi. I just wired the 5v pin to the HEF power, and the ground to the HEF control pin. Then wired the 24v pin to the PCF power, and the ground to the PCF control pin. This simplifies things and keeps it lighter as well.
Tips- On a V2.4, if you find the cable chain getting caught in the corner by your motor, do this. Remove the M3 bolt holding your motor closest to the gantry. Get a long fully threaded M3 bolt. Thread a M3 nut onto it and place a washer on the bolt. Thread it into the motor until it bottoms out. Then tighten the nut until it has tightened your motor sufficiently. (Basically you just create a stud with the bolt sticking up to guide the cable chain. This has worked awesome!
Let me know if any changes are needed, I made some small adjustments but they have been working great for me.




Названия используются только для указания источника результата. Polyzon не аффилирован с перечисленными площадками.