
Бесплатно 
Flashforge Adventurer 5M Drag Chain (AD5M)
Printables
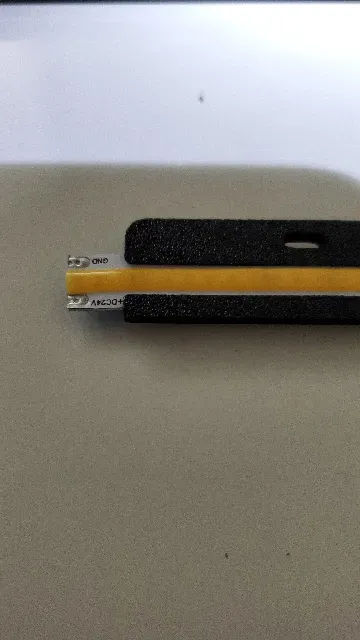
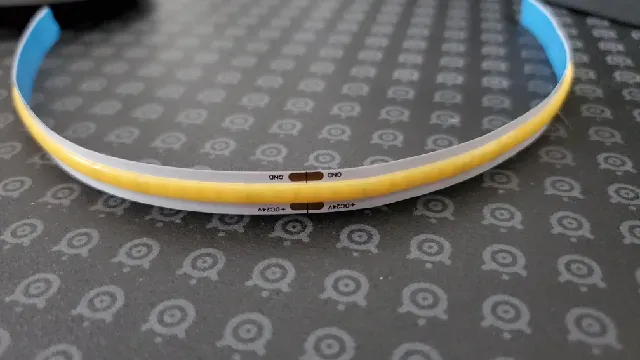
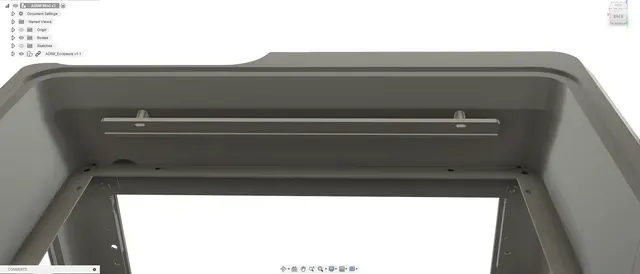

After going over my enclosure build, I noticed in the original Flash Forge Step files, that there was 2 screw mounts sticking out from the front upper assembly, then I noticed when you buy the enclosure kit, it actually has some extra screws that fit those holes (ST2.9x9.5) so my best guess is they originally planned an LED mod with the enclosure mod but never went through with it.
Parts List:
- 2x ST2.9x9.5 screws (you will have 3 extra if you bought the enclosure kit) - at least 25cm of LED 24v 8mm height strip. - Some wire 22amg - 1x JST XH 2.54 female connector + crimp tool etc, or just steal from an old fan wire. - The printed part We are going to use this angled mount and holes to place our printed part!
Print this part with the opening side facing down on the tray, this way you will not need support! Standard 0.4 nozzle, 0.2 layer height and NO support. Print open side on the tray, so the channel isn't blocked.
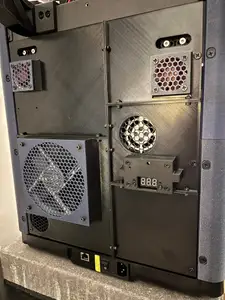
Once printed, just slide a 25mm strip of LEDs (8mm height) into the slot (the coated style work the best) then solder yourself a +/- line onto one side of the strip, and run the cable to the yellow LED socket on the mainboard using a JST XH 2.54 female connector and done!
*LEDS must be 24v 8mm strip height for this mod!




Названия используются только для указания источника результата. Polyzon не аффилирован с перечисленными площадками.