
Бесплатно 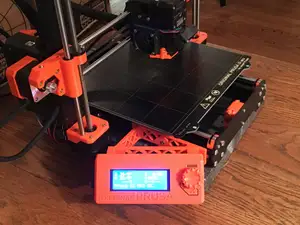
LCD Side Mount Bracket - Prusa MK3s
Printables
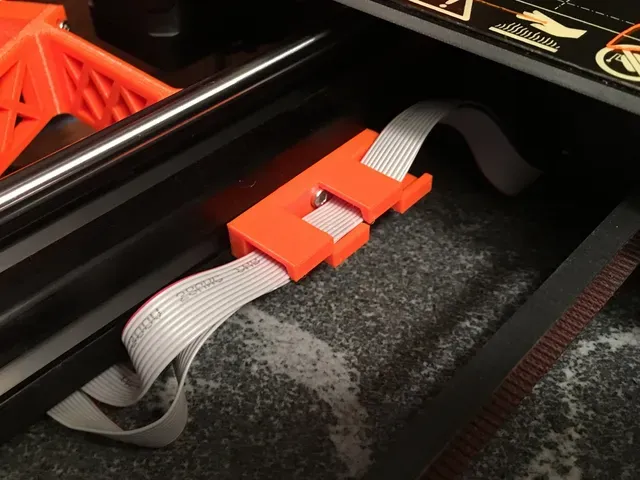
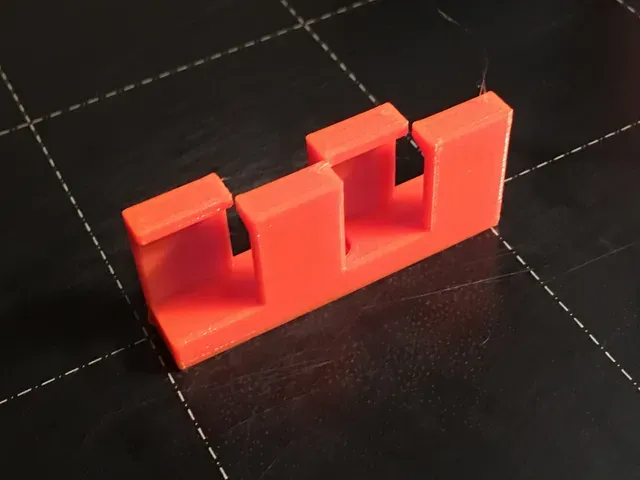


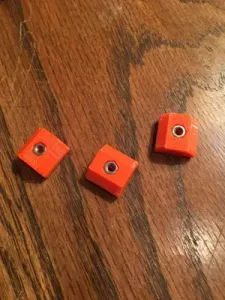
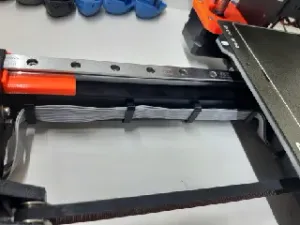
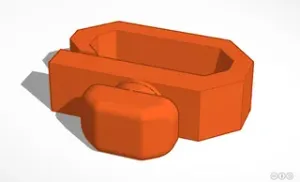
This is an overbuilt/large single screw attachment ribbon clip for the two LCD cables for a Prusa MK3. It firmly attaches to a T-nut frame bracket. Instead of twisting and cramming your cables into the frame cavity, use this clip.
You will need:
- 1 M3 12mm screw
- 1 M3 hex nut No supports. 100% infill. PLA or PETG.
If you use my LCD side mount mod this clip holder is a must:
https://www.thingiverse.com/thing:3483560
But this functional Z=axis brace actually improves your prints and therefore is a requirement:
https://www.thingiverse.com/thing:3476970
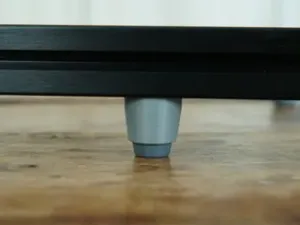
My feet mod for reducing all vibration and noise by 95%, possible improving prints:
https://www.thingiverse.com/thing:3496474
See instructions below.
Print Settings
Printer Brand:
Prusa
Printer: i3 MK3
**Rafts:**
No
Supports: No
**Resolution:**
.2
Infill: 100%
**Filament:** [ Prusament PETG ](http://www.amazon.com/s?url=search-alias&field-keywords=Prusament+PETG&tag=thingiverse09-20) Orange Assembly Instructions =====================
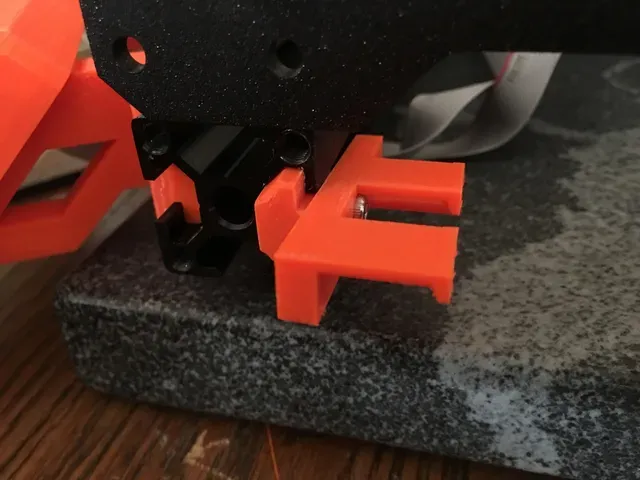
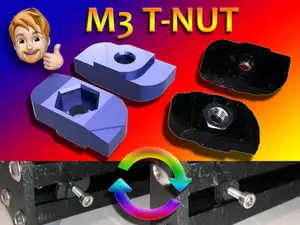
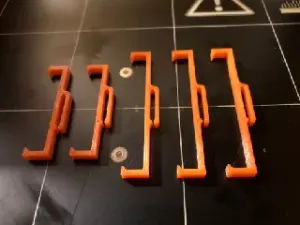
Note - pics are of an earlier inferior version but are correct in what they show to do..rnrn1. Print either Cableclip1 or Cableclip2 and one bracket part.rnrn2. Sand the bracket part and insert an M3 hex nut.rnrn3. Screw the two parts together with an M3 12mm screw.rnrn4. Remove the large eight screws at the end of the frame.rnrn5. Slide in the assembly, sand a little more, and/or loosen the screw if needed to get it to go it. It should slide easily in the T slot.rnrn6. Put the frame screws back on.rnrn7. Guide the ribbon cable into the cable clip slot, by just slightly moving the clips apart. Put one cable in and the then the other.
Per #1 Print a clip and a bracket.
Per #3 Screw the two parts together with an M3 12mm screw.
Per #5 Slide the cable clip and bracket into the T-slot.
Category: 3D Printer Parts





Названия используются только для указания источника результата. Polyzon не аффилирован с перечисленными площадками.