
Бесплатно 
FLSUN V400 LED Triangle - Electronic Bay Cover
Printables
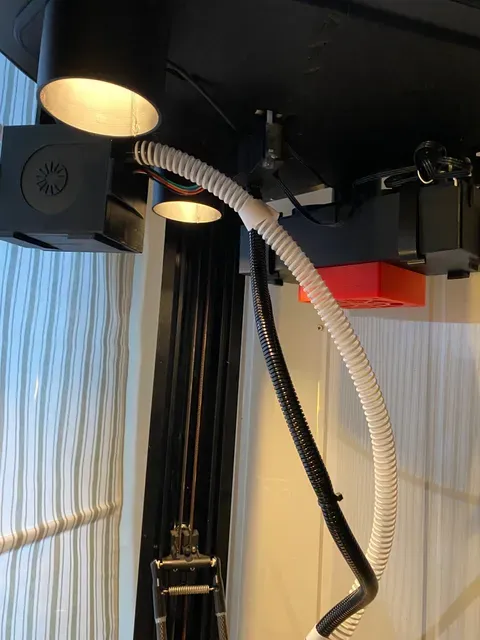
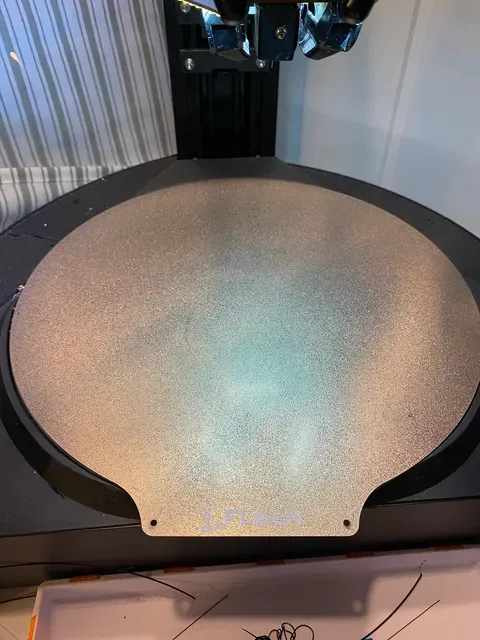

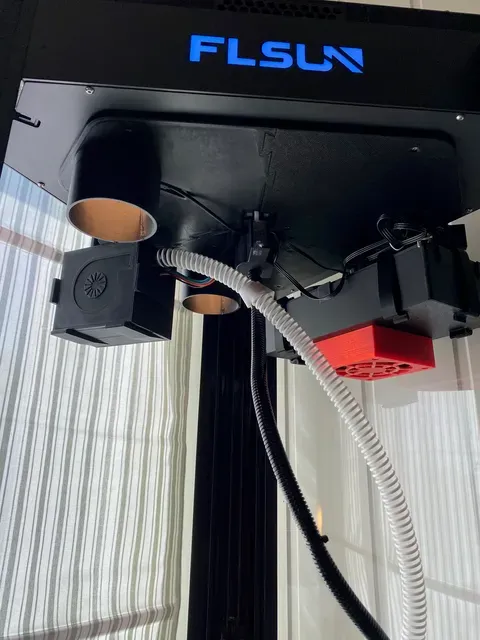
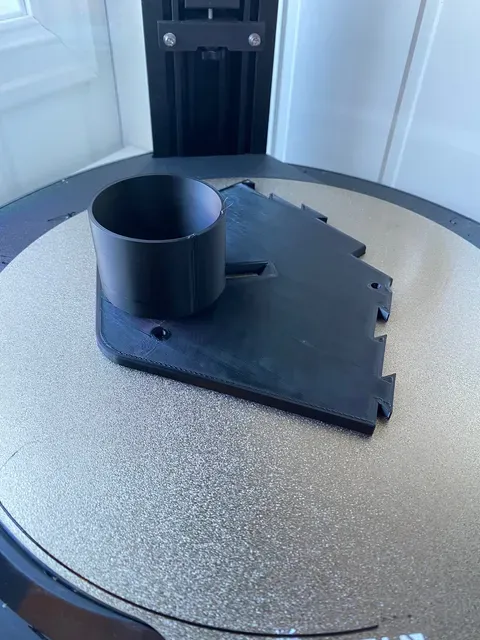
Why?
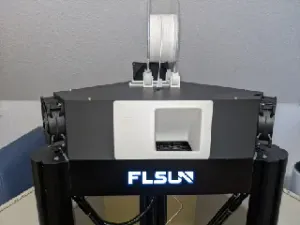
I tried to mount the LED pads to the top covers using the adhesive tape that came with the pads, but after a few minutes of heated printing, they fell down. Additionally sitting near the printer caused the pads to be a bit too bright for comfort (I could see directly into them).
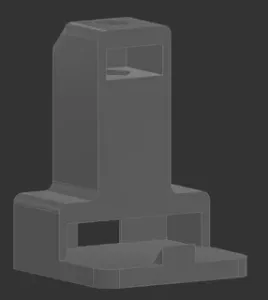
The pads are therefore mounted recessed behind protruding rings. This way they can cover the build plate but not be unpleasant to look at from the side.
Cover configurations
To allow different equipment to be mounted at the top of the printer, each cover (Left, right and rear) has three configurations; A, B and C. The configurations determines the placement of the LED pads. Combine these with the no-light original covers if you only want one or two LED pads.
My printer has a filter to the right and a CPAP fan to the left. Hence I chose a Rear-A and Left-B, and no pad for the right cover. This gives me a very well lit print pad that provides light past the items that are mounted at the top of the printer.
The configurations are indicated in the figure below (seen from below and up towards the covers.
Mounting the covers
Use the following hardware:
- 10x M3x10 with nuts (preferably locking nuts) - 10x washers for M3 Mounting the LEDs
Use with or without the adhesive that comes with the pads. It will work either way.
Turning the LEDs on/off
Push the pads to turn them on. The compartment where the pads are located is made to be “loose” to allow the pads to be pushed to be turned on.
Powering the LED Lights
The LED lights are USB powered, and are supplied with long cables. Can be powered by using the Speeder Pad or any external USB power supply. The cables are long enough to reach the Speeder Pad even if running the cables through the center of the printer and up to the top compartment, and out of the compartment along with the main printer control cable.
Alternatively they can be powered by using a USB buck converter and powering the lights from the power available in the top compartment of the printer.





Названия используются только для указания источника результата. Polyzon не аффилирован с перечисленными площадками.
Комментарии