
Бесплатно 
Taurus V5 Cooling Duct for Creality Sprite Extruder, Dual 5015 Fans, Ender 3 S1/S1 Pro/S1 Plus, CR10 Smart Pro (Stock / Spider / Ceramic)
Printables


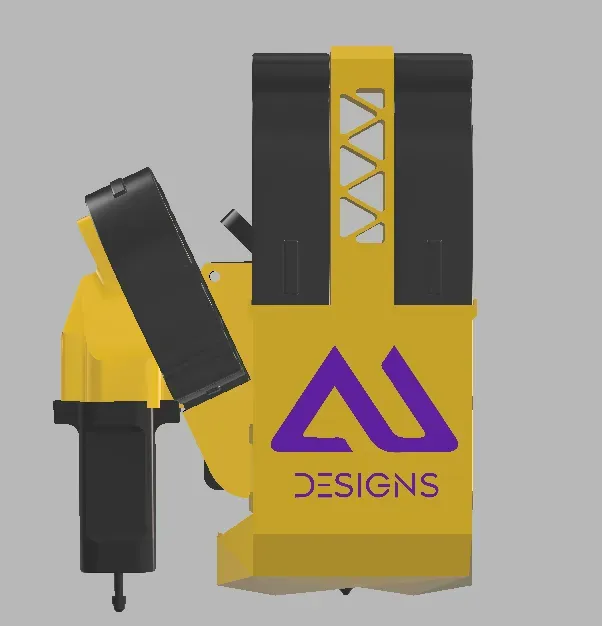
AU Cooling Duct
NEW UPLOAD 14/05/2024
- KLIPPER G-CODE FOR CHANGING BL-TOUCH PLACEMENT [bltouch] sensor_pin: ^PC14 control_pin: PC13 x_offset: -46.8 #Was -32 before new placement y_offset: 0 #Was -40.7 before new placement #z_offset: 0 probe_with_touch_mode: true stow_on_each_sample: false
[safe_z_home] home_xy_position: 146.8, 100 #Was 147, 154 before new bltouch placement speed: 75 z_hop: 10 z_hop_speed: 5 move_to_previous: true
This is a remix of the K3D with less weight and more resistant, with a 5015 hotend fan for less noise and better cooling.
AU Cooling Duct its compatible with Zuff's hotend
Before moving on, I recommend you become familiar with your printer, knowing all the parts and each connector what it is used for.
I AM NOT RESPONSIBLE FOR ANY DAMAGE CAUSED TO YOUR PRINTER.
Things we need:
5015 Hotend Fan
- 1x 5015 fans - Screws: - M4*20 K3D Remix
- 2x 5015 fans - Screws: - 3x M3 *4 - 4x M4 *20 I bought this screws which make my 3D models more aesthetics, but you can use others, as long as they work.
And the fans I use. (Make sure you buy the ones with the same voltage of your printer)
5015 Hotend Fan
To start installing the hotend fan, we will need to print the file Sprite Extruder Backplate
I recommend to print first interior walls, then exterior, and finally the backfill, so that you can print it without any supports or problems at all.
1 2
Before we move to the next step, check the print is perfectly printed because there is no wayback.
After this, disconect your extruder from the printer, and start dissasembling the extruder carriage.
This carriage has 4 screws (red circle), unscrew them and be careful with the extrusor, it can fall into your bed.
Once you have it unplugged and removed the carriage, its time to remove the back of the extrusor and then the hotend fan.
For this I recommend you to follow this video as a guide to disassemble it.
Video disassembling the extrusor
Once you have the backplate, pcb, the fan and the bl touch disassembled, disconnect the hotend fan and the bl touch.
We will leave the extrusor and its parts away and we will focus now on the Creality fan.
We are going to cut the cable where the line red and only keep the connector (in case you are not that expert, leave more cable)
Creality Fan 5015 FAN
Then we do the same thing on the 5015 fan, and make sure you keep a lot of cable just in case you need it. Finally you solder the 5015 fan to the creality connector, and there you have it.
IMPORTANT , from what I have heard in some websites, creality inverted polarity but in my printer it wasn't the case. If you want to make sure of polarity before soldering, use a multimeter.
Moving back to our extrusor, you will insert the Sprite Extruder Backplate to the extrusor and the pcb on top of the new piece. It should look like in the picture at the left.
When you have it, you can use the same screws than in the original piece.
Then, we move on with the bl touch, which only requires two screws (red circle). You can use the same screws than in the original piece. Then connect the bl touch to the correct place again.
Finally, we will pick our new 5015 fan, insert it in the hole and screw a M4*20 (red circle). Then connect the fan to the correct place again.
K3D Remix
To start we will need to print the file S1 Pro 2 cooling fan . Before we move to the next step, check the print is perfectly printed because there is no wayback.
After this, we will disconnect it's cable from the plate and unscrew the original fan.
Now the tricky part, swap the original fan for 2x 5015 fans
2 ways of doing this:
Serial connection Parallel connection
Voltage: Fans in series divide the total voltage between them, so each fan may operate at a fraction of the total voltage.
![STRETCHED Taurus V4 Cooling Duct for Volcano Nozzles [for Creality Sprite Extruder, Dual 5015 Fans, Ender 3 S1/S1 Pro/S1 Plus (Stock / Spider / Ceramic)]](https://cache.polyzon.org/api/img?url=https%3A%2F%2Fmedia.printables.com%2Fmedia%2Fprints%2F651324%2Fimages%2F5137287_00b253b9-b040-44b3-9428-07f481b627bc_785c15d9-bb82-46fd-a552-3bee22b6d0d9%2Fstretched-taurus-duct-cover.png&w=300)



Названия используются только для указания источника результата. Polyzon не аффилирован с перечисленными площадками.