
Бесплатно 
Fume Extractor for 120mm Fans
Printables
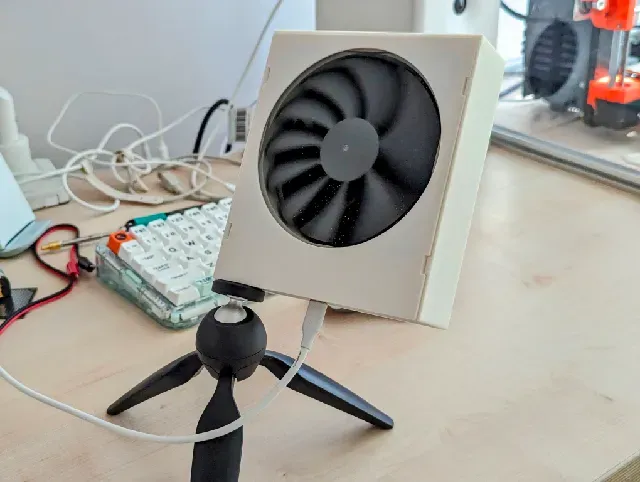
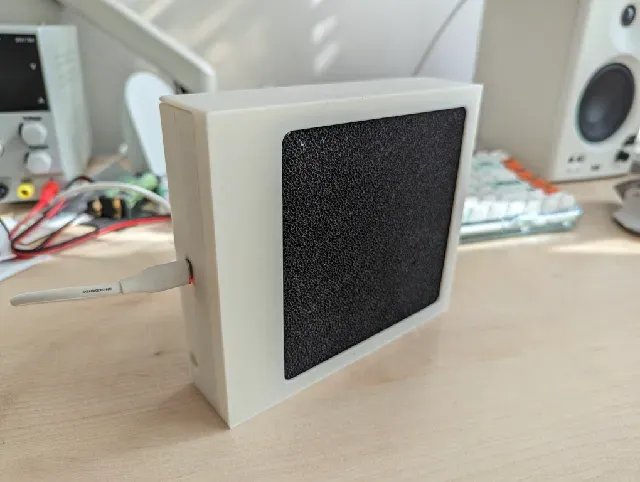
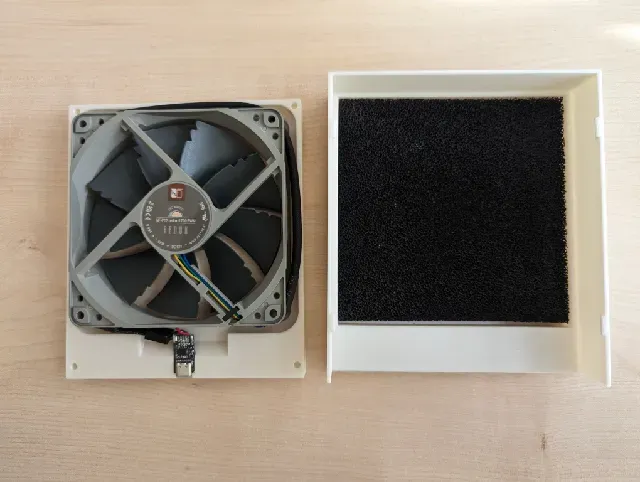
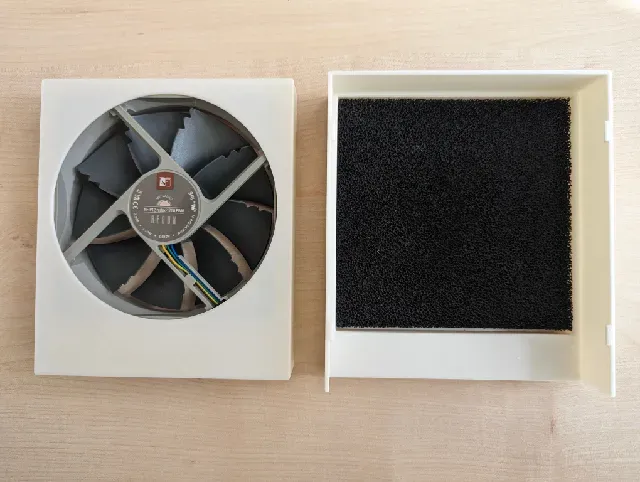
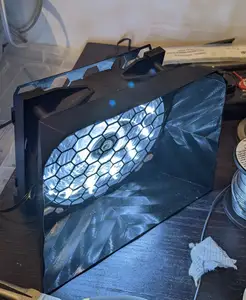
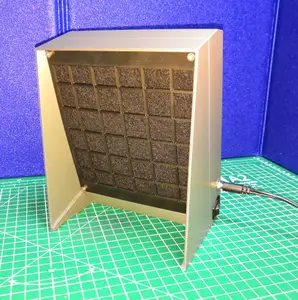
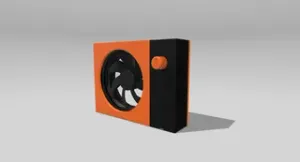
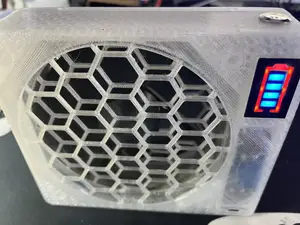
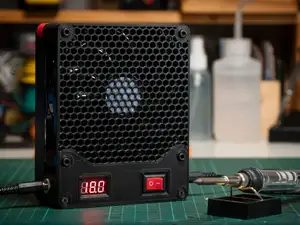
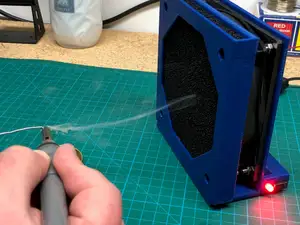
This solder fume extractor utilizes a 120mm PC fan to extract fumes and direct them through a replaceable 130mm activated carbon filter.
The extractor is powered via a USB-C port and is compatible with any USB-PD charger capable of providing more than 12 volts.
The model consists of three parts designed to snap-fit together, eliminating the need for additional tools or hardware during assembly.
Bill of Materials:
The following components are required to build a fume extractor using this model:
- A 12V 120mm PC fan: - I used NOCTUA NF-P12 redux-1700 PWM . - A sheet of 130mm activate carbon filter: - Hakko Replacement Filter is a perfect fit for thi this model. - Affordable alternatives are readily available on amazon . - A USB-C 12V decoy/trigger module - I used this module from amazon . - This module signals the USB-PD charger to provide 12V power. - Two jumper wires - (Optional) An ¼" threaded insert - I used the one available from CNC Kitchen . Print Instructions:
All three parts were printed using Prusament PLA on a Prusa MK4. The provided .3mf files are oriented to allow for printing without the need of support materials.
Assembly Instructions:
Begin by preparing the electronics.
- Solder the jumper wires to the pads of USB-C decoy module. - If using a variable voltage USB-C decoy, ensure that correct resistor is shorted to obtain 12V from the modulle. - Connect the wires to the appropriate port on the PC fan. - If you're using 4-pin NOCTUA fan, connect a positive wire to the fan's yellow wire and the ground wire to the fan's black wire. - Connect the assembled parts to a USB-PD charger and verify that the fan is operational. Next, integrate the electronics with the printed parts:
- Position the electronics on the BackBodyBottom part. Wrap the fan's cable around the fan to minimize loose wiring. Ensure that the fan is oriented correctly, with the air blowing towards the circular hole in the bottom part. - Secure the assembly by attaching the BackBodyTop part. - Place a 130mm carbon filter on the FrontCover part. - Insert the assembled BackBody parts to the front cover. Finally, if you wish to mount the extractor on a tripod, install the threaded insert to the hole located adjacent to the USB-C port.
![FtFE "Fresh the Fume Extractor" - 120mm Soldering Fume Extractor with USB-C PD [no supports]](https://cache.polyzon.org/api/img?url=https%3A%2F%2Fmedia.printables.com%2Fmedia%2Fprints%2F736230%2Fimages%2F5781873_d6f1f6bc-d55b-47c0-8af0-365e900747cc_a47cb3de-7a7e-4893-988a-d6ad689041ea%2Fimg_5850.jpeg&w=300)


Названия используются только для указания источника результата. Polyzon не аффилирован с перечисленными площадками.