
Бесплатно 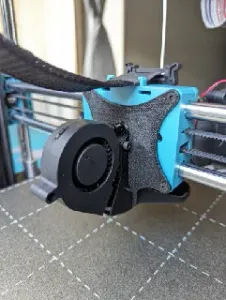
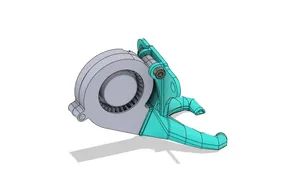
The Nautilus + LED strip - Sovol SV06 PLUS Fan Duct 5015
Printables

Info
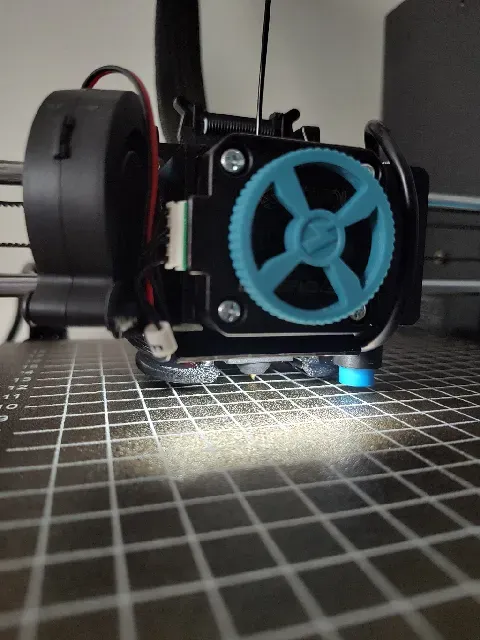
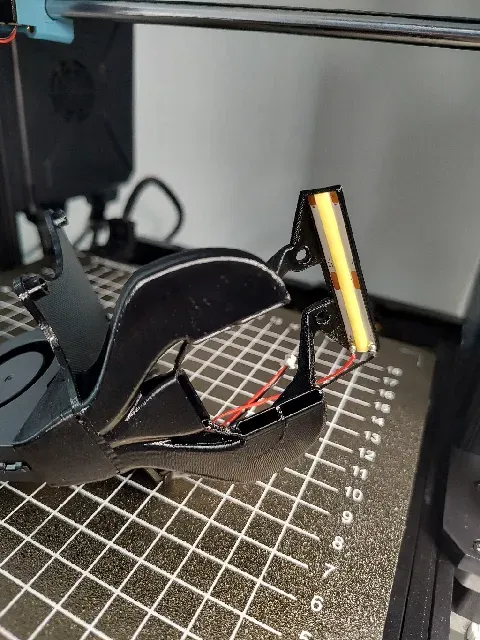
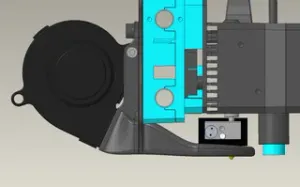
What is there to say? It's the awesome Nautilus with a place to stick a 5cm LED strip: Good airflow and unobstructed view of the nozzle, even in the dark!
Using the normal/single/reversed version, with the original fan connector provided for convenience.
BOM
Soldering wire required!
Nautilus
- 2x M3*8 countersunk or 2x M2*8 normal head + 2x M2 nuts - 4x M3*20 countersunk or 4x M3*20 normal head (max head height 2.5mm) - Do NOT use screws longer than 20mm, as you might damage the extruder breakout board - 1x M3*18 (can be bigger) - 1x 5015 blower fan - 1x 2pin female Molex Picoblade with leads
LED
- 1x 5V LED strip (any length, as long as it can be cut in intervals of 5cm) - 1x 3pin female Molex Picoblade with leads
Instructions
Nautilus
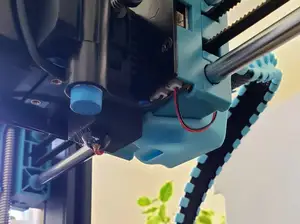
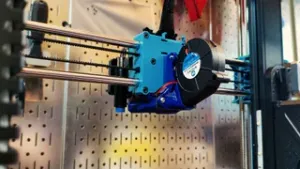
- Recommended printing in PETG or better, 0.2 layer height or lower, and slow to keep the air ducts as smooth as possible - PETG will still have a limited lifespan! Even with the stock heater block silicone sock, the duct that sits closer to it will start sagging over time - Cut and solder the 2pin picoblade leads to the 5015 fan (8cm of total wire length should be enough) - Check the orientation of the 2pin picoblade plug and lead wires. Once plugged in the original fan plug, the left wire goes to the red fan wire, and the right wire goes to the black fan wire - Screw the 2 printed pieces together with the 2 screws/nuts - Insert the 5015 fan in the fan connector, and secure it with the M3 screw - Remove the original fan and respective bracket, along with the 4 corner screws of the back side of the X-axis carriage - Insert the Nautilus from the back. Secure it with the 4 M3*20 screws. Then screw the bottom braces with the 2 screws from the original fan bracket - And remember to plug the fan (red wire to the left) For more info, look at the original model page
LED
- Cut 5cm of the LED strip - Cut and solder the 3pin picoblade leads to the LED strip (6cm of total wire length should be enough) - Check the orientation of the 3pin picoblade plug and lead wires. Once plugged to the empty plug on the right side of the X-axis carriage, the top wire goes to the +5V pin of the LED strip, and the middle wire goes to the GND pin of the LED strip - Route the wire between the extruder assembly and the ABL probe, and plug it in - Stick the LED strip to the bracket For more info, look at the page that inspired this mod: https://sv06.blakadder.com/Upgrades/nozzle-led/
Enjoy, and post your makes!






Названия используются только для указания источника результата. Polyzon не аффилирован с перечисленными площадками.