
Бесплатно 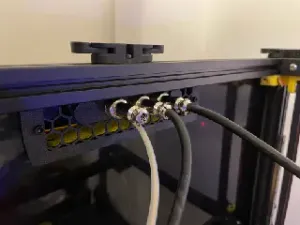
Voron 2.4 Multi-Tool Exhaust Cover with ECAS and PUG/GX12/Microfit
Printables


Filter X
The latest creation from Nate16. This is still in testing phase and looking for feedback.
5 toolhead model (Intended for toolchangers)
1 toolhead model (Standard 2.4 replacement)
ABOUT
Designed to be an all in one solution For your Voron 2.4 or Trident Features
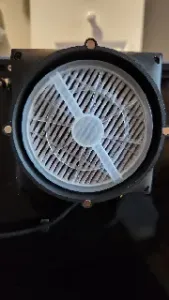
- Large capacity carbon filtering utilizing stock Voron exhaust fan - Daylight on a stick wire management utilizing JST connectors so you don’t need to run long wires through the frame - CANBUS cable and Bowden routing - Supports up to 5 tool changers - Optional 3d printed tpu gasket for sealing Bill of materials
- 12- m3x8 shcs - 2- m5x10 bhcs - 1- Stock Voron 6020 fan - 14- heat set insert - 1-5 ecas collets (exact toolhead will depend on if you are running a tool changer or not) - Carbon filtering media (nevermore carbon) - 3 feet of igus chainflex or about 24 feet of AWG20 PTFE wire - 1- m16 cable gland - 1mm foam tape for sealing - Optional-Nylon cable sheath (MAKE IT PRETTY) - Optional- 2- port wagos and 1- 3 port wago for wiring Installation
- Print all parts to the Voron parts specifications; no supports are needed. - Thread cable gland into main housing and cable glands to exhaust grill - Apply foam seals to the exhaust grill part where plastic makes contact with the acrylic panel - Apply foam seal on t slot extrusion where the area shaded in purple makes contact with the frame 5. Press ECAS or pneumatic collets into the lid of the filter for the Bowden tube
6. Install heat set inserts
7. Assemble the filter cassette and lid (the cassette is a little fragile due to the mesh design, so grip from the sides). The fit is tight, but it does fit. It is easiest to roll the tabs in the lid.
8. Press the female JST connectors into the exhaust grill. They are an extremely tight fit, so use pliers to assist with the process.
9. Solder wire in a y shape for LED power and ground (i.e., two wires into one)
10. Solder wire to JST connector (challenging but doable)
11. Assemble and wire to the 3d printer control board.
NOTES: If you use Igus chain flex, you will notice that you don’t have enough wire for LEDs and fans. That is because they all share the same GND wire. This is where the optional wagos come in. Alternatively, if you are using a toolchanger and my designed PCB, you can wire them all together in a ferrule and then connect to the PCB. Wiring diagram for chainflex (use the larger wire for ground and power in the chainflex)
Chainflex wiring diagram
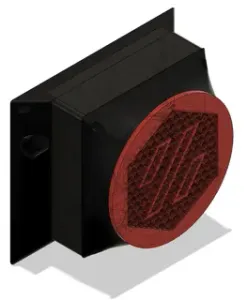
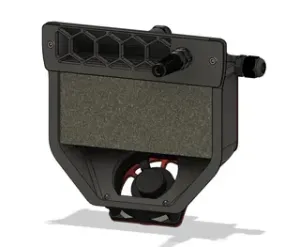
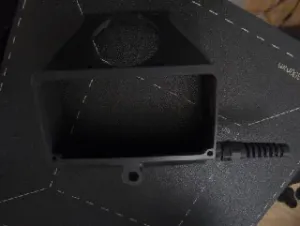
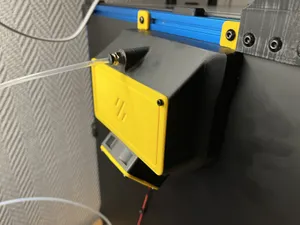
ASSEMBLY PICTURES
DISCLAIMER 1:
the exhaust grill, mounting bracket and rear cover are based of VORON parts. They are not of my own original design or creation.






Названия используются только для указания источника результата. Polyzon не аффилирован с перечисленными площадками.