
€ 1.79 %2Fhttps%3A%2F%2Ffbi.cults3d.com%2Fuploaders%2F52324989%2Fillustration-file%2F2f280294-60d8-4c1f-a291-3998cd7cc14e%2Fcrown-studio.png&w=300)
DCP3D Crown Silicone Mold Master Kit | STL + STEP
Cults3D
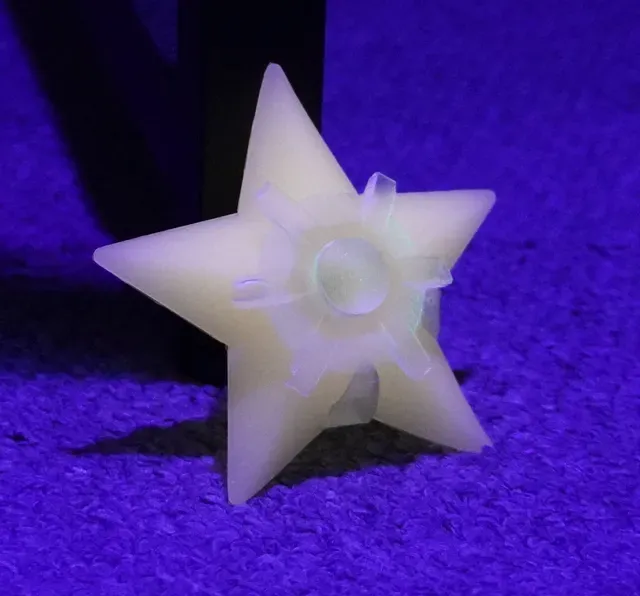
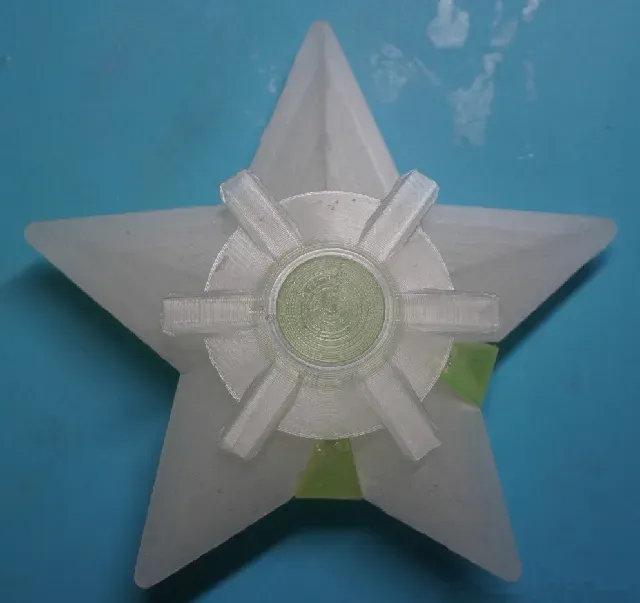
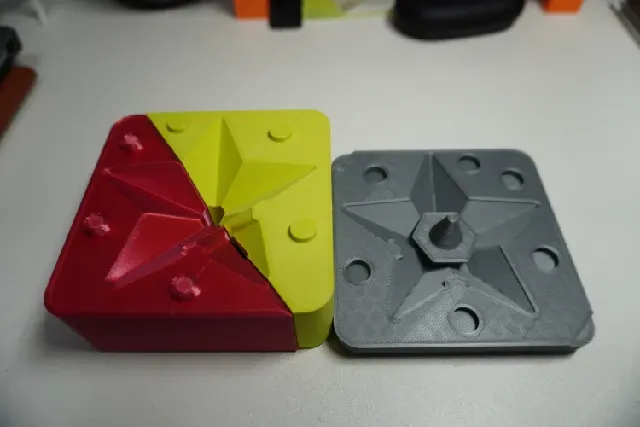
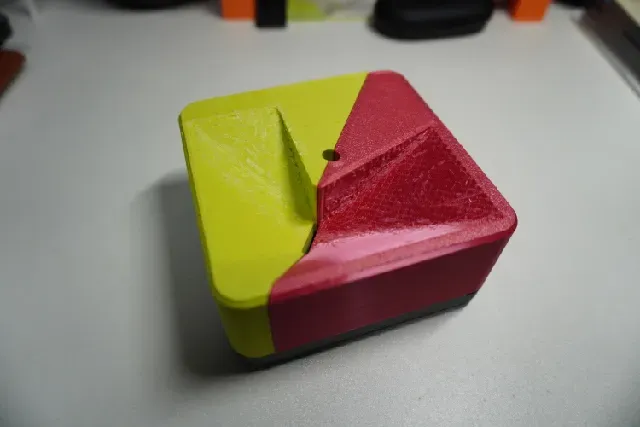
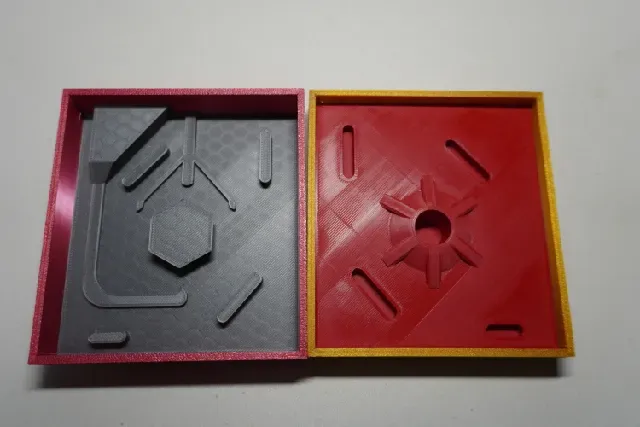
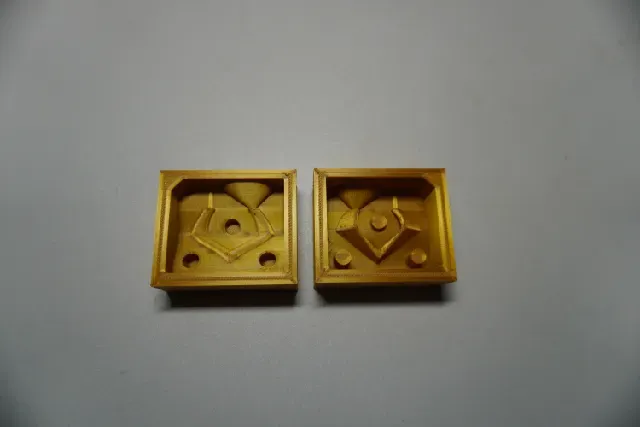
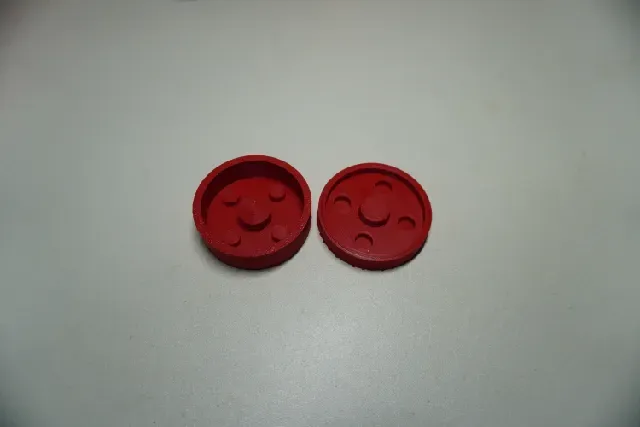
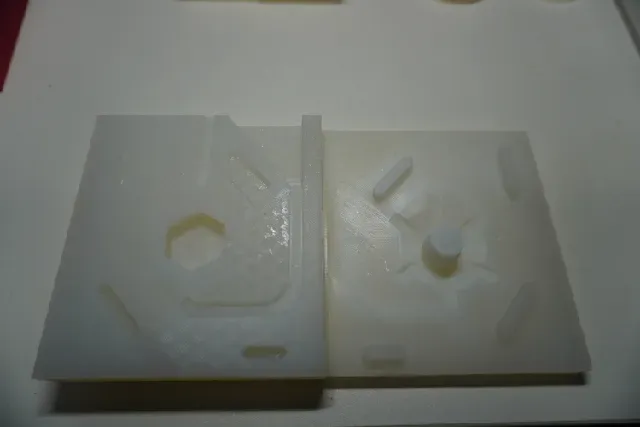
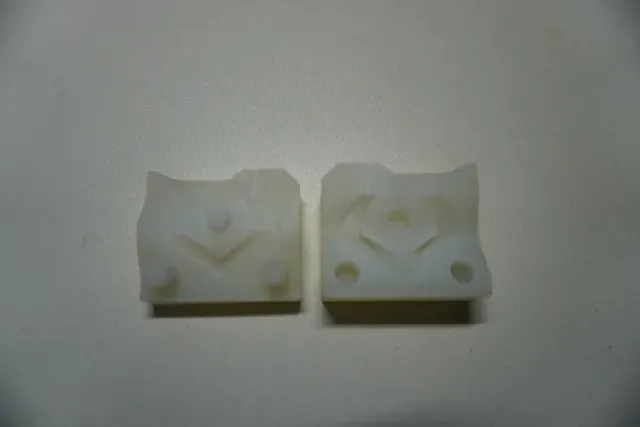
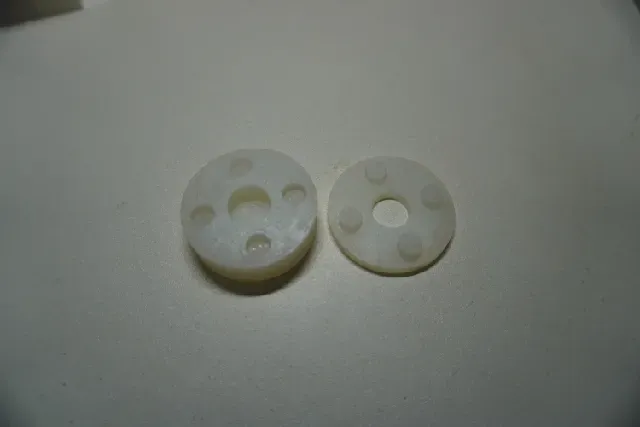
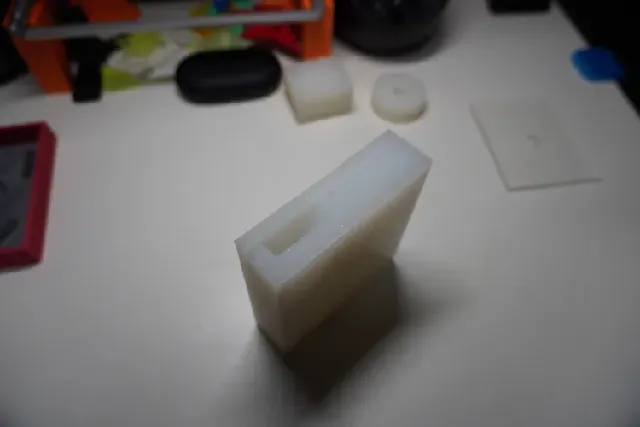
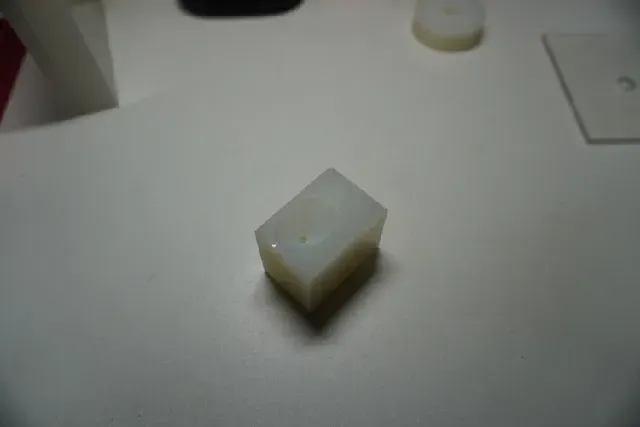
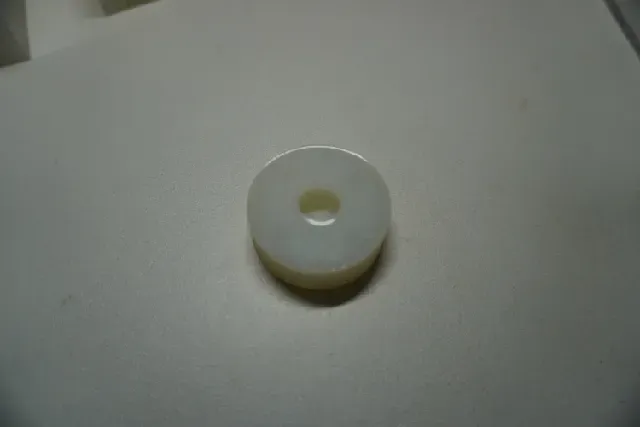
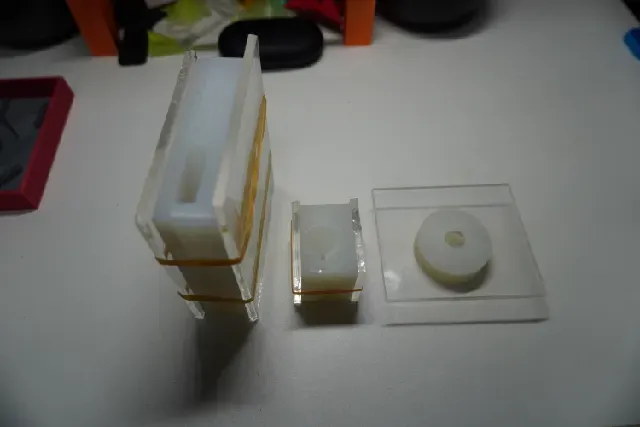
A set of molds for making Pokemon Staryu with silicone and resin at different parts
You can use this set of mold to make Staryu with silicone body (the star part) and resin parts (the “crown” part at the center and the belt around its leg)
Because 3d printed mold are hard and solid, when casting hard resin parts, you won't be able to demold resin parts out of 3d printed mold, so you first need to make a soft silicone mold out of 3d printed mold and then use that silicone mold to make resin parts. Thus I called the 3d printed mold for making silicone mold as “mold mold”.
The resin parts of Staryu include the crown at the center, the eye at the center, the belt around its right leg(?). Each part has separate mold, so you can choose different colors for each part and make your own color variant of Staryu.
Caution : Whenever you are casting silicone nor resin, please always degas the silicone and resin before casting, and always add tapes on the seamlines to prevent leaking . When using silicone mold, they are soft, so you should add hard back plates and press the mold together to prevent leaking. I usually stick two pieces of 5mm thick acrylic sheet with the size of the mold and add a rubber band around the mold.
When cutting flashes and runner from the casted parts, please refer to “silicone mold” folder and “original Staryu body” to identify which part should be removed.
To make the final Staryu, you need to follow the procedure below , which takes multiple steps and also takes some time and patience:
- 3d print all the mold files inside “3d printed mold” folder - Assemble “crown top mold mold” and “crown top mold mold wall” - Assemble “crown bottom mold mold” and “crown bottom mold mold wall” - Pour silicone into “crown top mold mold”, “crown bottom mold mold”, “eye top mold mold”, “eye bottom mold mold”, “belt top mold mold”, “belt bottom mold mold”. Silicone should be poured until it reaches top of the mold. According to Fusion's calculation, each silicone mold should weigh as following: crown top silicone mold(217g), crown bottom silicone mold(156g), eye top silicone mold(8g), eye bottom silicone mold(23g), belt top silicone mold(31g), belt bottom silicone mold(36g). In total, 471g of silicone, but you should add some margin in case you have different silicone. - Wait till silicone cured and demold. You get “crown top silicone mold”, “crown bottom silicone mold”, “eye top silicone mold”, “eye bottom silicone mold”, “belt top silicone mold”, and “belt bottom silicone mold”. - Cut away all flashes in silicone molds - Assemble “star top mold1” and “star top mold2” and “star bottom mold” - Cast silicone into star mold. You need about 50g of silicone. - Wait till silicone cured and demold. You get silicone star part. - Cut away all flashes and runner in the star. - Assemble “crown top silicone mold” and “crown bottom silicone mold” together. - Assemble “eye top silicone mold”, and “eye bottom silicone mold” together. - Assemble “belt top silicone mold”, and “belt bottom silicone mold” together. - Cast resin into crown mold, eye mold, and belt mold. You need about 7g for crown mold, 2g for eye mold, 4g for belt mold. - Wait till resin cured and demold. You get resin crown, resin eye and resin belt parts. - Cut away all flashes and runners in resin parts. - Assemble resin crown into silicone star, and resin eye into resin crown, and resin belt around silicone star's leg. - Done.

%2Fhttps%3A%2F%2Ffbi.cults3d.com%2Fuploaders%2F52324989%2Fillustration-file%2F417635ca-bda4-49cc-8c45-e220129422e6%2Ffour-petal-flower-studio.png&w=300)
%2Fhttps%3A%2F%2Ffbi.cults3d.com%2Fuploaders%2F52324989%2Fillustration-file%2F68499163-1693-4b45-a312-d1be9ea9b266%2Fseven-point-star-studio.png&w=300)
%2Fhttps%3A%2F%2Ffbi.cults3d.com%2Fuploaders%2F52324989%2Fillustration-file%2F58d519a7-5e81-4e3d-bc21-211ca1c7afae%2Fsix-point-star-studio.png&w=300)
%2Fhttps%3A%2F%2Ffbi.cults3d.com%2Fuploaders%2F52324989%2Fillustration-file%2F1a0452a4-960a-44c5-b407-660f63269fce%2Ffive-point-star-studio.png&w=300)
%2Fhttps%3A%2F%2Ffbi.cults3d.com%2Fuploaders%2F52324989%2Fillustration-file%2F6ab5234a-e0fb-4819-ace1-46a669a9ba1c%2Fdecagon-studio.png&w=300)
%2Fhttps%3A%2F%2Ffbi.cults3d.com%2Fuploaders%2F52324989%2Fillustration-file%2F2a7e7db2-287b-4a01-86d0-b88b4604e64b%2Fnonagon-studio.png&w=300)
%2Fhttps%3A%2F%2Ffbi.cults3d.com%2Fuploaders%2F52324989%2Fillustration-file%2F074edf3c-734c-4186-b777-c74ffb92b1e4%2Fhexagon-studio.png&w=300)
%2Fhttps%3A%2F%2Ffbi.cults3d.com%2Fuploaders%2F52324989%2Fillustration-file%2F3a32e81c-fdc9-435a-8e21-27867bb1d176%2Fthree-petal-flower-studio.png&w=300)
%2Fhttps%3A%2F%2Ffbi.cults3d.com%2Fuploaders%2F52324989%2Fillustration-file%2Fc5b90277-e8dd-4aa7-8b4c-ecedad517fdd%2Fsun-rays-studio.png&w=300)
Названия используются только для указания источника результата. Polyzon не аффилирован с перечисленными площадками.
Комментарии 0
Загружаем комментарии…