
Бесплатно 
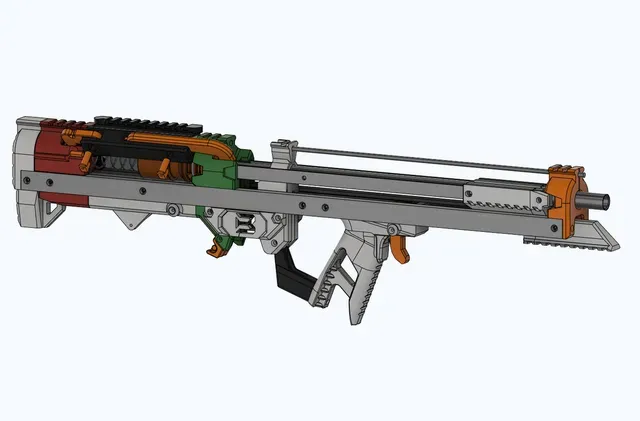
Slamfire Kit (Talon Claw U Angled Bullpup)
Printables


Changelog: 7-22-21 8:17PM EST: Fixed sear STL position to be flat.
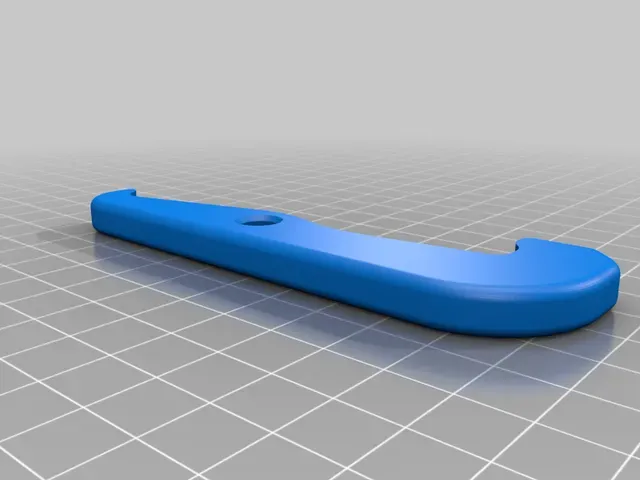
Changelog: 7-30-21 4:08PM EST: Updated the Pinnedarm to v2, which is fully printed (instead of using a piece of screwed in PVC on the tip of the arm)
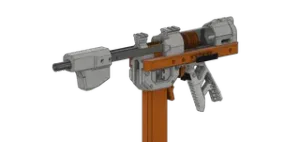
After 4 months of development, I present: The Talon Claw U Bullpup Slamfire kit!
(Also known as the Slamfire is Much Preferred kit, or SIMP kit (thanks for that name Slug))
This is a kit that replaces the Coupler, MagBack, and top rail of the TCUB. In turn, it gives you slamfire! The kit does NOT modify the existing grip, trigger, or sear of the blaster.
This kit doesn't touch the existing trigger at all. It functions completely independently from the existing trigger and grip of the blaster.
This kit basically adds a second sear and trigger, but the trigger is pulled when you push the ram into the barrel. So when you slamfire, all you are doing on the normal grip is keeping it's sear out of the way.
This kit works with any spring load from k31 to k14. Just good luck slamfiring a k14!
Non-printed parts:
- 2 4-40 screws (1 and a takedown pin for the takedown version)
- A Talon Claw length threaded rod (25cm) (goes over the plunger tube and keeps the slamfire kit in place between the magwell and the back of the plunger tube)
- A rubber band
- That's it!
Firing video: https://www.youtube.com/watch?v=l9aCTsQ-4gw
Slow-Motion video of the mechanism: https://www.youtube.com/watch?v=amPSCfVVTx4
If you wish to print and sell this item, please contact me for licensing. I can be reached on Discord (Sillybutts#5905), Reddit (u/SillyTheGamer), or by Thingiverse comments.
Print Settings
Printer Brand:
Creality
Printer: Ender 3
Rafts:
No
Supports: No
Resolution:
200
Infill: 30
Filament: FusionFilaments PLA
Notes:
The "pinned arm" print should be done at higher infill, as well as the sear. The pins should be done at 100% infill.
All STLs are positioned in their correct print positions. Feel free to check the auto-generated Thingiverse images for print orientation if need be.
How I Designed This
Category: Mechanical Toys




Названия используются только для указания источника результата. Polyzon не аффилирован с перечисленными площадками.