
Бесплатно 
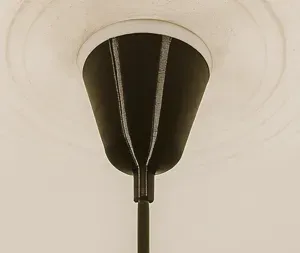
3 Wire Outlet Ceiling Rose / Lamp Canopy, Mount Bracket with (Wood) Screw Holes
Printables


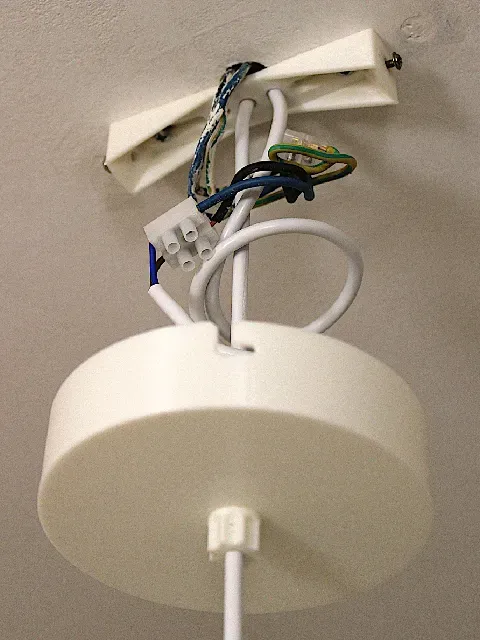


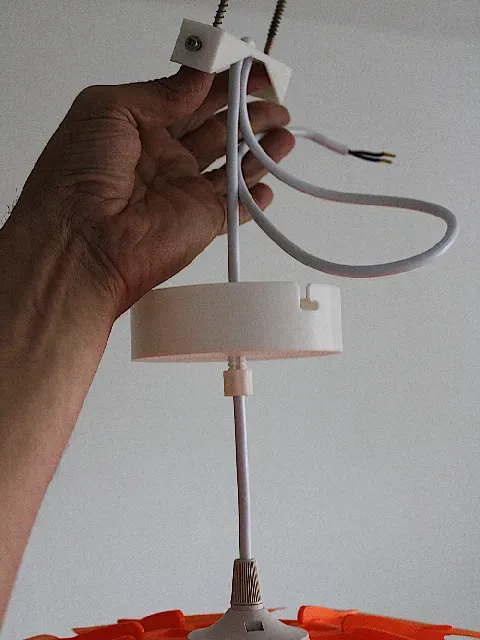

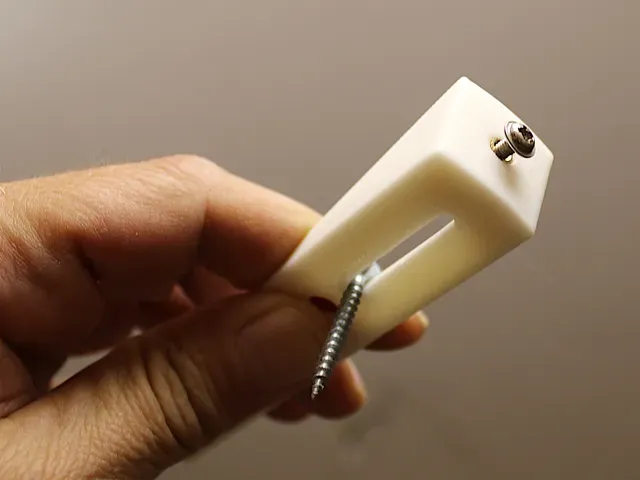
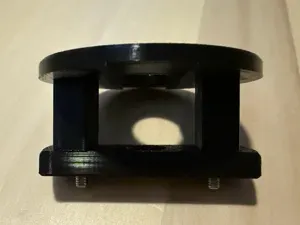
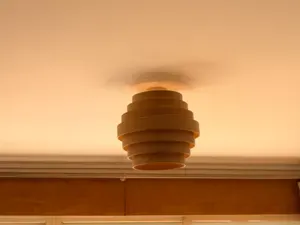
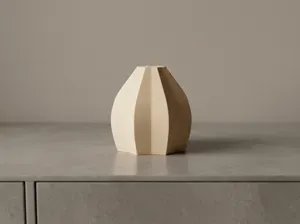
A versatile, low-profile ceiling canopy system with a height of only 3 cm, suitable for various mounting situations.
In case you only look for a holder for your existing canopy, also check the @mikhart remix for 10cm canopys
Available Sizes:
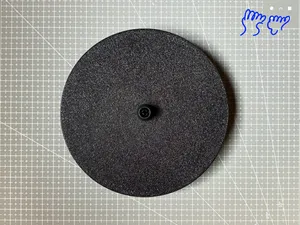
- 10 cm canopy : Ideal for heavy lamps with a reinforced bracket. - 12 cm canopy : Covers large holes or wide screw distances up to 9 cm. Features:
- Bracket adapts to various ceiling electrical boxes and mounting situations. - Standard 5 mm diameter lamp cable is perfectly centered and secured by a tensioner screw. - KirillAnufri_1455552 has made a good looking remix of the nut you should check out as option. - A 3 wire outlet option has been remixed by @michalp - @toastfr35_96071 has made a taller variation remix of the canopy . Material Needed:
- 2x M3 inserts - 2x M3x6 (or longer) terminal screws - 2x Screws and dowels suitable for your ceiling Assembly Instructions:
Prepare Bracket:
- If using thick screws, drill larger holes in the bracket to accommodate them. - Mark the screw locations on the ceiling or electrical box. - Drill the appropriate holes in the bracket based on your markings. - Heat up a soldering iron to insert M3 inserts into the bracket’s recesses. Alternatively, use screws with threads large enough to cut into the M3 recess. The bracket in the 3 wire remix by @michalp is optimized to work without M3 inserts. Attach Cable Tensioner:
- Insert the tensioner screw into the canopy, with threading facing outwards. - Slide the tension nut over the cable, thread facing the ceiling. - Push the cable through the tensioner threading and the canopy. Position Bracket:
- Push the cable through the bracket's center hole with the flat side of the bracket facing the ceiling. - Estimate the desired lamp height and adjust the cable length accordingly. - Secure the cable by pushing it through the other two holes, creating friction to hold the lamp. Use both holes for better stability. Mount Bracket and Canopy:
- Secure the bracket to the ceiling or electrical box. - Push the canopy up to the ceiling and attach it to the bracket. - Straighten the cable and fix it using the nut, adjusting the tensioner screw if necessary to ensure a secure fit.





Названия используются только для указания источника результата. Polyzon не аффилирован с перечисленными площадками.