
Бесплатно 
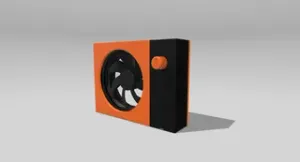
Kirby Fume Extractor with USB-C (60mm fan)
Printables
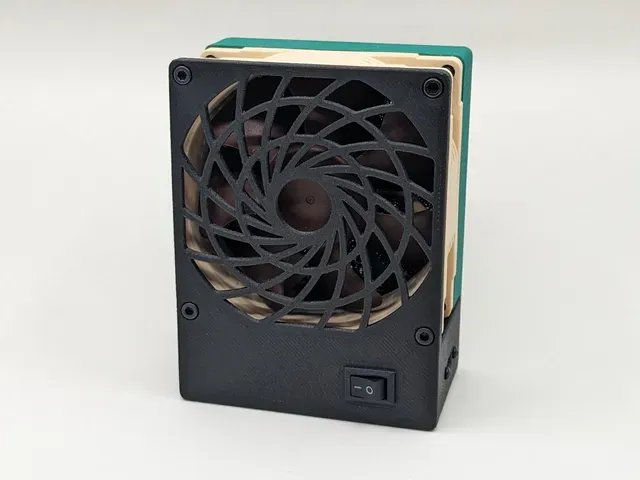


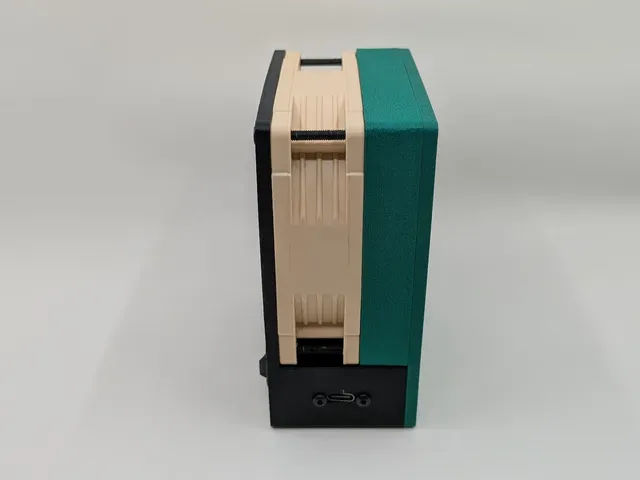


This is a compact USB-C solder fume extractor that uses an 80x25mm 12V PC fan . It's intended for people who have to do the odd soldering job every now and then and want something that doesn't occupy too much space when not in use.
It's designed for the Noctua NF-A8 (with noise dampers removed) but should work with other 80x25mm fans as well. It uses a fan grill design inspired by the Seasonic Prime XT-1600 Noctua Edition power supply (based on this image ).
Here are some of the key features:
- Compact - Magnetic back cover to easily access the filter and electronics - Uses only two types of screws - Simple 3-part design - Detailed, step-by-step assembly instructions
Tools & Materials
- 3mm hex driver - 1.5mm hex driver - Multimeter (for voltage adjustment) - Soldering iron, solder, and flux - Wire stripper - Heat-set insert press (or use soldering iron) - Superglue - Scissors or blade
Required Hardware
Qty Description Sourcing
4 M3x30mm or 35mm Socket Head Cap Screw Aliexpress
2 M2.5x6mm Button Head Cap Screw Alternatively, self-tapping screws should work as well. Aliexpress
4 M3 x D4.6 x L4.0 Heat-Set Insert Aliexpress
8 6x2mm Neodymium Disc Magnet (N45 recommended) Supermagnete , Amazon DE (N35)
Electronic Components
80x80x25mm 12V PC fan (I used Noctua NF-A8)
Most 80x25mm fans should work. It doesn't matter if it has 3 or 4 wires as you only need two.
Step-Up Voltage Regulator / DC-DC Boost Converter
I used a MT3608 boost converter but any voltage converter that can boost 5V to 12V and support the current required by the fan will do.
USB-C Female Socket with Mounting Chassis
This connector has the R1 and R2 501k resistors already installed so it works with PowerDelivery chargers as well.
Sourcing: Aliexpress (Color: A)
Mini Rocker Switch 15x10.5mm
Black and Red 24 AWG Wire
Thicker wire is fine too. I don't know the exact length needed but it's not much. Maybe ~30cm each.
Activated Carbon Filter ~10mm thick (up to 13mm)
Sourcing: Amazon DE
Printing
Print the parts in the original orientation. All STLs are pre-rotated into the right orientation for printing.
- Material: PETG, PLA, ASA, etc. (anything non-conductive) - Extrusion width: 0.4 or 0.45mm - Layer height: 0.2mm - Perimeters: 4 - Infill: 20% - Supports: no
Assembly Part 1
During this assembly, do not install any of the electronic components yet.
Step 1: Insert heat-set insert into Filter holder
Using a heat-set insert press or soldering iron, press the heat-set inserts into the Filter Holder until they are flush with the printed part.
Step 2: Insert magnets into Filter Holder
Add a small drop of superglue into the magnet holes on the other side of the Filter Holder. The magnets are press-fit. If necessary, use a tool, such as a vise or parallel jaw pliers to push the magnets into the holes.
Pay attention to the polarity. The polarity must face in the same direction for all magnets.
Step 3: Insert magnets into Lid
Using the same method as above, push the magnets into the Lid with a small dot of superglue.
Important: The Lid attaches to the magnets on the Filter Holder. So the magnet polarity must now face the opposite way.
Step 4: Install fan on Main Body
Cut off the fan connector. Trim off the fan data wires and leave only the positive and negative power wires (red and black if using 3-pin Noctua fan). Read the documentation for your fan if you are not sure.





![FtFE "Fresh the Fume Extractor" - 120mm Soldering Fume Extractor with USB-C PD [no supports]](https://cache.polyzon.org/api/img?url=https%3A%2F%2Fmedia.printables.com%2Fmedia%2Fprints%2F736230%2Fimages%2F5781873_d6f1f6bc-d55b-47c0-8af0-365e900747cc_a47cb3de-7a7e-4893-988a-d6ad689041ea%2Fimg_5850.jpeg&w=300)


Названия используются только для указания источника результата. Polyzon не аффилирован с перечисленными площадками.